

Route Optimization helps you in identifying the best and the cost-effective routes. Taking optimized routes help drivers to avoid unnecessary delays and risks which will result in better efficiency. Also optimized routes save your time and your fuel cost. Here is how you can plot routes in the Dynamics 365 map.
Step 1: Go to Google map, click on Route option and panel will appear like below image.
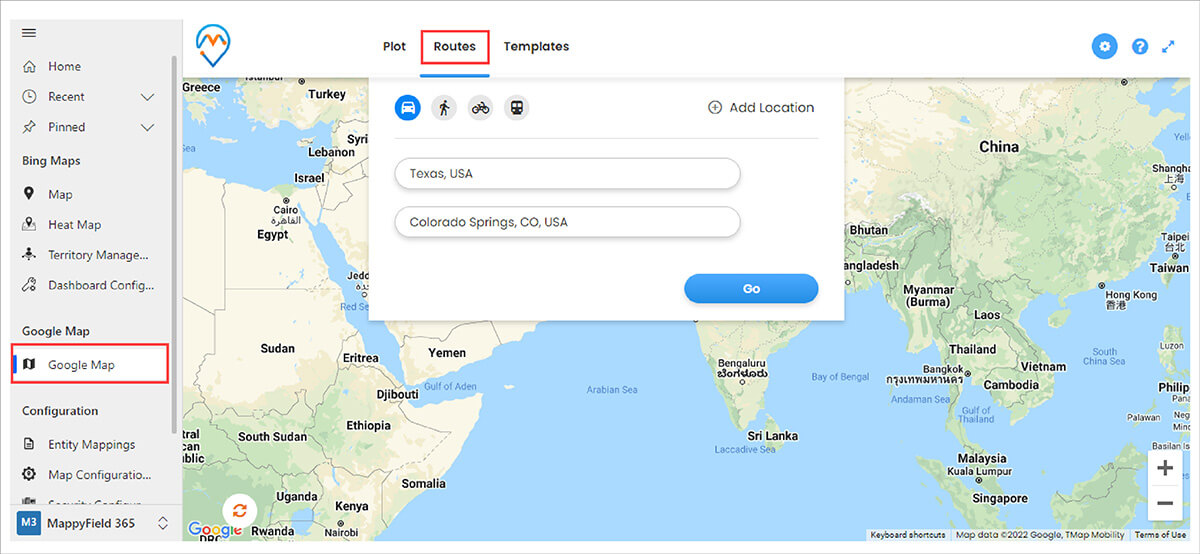
You can plot routes by entering the locations manually.
You can also set routing from the Data Grid and Pin click.
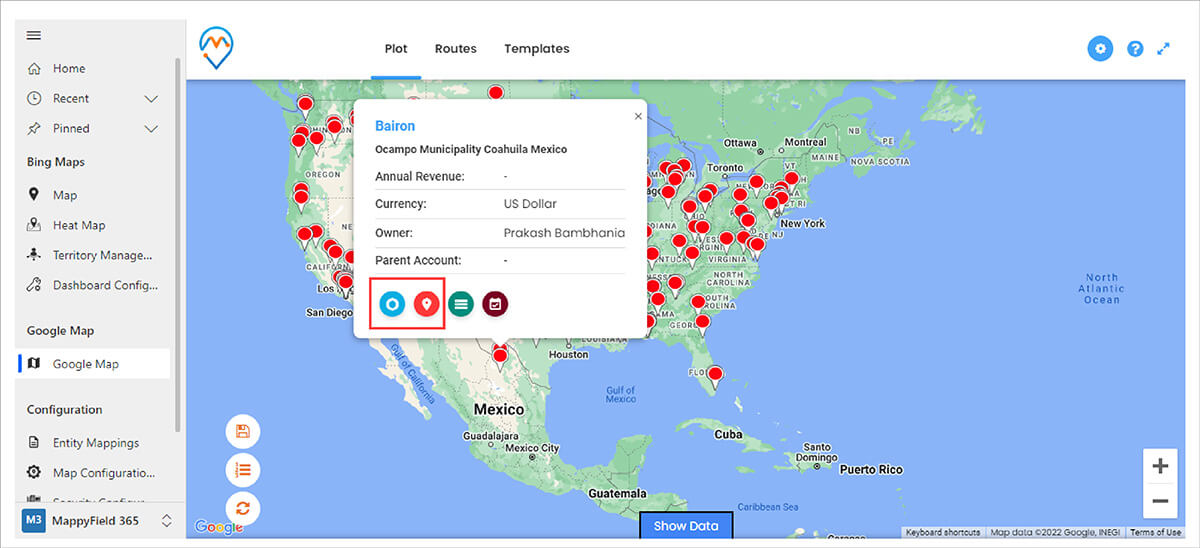
If you want to plot a route between your accounts data then open data grid, select account record and click on Route icon.
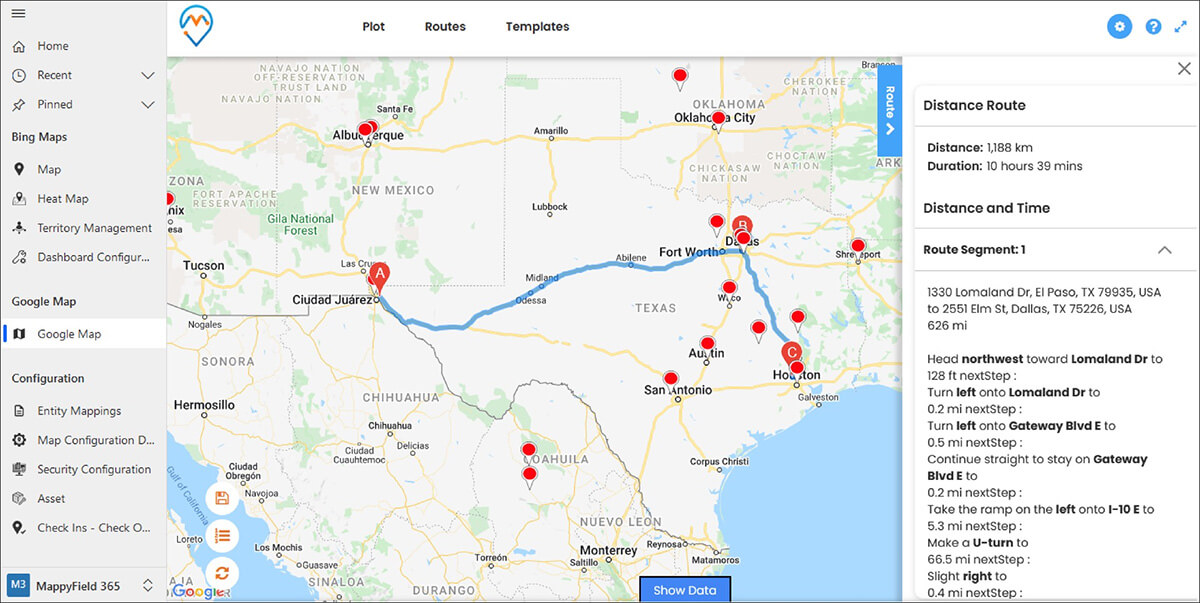
All routes will be added in the route panel like this.

Then click on the Go button and you can see your route.
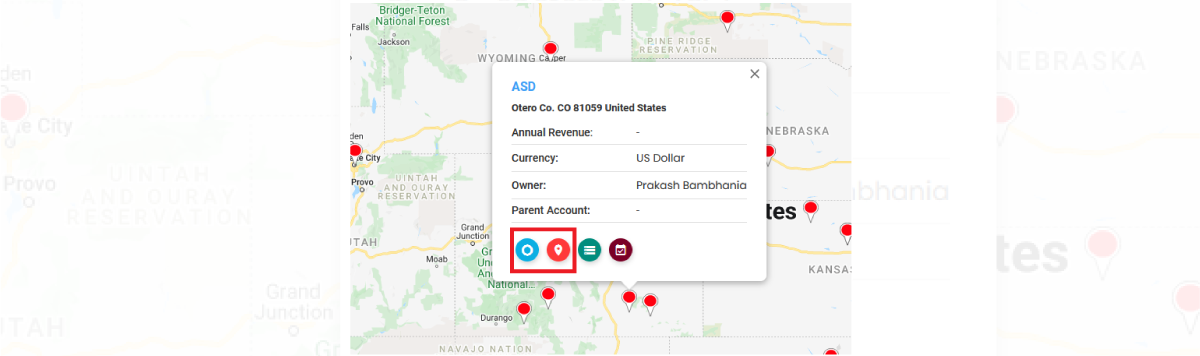
You can also add routes from pin click popup.
Click on the pin and the user can add that record location into origin or destination.
1. Add to origin 2. Add to destination.
All product and company names are trademarks™, registered® or copyright© trademarks of their respective holders. Use of them does not imply any affiliation with or endorsement by them.


