

AppJetty MappyFIeld 365, a plugin for Dynamics365, lets you plot the CRM records on the map to help the sales team perform different tasks and activities. Along with the Route optimization, schedule the activities and search the routes. Find nearby locations on the MappyField 365 map using the default Bing map integration.
In this blog, we explain how to search for any POI (Point of Interest) location like Restuarant, Cafe, Gas Station, Hospital, Pharma nearby on the map.
Suppose, your sales representative (or service executive) is working in the field for visiting clients for appointments or meetings. The sales rep got a call that the client is not available for an hour, at that time where and what should they do? Either go there and wait for the final call or find the place somewhere else to take some rest and plan the next meetings.
So the AppJetty MappyField 365 helps the users to search any nearby locations on the map itself. You can do this based on inserting the address manually and based on the nearby location of the specific entity records from the map.
Because MappyField 365 is integrated with Bing Maps, users will get the mapped nearby location.
Follow the below steps to find the POI location from the MappyField 365:
– Navigate to the MappyField 365 -> ‘Map’
– Find the POI in three different ways:
> “POI” tab header menu
> Nearby location of the selected entity record
> Context Menu – By right-clicking on the map
– Search “Other POI” locations from the list
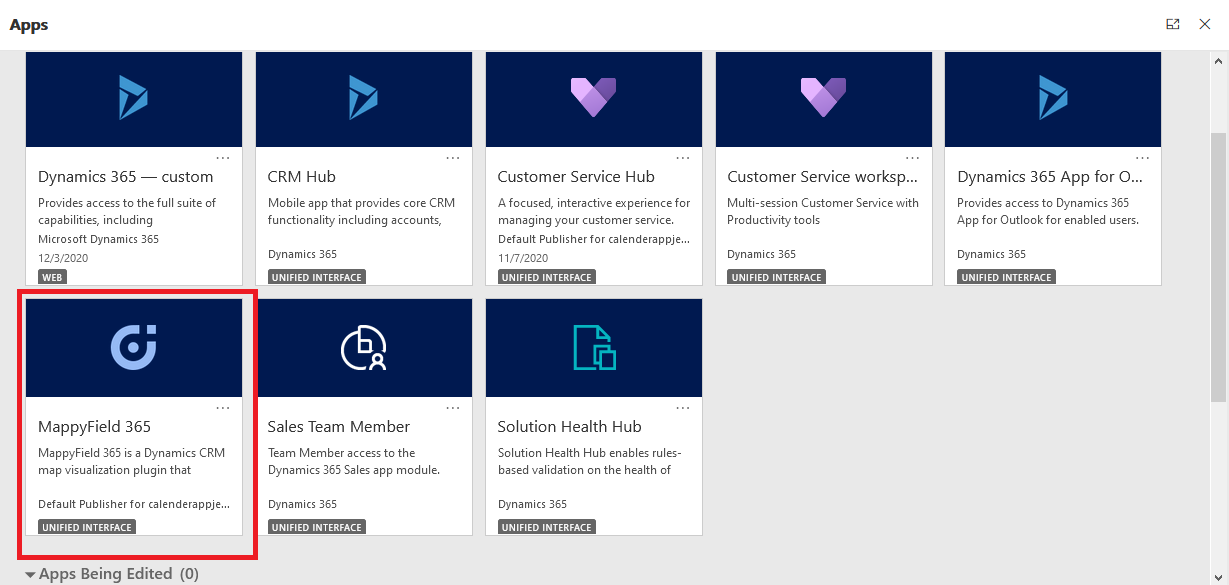
Step 1: Navigate to MappyField 365
After logging into Dynamics 365, click on MappyField 365 from the Dynamics 365 apps dashboard.
Step 2: Search the POI on MappyField 365 map
To search and plot the specific Point Of Interest locations on the map in 3 different way:
– From POI tab
– Nearby specific entity record
– From Context Menu
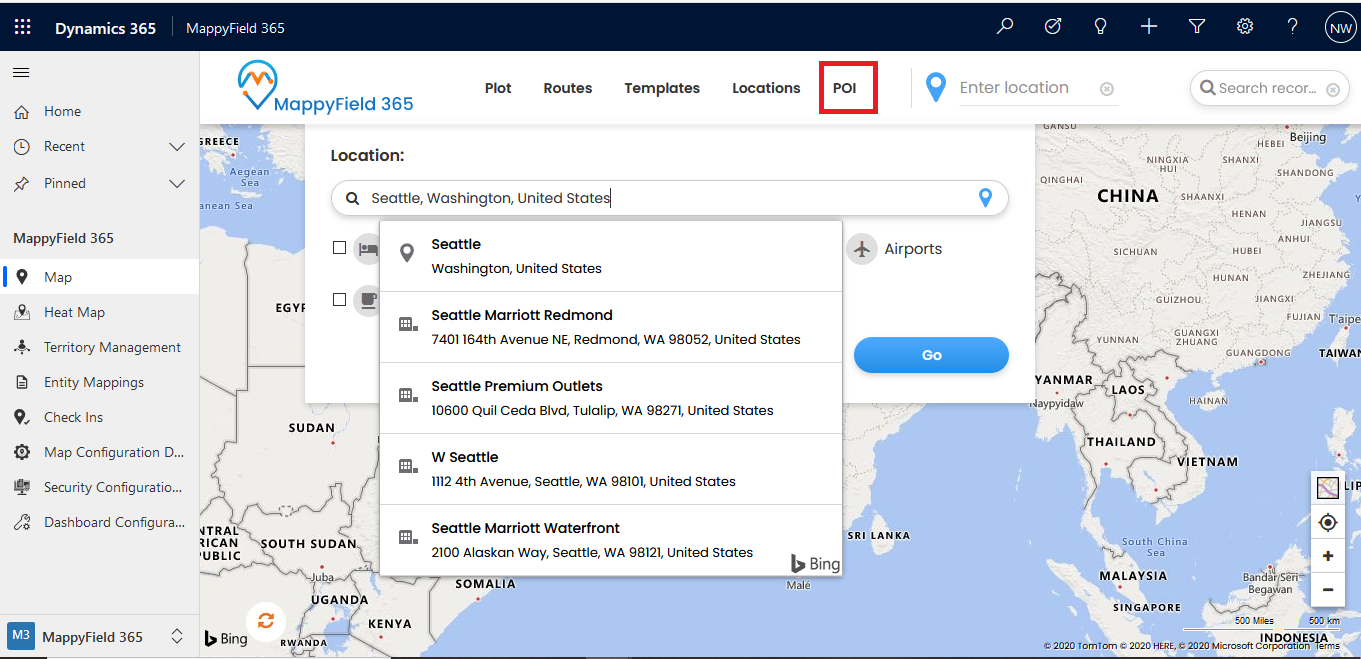
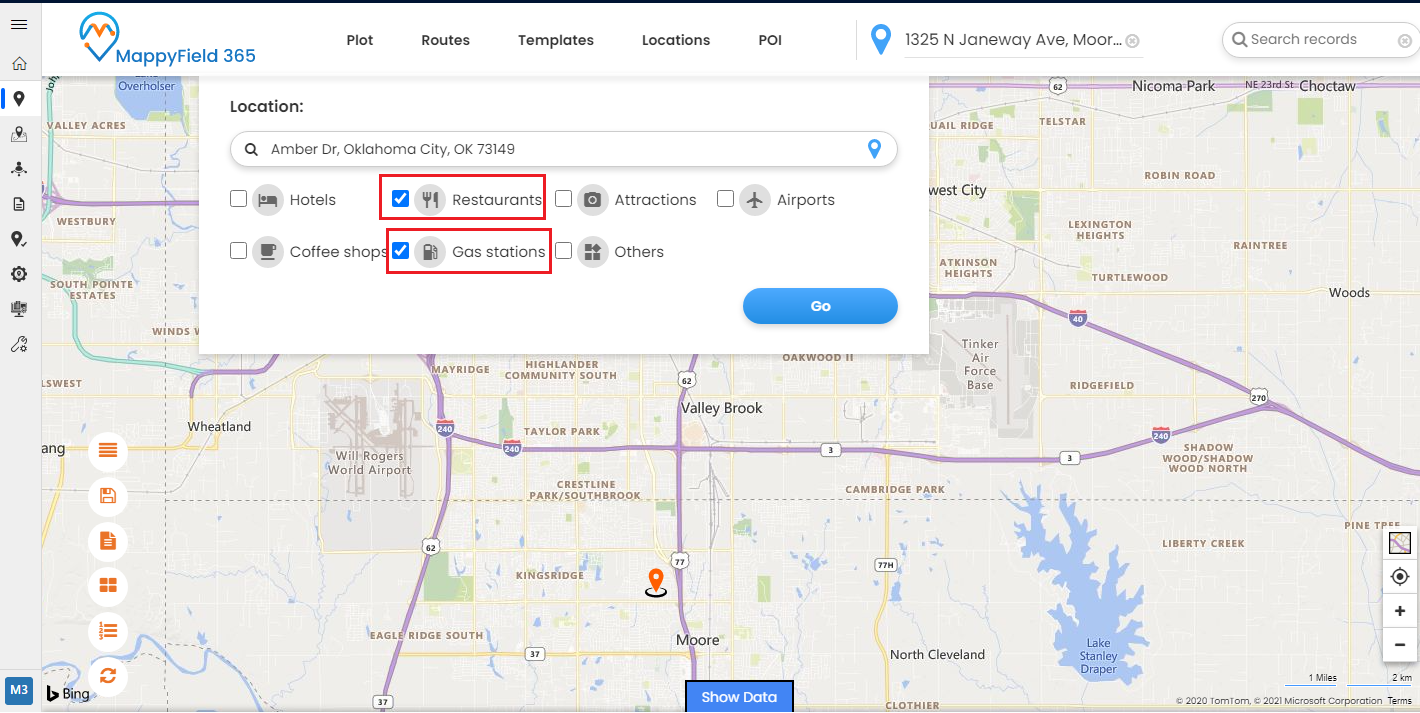
Step 2.1: Open POI tab
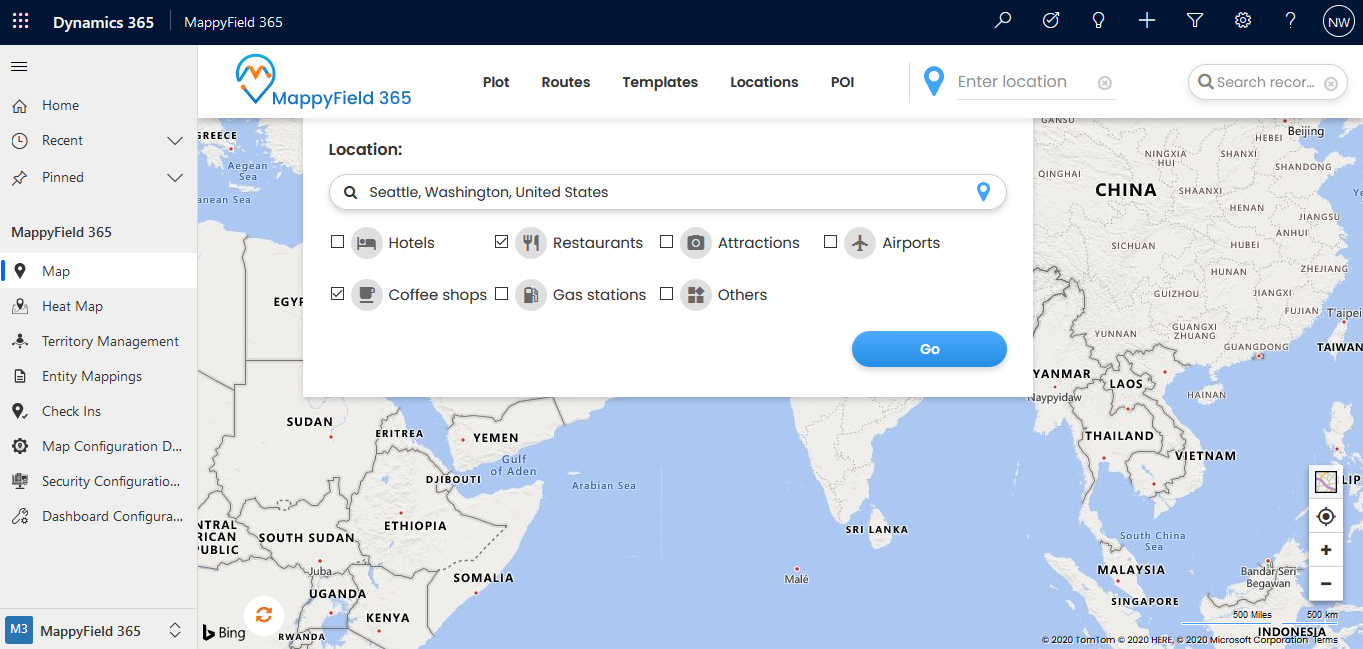
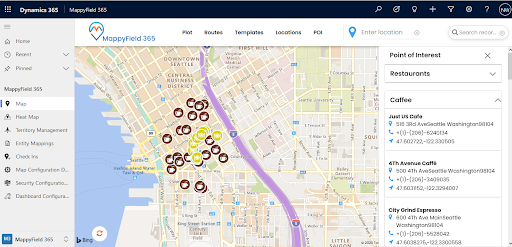
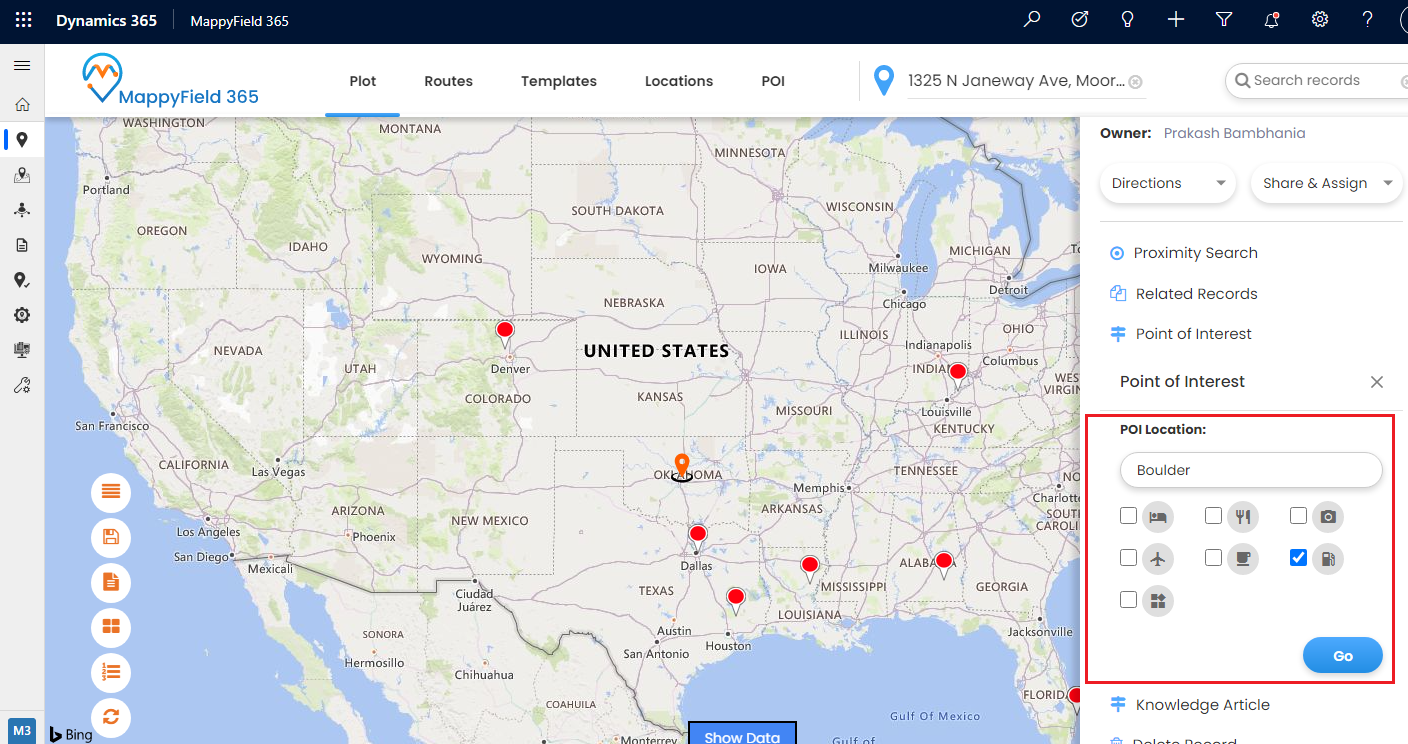
You can search the POI records under the POI tab from the header. By clicking on ‘POI’, the menu will appear from where you can search any Point of Interest location by inserting the specific address.
Location: Enter the address of the specific location for which you want to find POI.
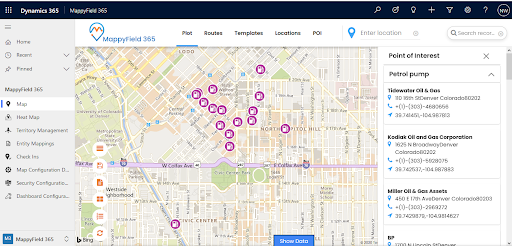
Step 2.2: Search POI nearby any record’s location
Now, plot the records on the map by selecting the CRM entities that are configured from Entity mapping. Under the Plot tab, select the Entity and its Records view. Here the account records are plotted on the map.

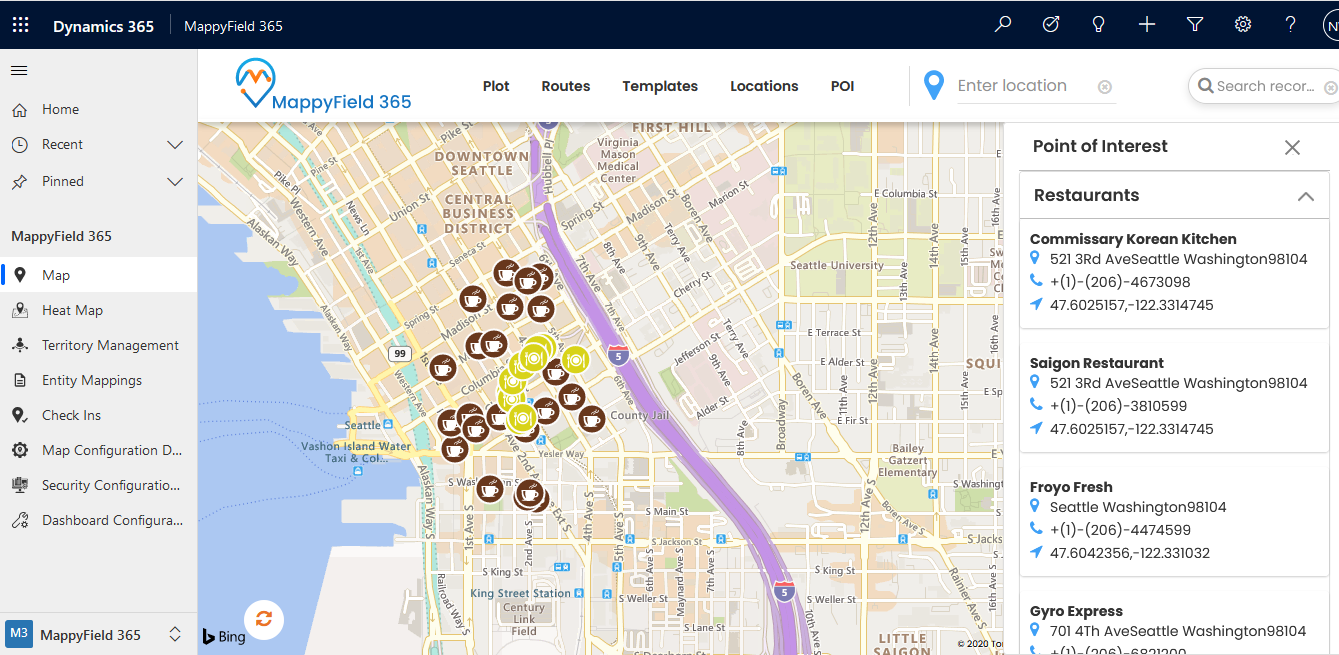
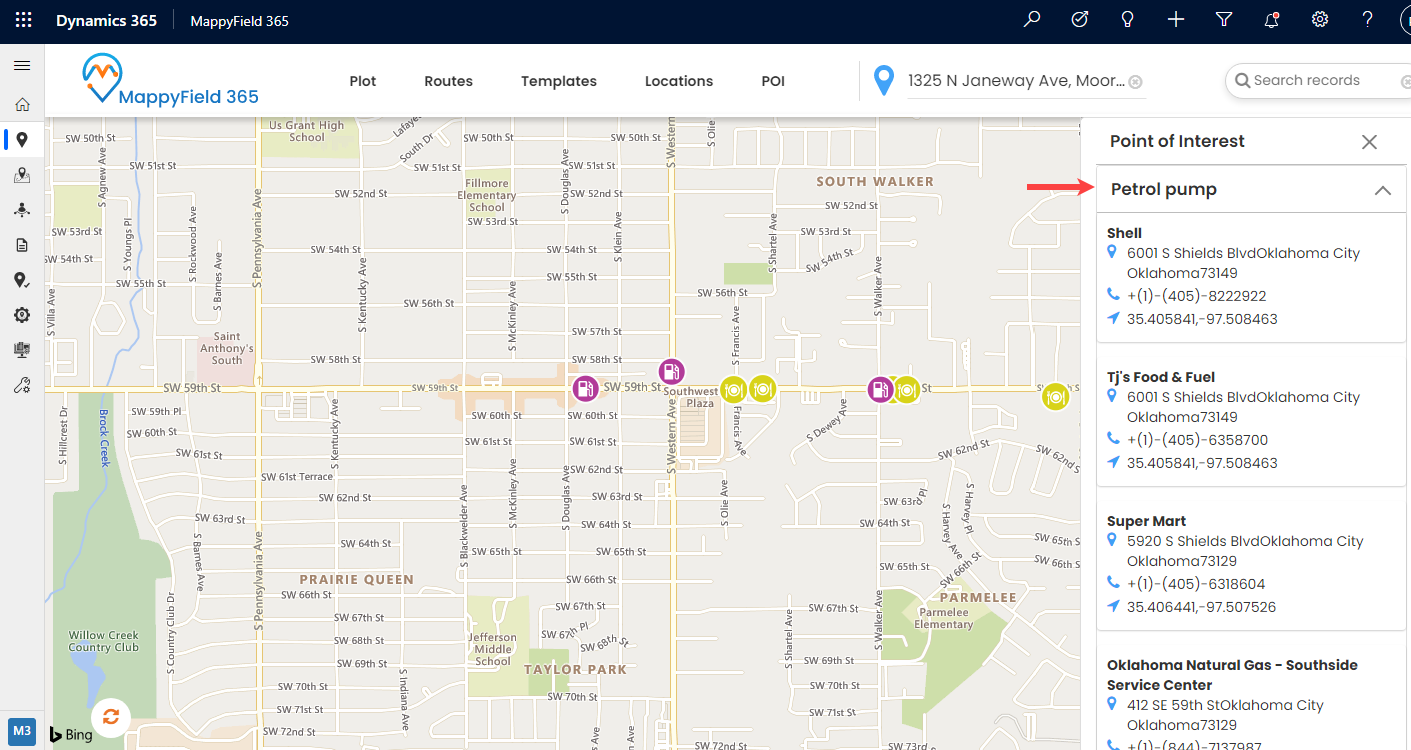
You can see the selected POI locations on the map with address details and contact details.
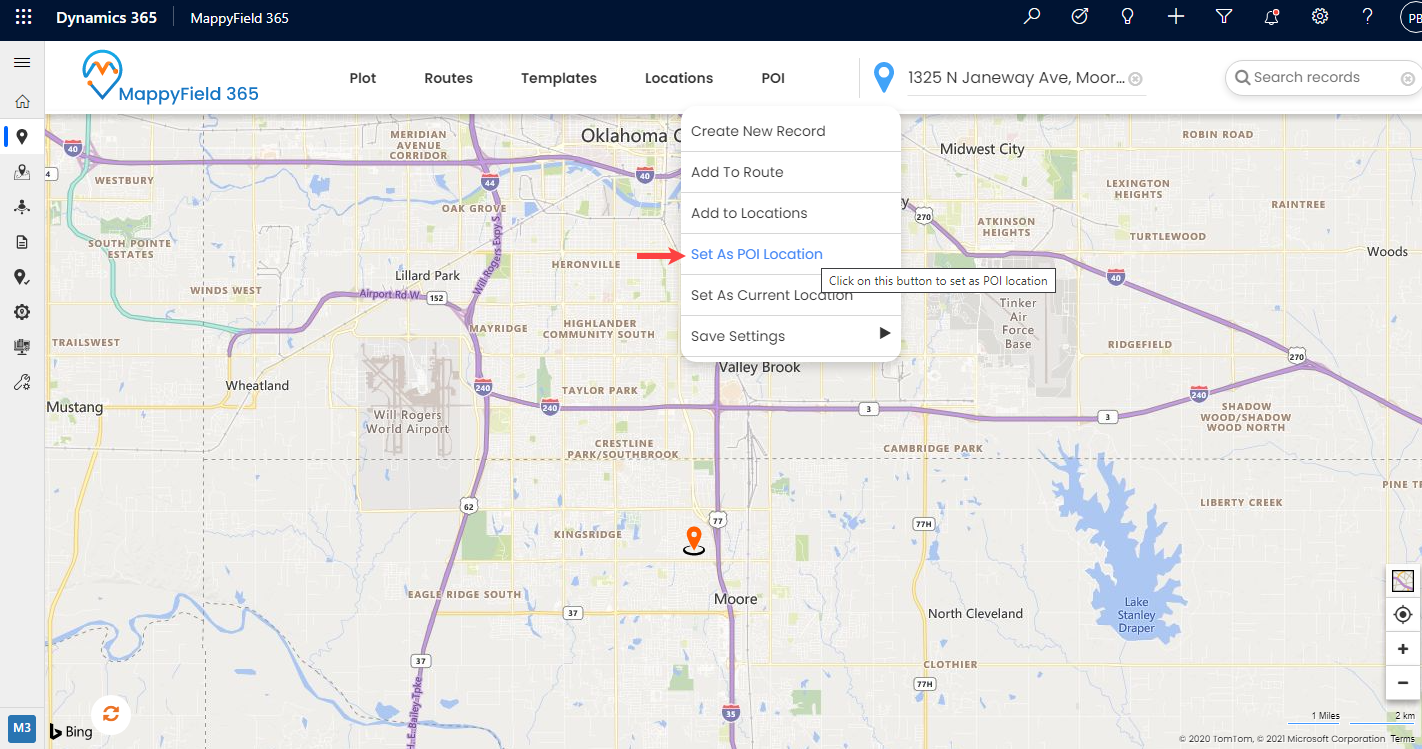
Step 2.3: From the Context menu:
By right-clicking on the map it opens the context menu, from here you will get the ‘Set As POI Location’ option.
After selecting the POI, click on the Go button to plot the selected POI records on the map.
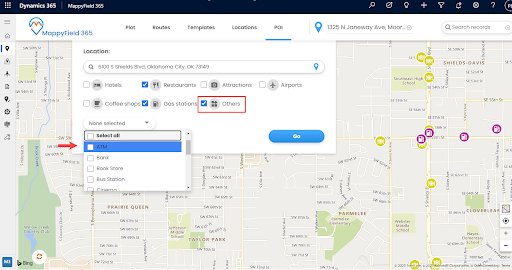
Step 3: Search Other POI on MappyField 365 map
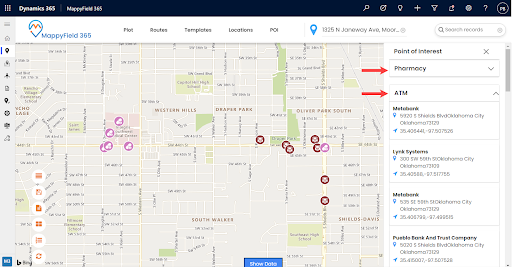
By clicking on “Other”, you will get the list of the POI locations. By selecting any POI from the list, the locations are plotted on the map nearby the selected or added location.
All product and company names are trademarks™, registered® or copyright© trademarks of their respective holders. Use of them does not imply any affiliation with or endorsement by them.


