

A marketing list in Dynamics 365 is a great way to zero in on a particular group of the targeted audiences for better conversion. These lists keep you focused and get you better results than marketing for an umbrella audience.
So, let’s see how to create a marketing list in Dynamics 365 using a Dynamics CRM map integration. The main advantage of using a map integration to create a marketing list in Dynamics 365 is that it allows you to collaborate with the sales team in real-time which means you get to target hot and warm leads that have better chances of converting into customers.
For demonstration purposes, we’ve taken MappyField 365 in this article. It is a Dynamics 365 mapping tool that is equipped with features like territory management, route optimization, heat map visualization, and more.
Let’s take an example for a better understanding:
Suppose you are a Sales Manager of a mechanical equipment company that sells hydraulic machinery to the manufacturing companies. This hydraulic machinery needs services after some time and your company also provides the AMC (Annual Maintenance Contract).
Now, it is your job to compile the data whose AMC is about to expire and who is interested in the renewal of AMC as well. So, you have to create a marketing list to forward it to the marketing manager so they can create a campaign around this.
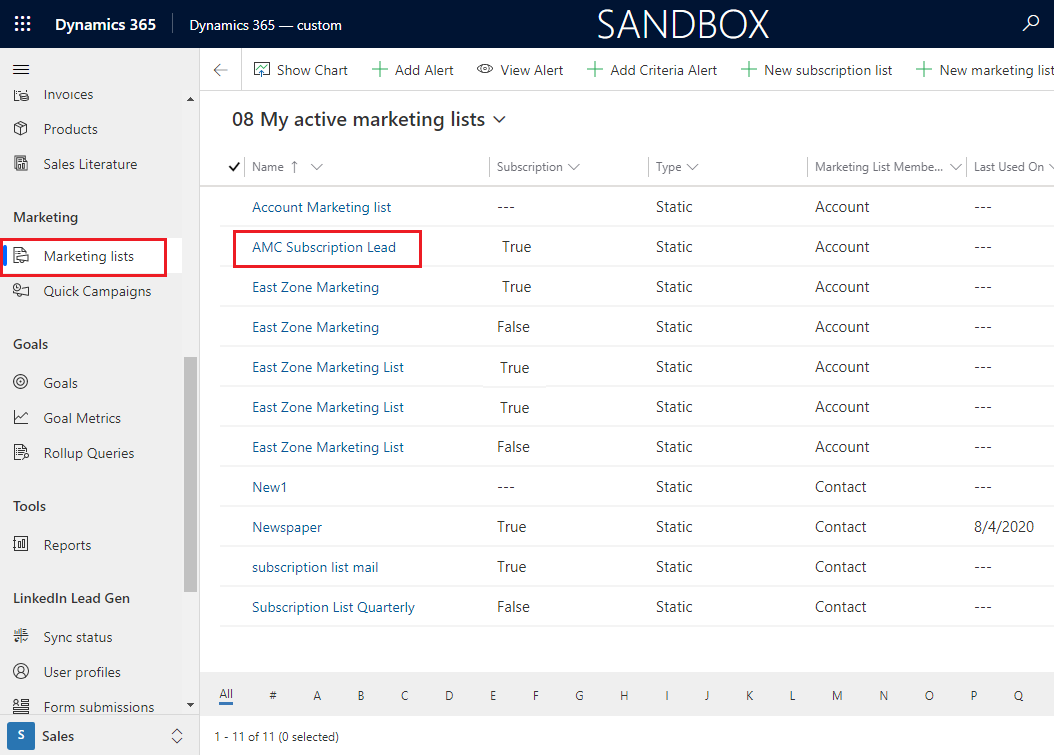
So, now you have to create a marketing list in Dynamics 365 named “AMC Subscription lead”.
Let’s follow the below steps:
- Plot the entity records
- Select a record or add all the plotted records to the marketing list
- Add the record(s) to the existing marketing list or by creating a new list
- Check and manage the Marketing list from the CRM side.
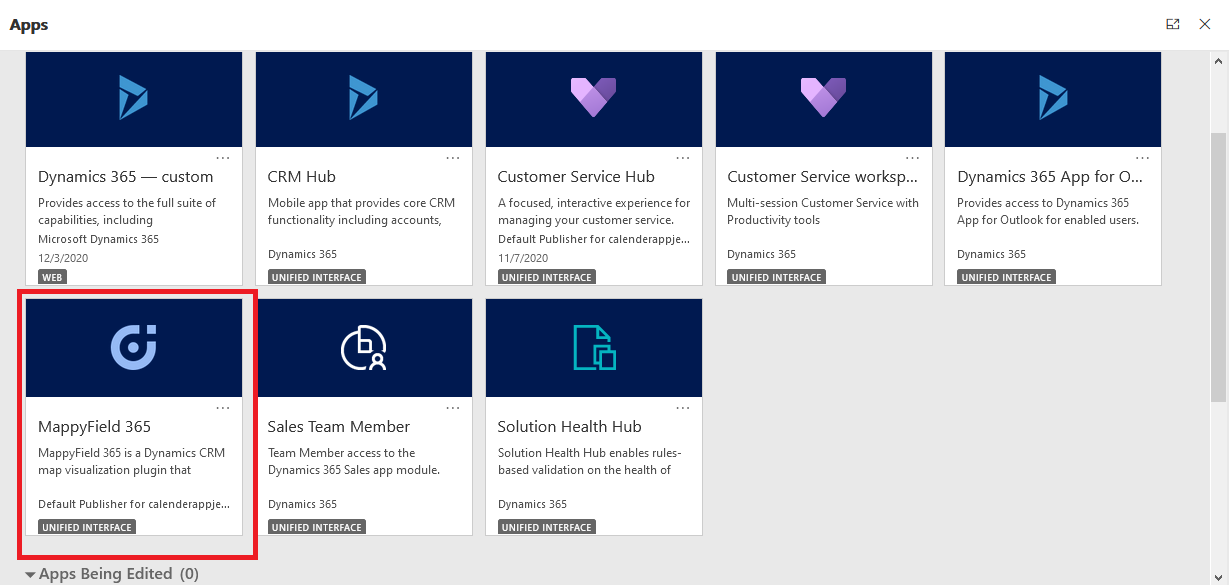
Step 1: Navigate to MappyField 365
After logging into Dynamics 365, click on “MappyField 365” from the Dynamics 365 apps dashboard.
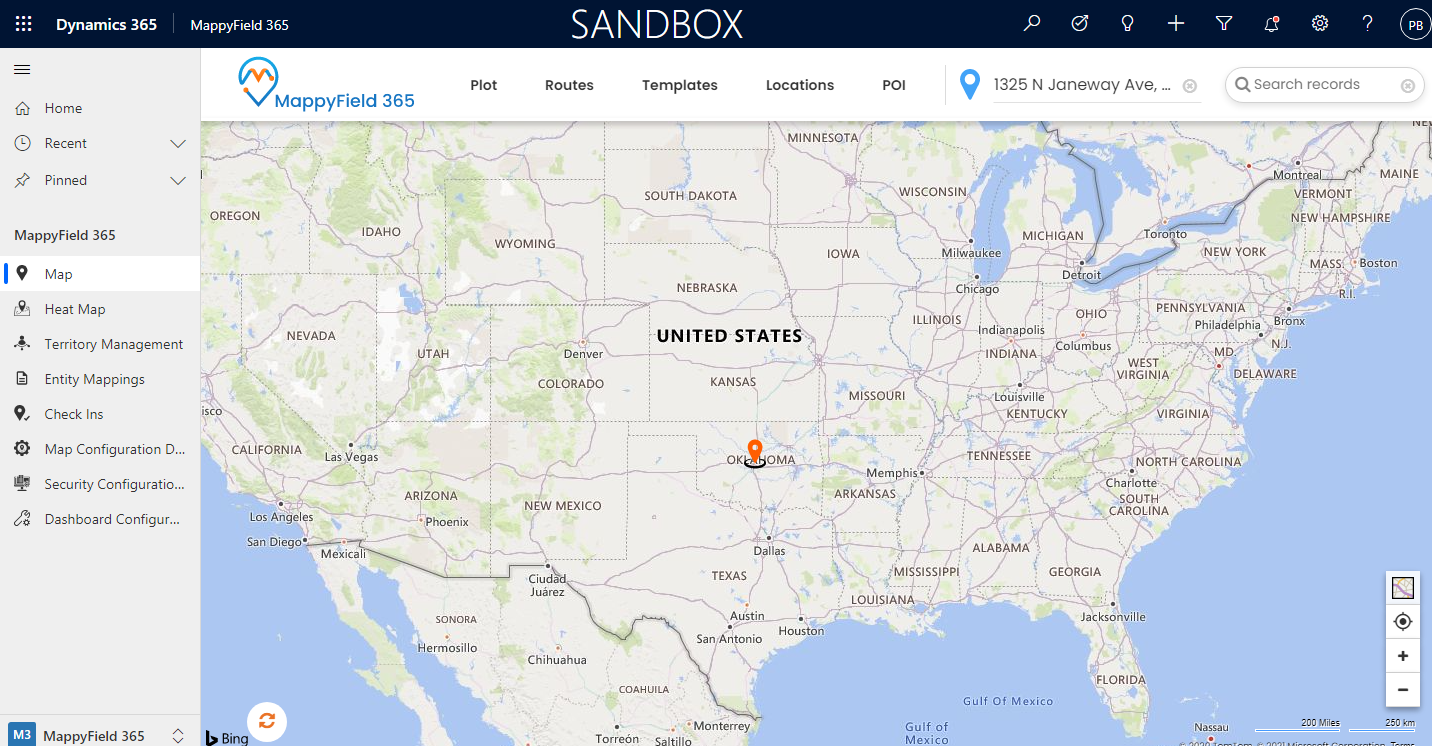
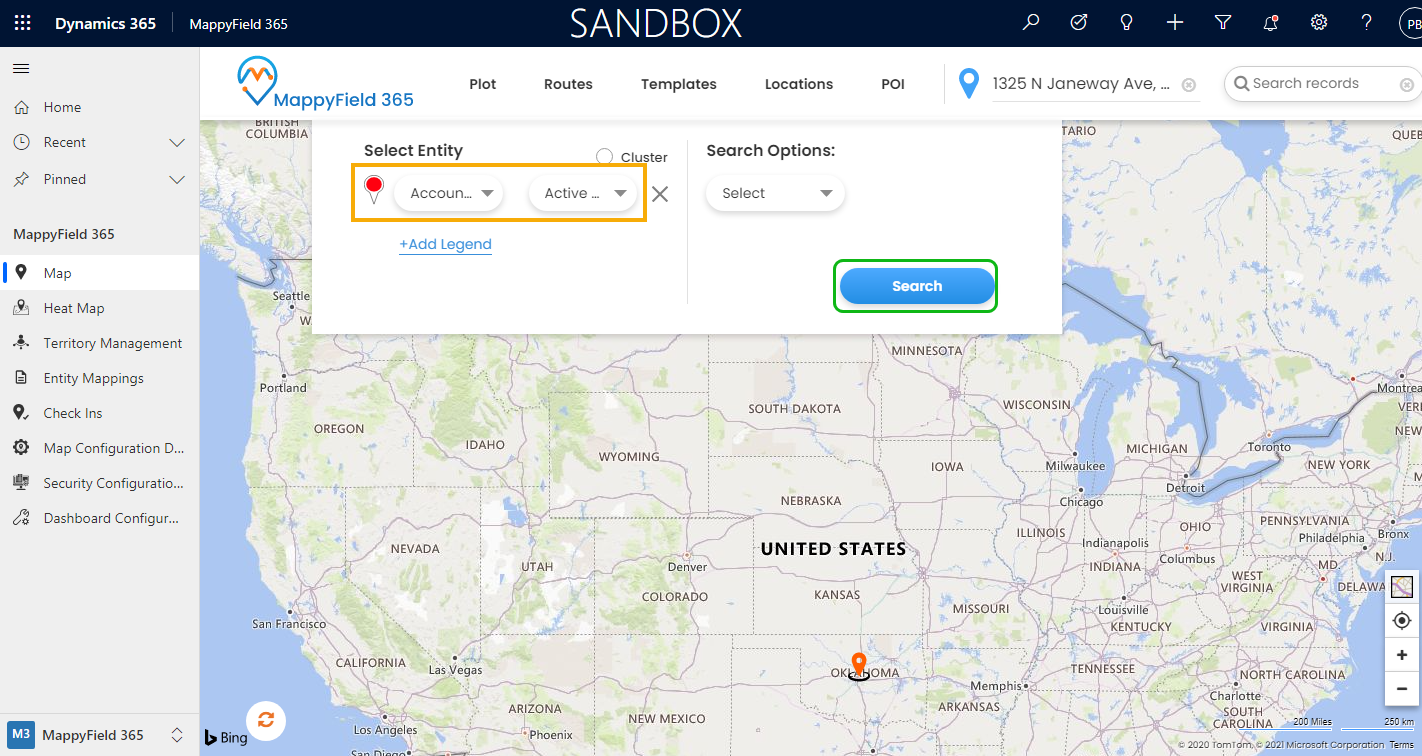
Step 2: Plot records on MappyField 365 map
Now, plot the records on the map by selecting the CRM entities that are configured from Entity mappings. Under the Plot tab, select the Entity and its Records view.
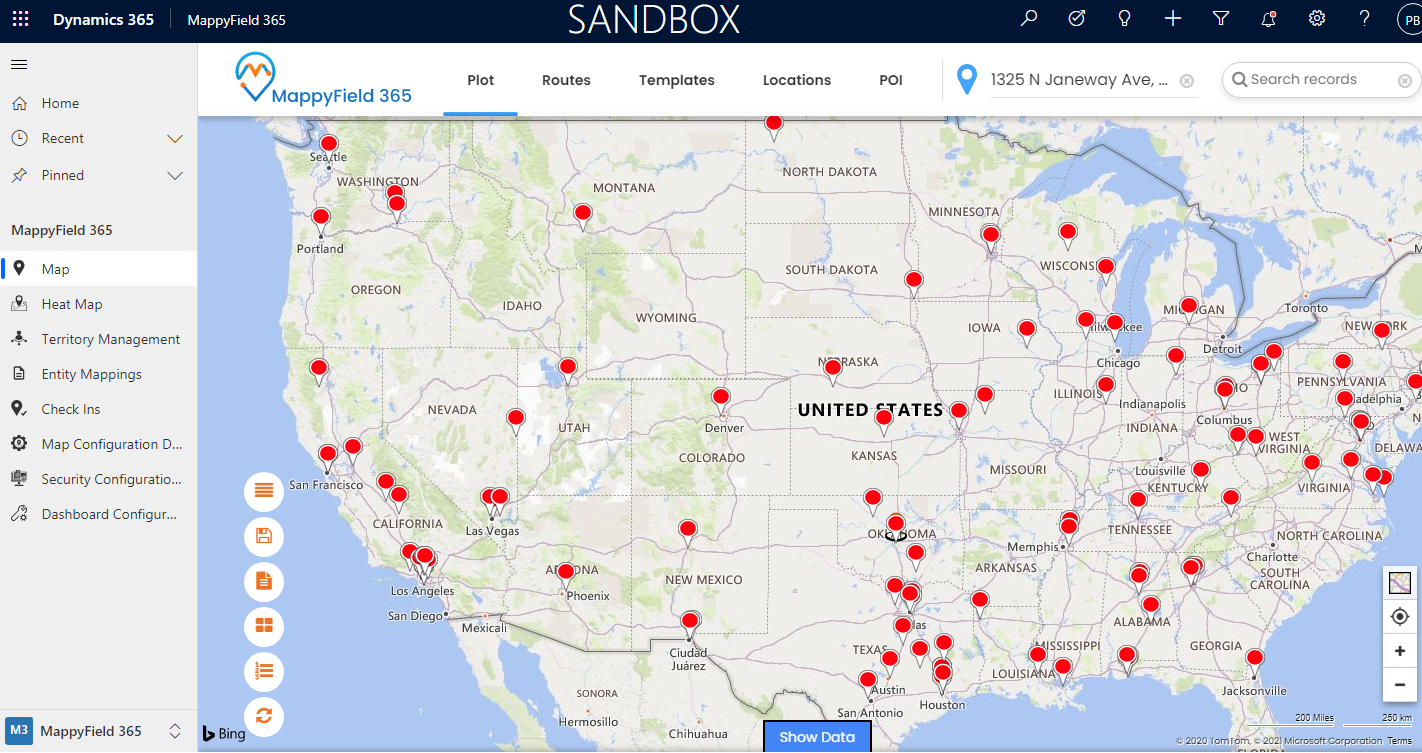
Step 3: Assign the entity record to the marketing list
Here, you can add a single entity record to the marketing list or you can add all the plotted records of the selected entity to the marketing list.
Note: As per Dynamics CRM guidelines, you can add the records of only Accounts, Contacts, and Leads entities to the Marketing List.
Step 3(A): Assign a single record to the marketing list.
Suppose, if you found a manufacturing company that belongs to “New Mexico” state whose yearly free maintenance service is about to expire next week. So, you want to add this record into the “AMC Subscription lead”.
To add that record, click on the pushpin and a detailed slider with the record details and the actions will appear on the right side.
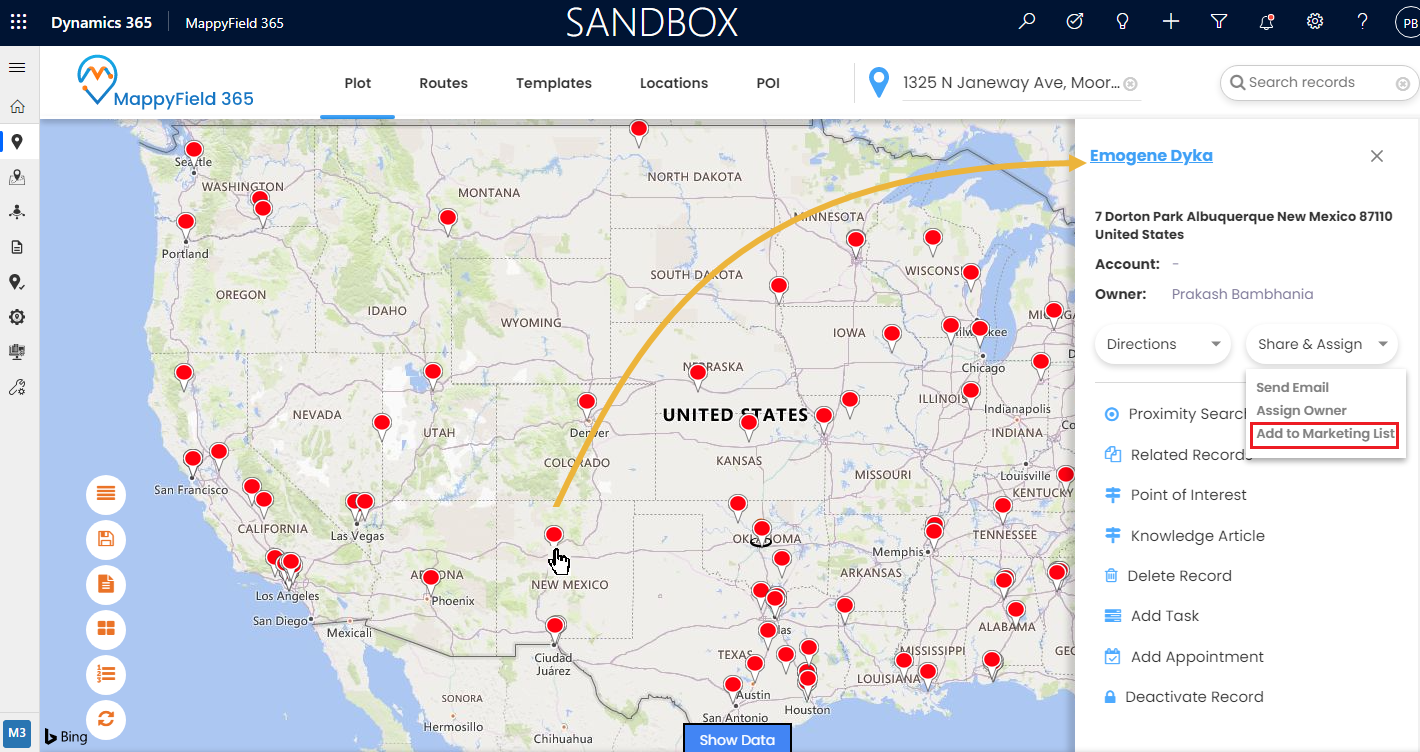
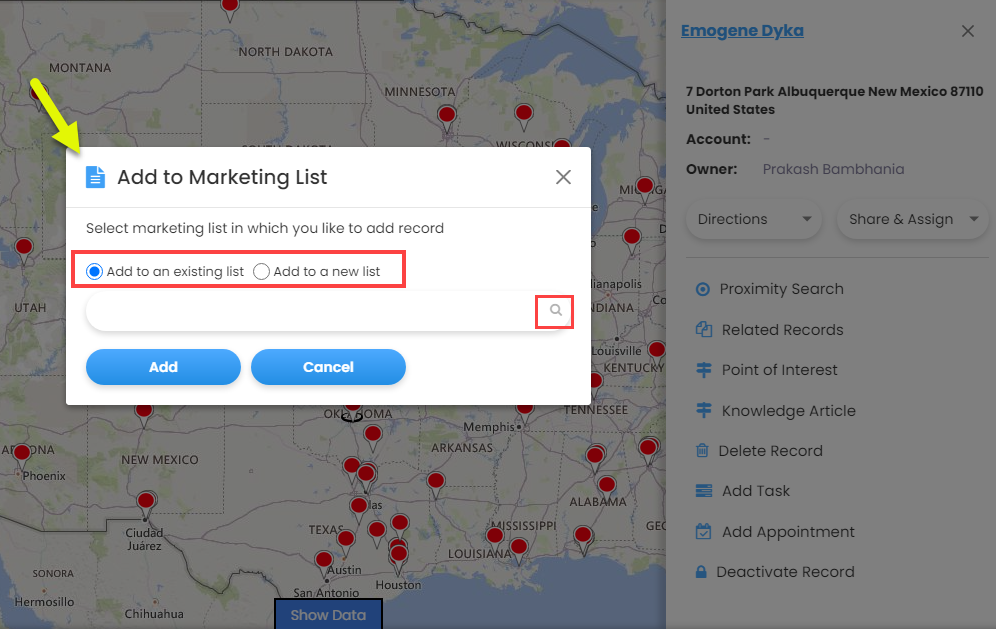
By clicking on the Add to Marketing List, the ‘Add to Marketing List’ pop-up will open. You will find two different options: 1. Add to an existing list, 2. Add to a new list.
1. Add to an Existing List: This option allows you to add a record to an existing marketing list.
By clicking on the ‘search’ icon, the ‘Lookup Records’ will open from where you can select a list from the existing marketing lists.
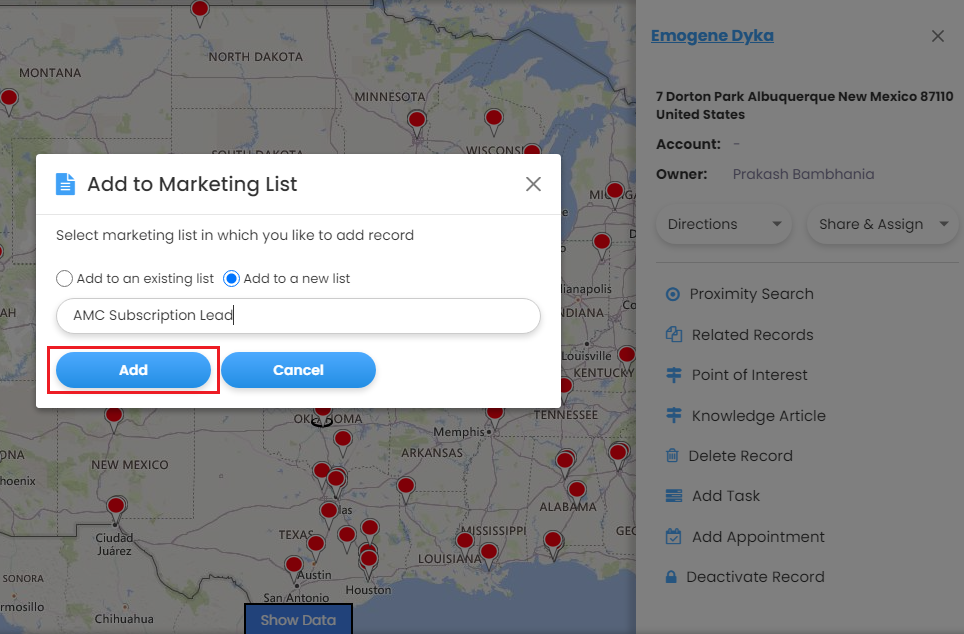
2. Add to a new list: This option allows you to create your new marketing list.
After you’ve selected this option, you’ll have to name the list as we have in the image below.
Step 3(B): Assign multiple records to the marketing list.
MappyField 365 also provides the facility to add all the entity records which are plotted on the map.
For that, from the advanced options, the ‘Marketing List’ option is provided to add the plotted records to the marketing list. By clicking on the icon, you will get the ‘Add to Marketing List’ popup.
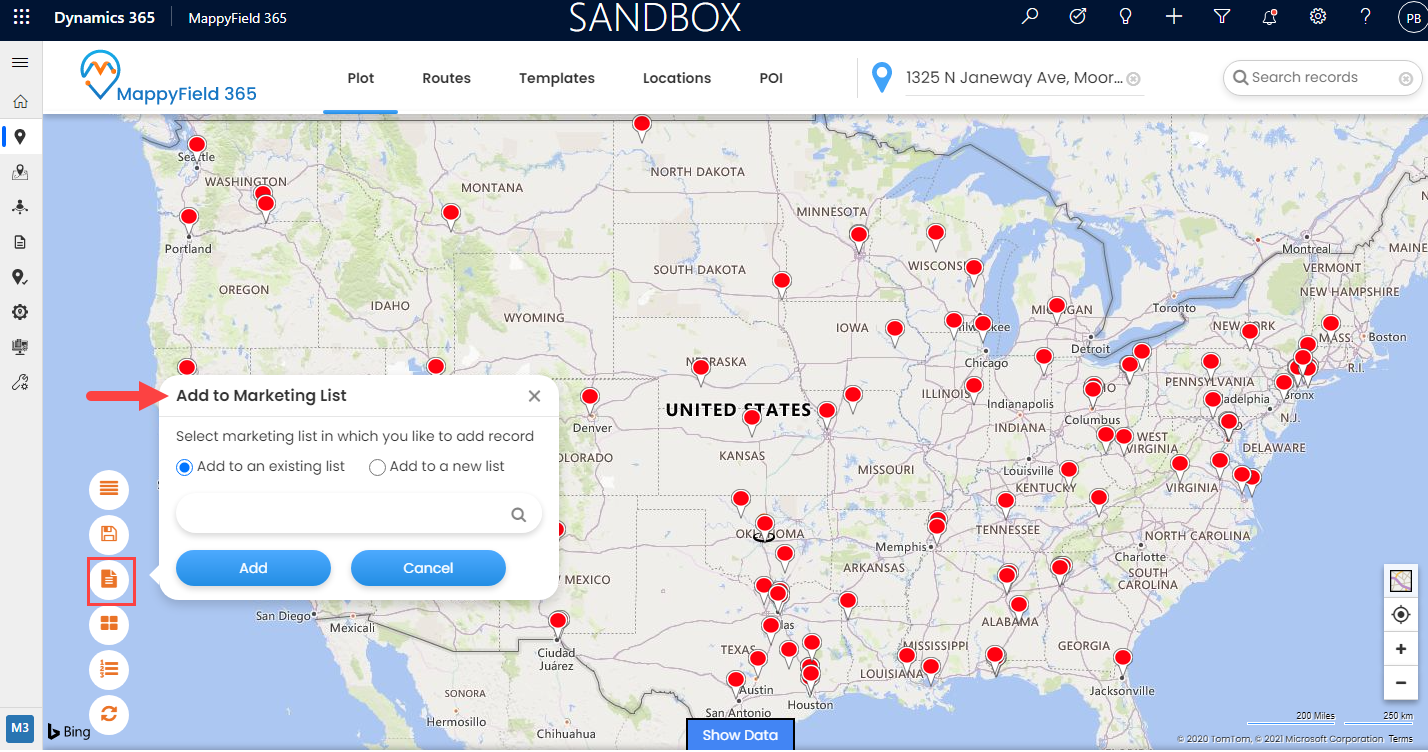
Note: You can only add bulk records of one entity and one view to the marketing list at a time.
Step 4: Edit and manage the Marketing list from the CRM
You can manage the added or existing marketing list individually by navigating to the Sales → Marketing lists.
In this way, the sales manager can create and manage the marketing list to perform the different activities.
All product and company names are trademarks™, registered® or copyright© trademarks of their respective holders. Use of them does not imply any affiliation with or endorsement by them.


