

As a field/sales manager you have to define areas and regions to manage the territories for your sales reps or executives. Based on the geographical area distribution, your on-field sales team schedules and manages the work.
Ex. A pharma product distributor wants to collect the requirement of the medicines from the various pharma/medical stores located all over a city. So, the manager needs to bifurcate the area based on the location of the stores among the medical reps.
Doing this on paper or manually, keeping track of the work, etc. can be taxing. But there’s a better way to do things if you have Dynamics 365. The first step would be to choose a Dynamics CRM map integration that suits your requirements — this integration not only helps with territory management but also helps smoothen the entire sales operations. Choose wisely. You can check out some map integrations on MS AppSource.
Once you have a map integration in your Dynamics 365, you can perform shape operations to create and assign territories.
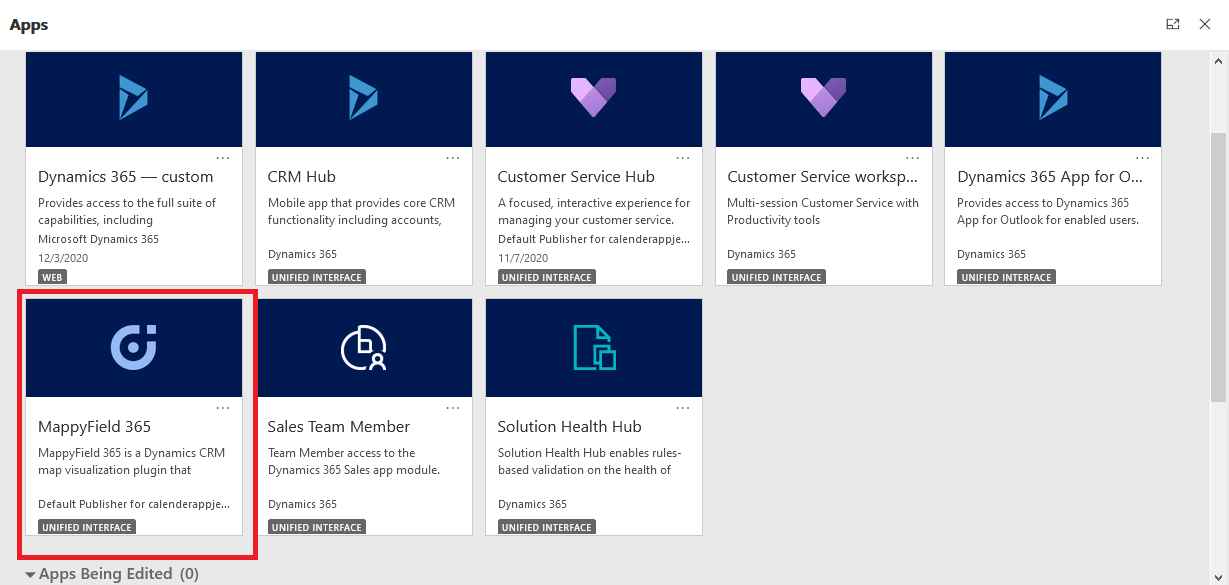
For demonstration purposes, we’ve taken MappyField 365 in this blog.
In the MappyField 365, being an administrator or manager, you can easily manage multiple areas by creating and managing the Territory using different search options, drawing tools, and performing different shape operations.
Let’s see how you can do the same from Dynamics 365:
– Navigate to Territory Management of the MappyField 365 map
– Select the Drawing Options
– Perform the Shape operation as per requirement
– Save the territory by creating a new one or in existing one
Step 1: Navigate to MappyField 365
After logging into Dynamics 365, click on “MappyField 365” from the Dynamics 365 apps dashboard.
The map will load with the default location and other default configurations based on the user.
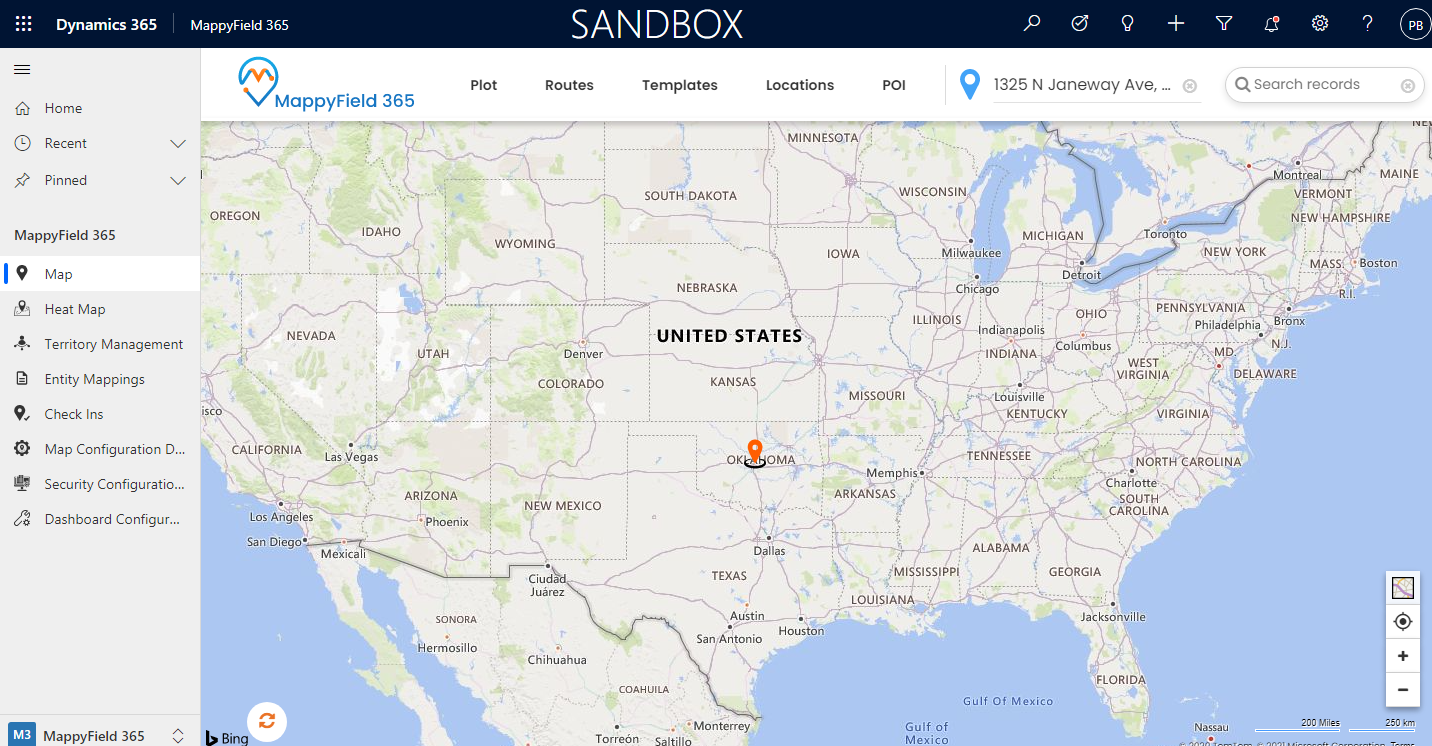
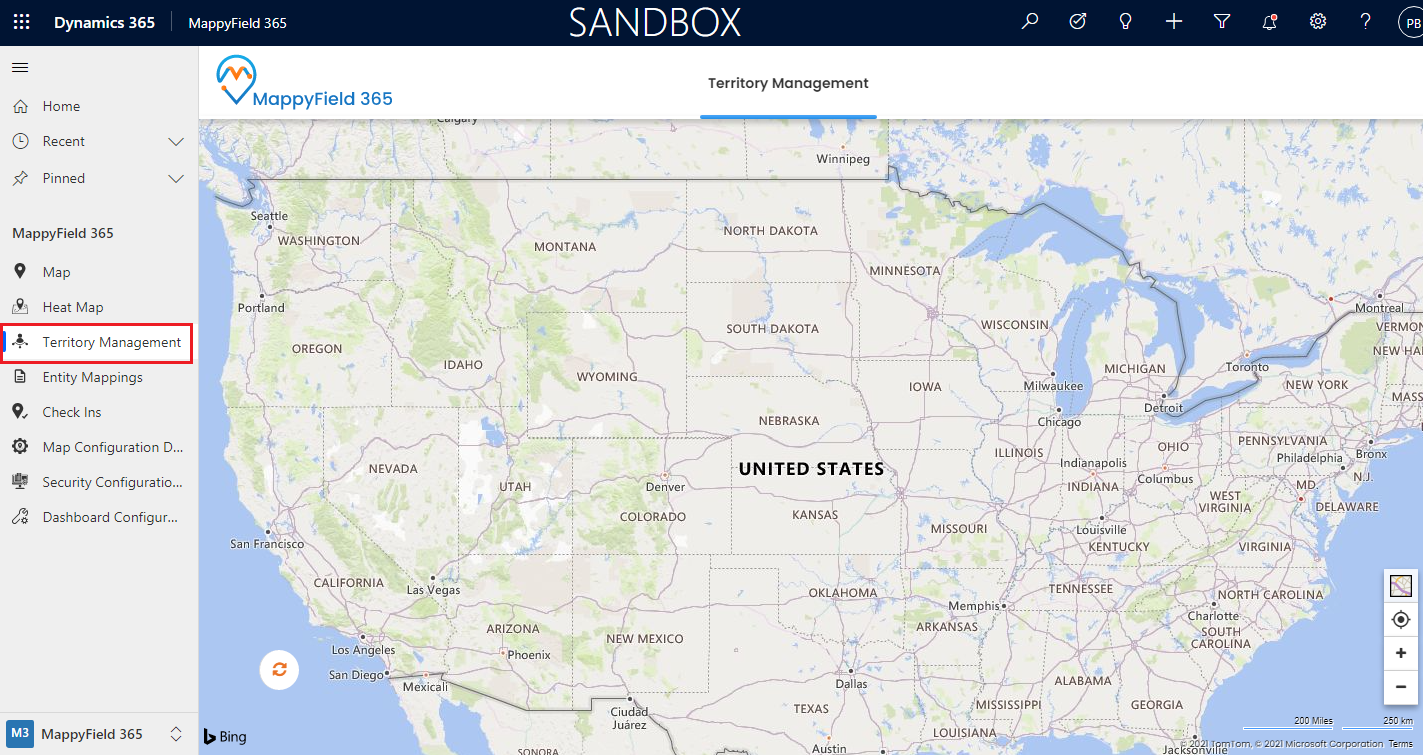
By clicking on “Territory Management” from MappyField 365 navigation pane on the left, you will navigate to the Territory Management from where you can create and manage the areas geographically.
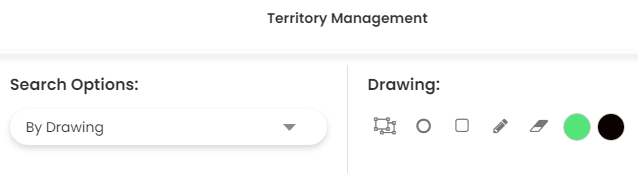
Step 2: Select ‘By Drawing’ Search Options
From the ‘Territory, Management’, you can define and create the territory by drawing specific shapes to cover areas geographically.
– Select the ‘By Drawing’ option in Search Options.
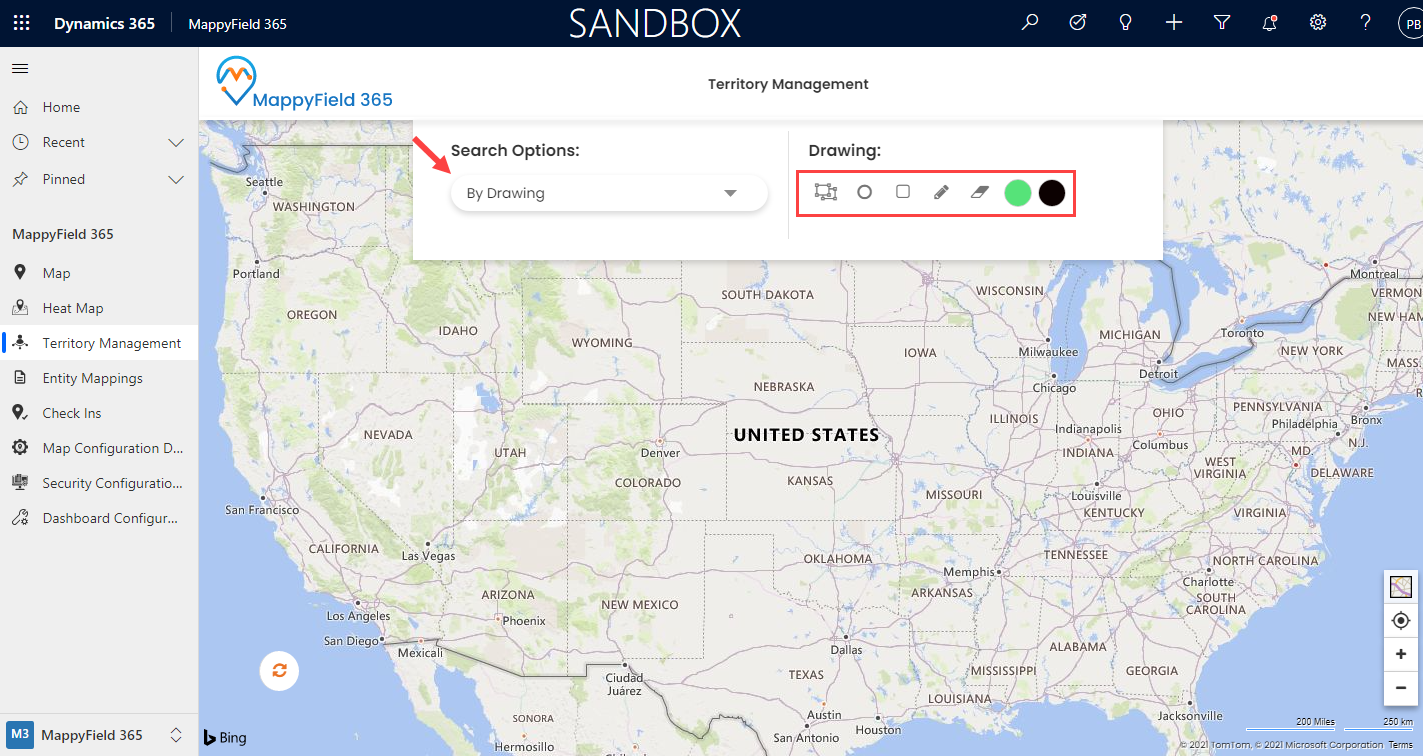
– As you select the ‘By Drawing’ option, the drawing tool will be enabled using which you can draw any shapes you want like Polygon, Circle, and Square.
– By selecting the Polygon shape, click on the map from where you want to start the geographical area and drag the mouse cursor over the areas you want to cover till the ending point to create a polygon shape.
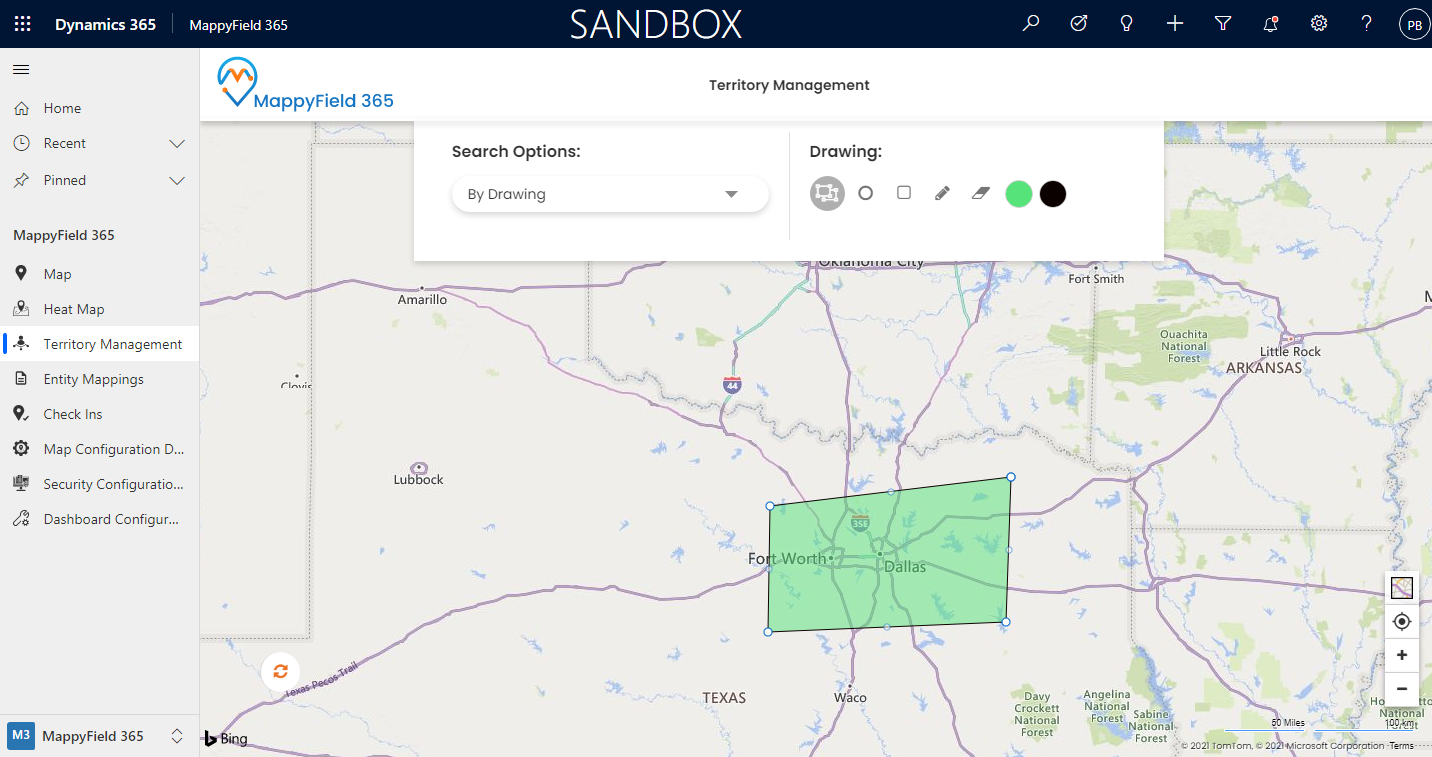
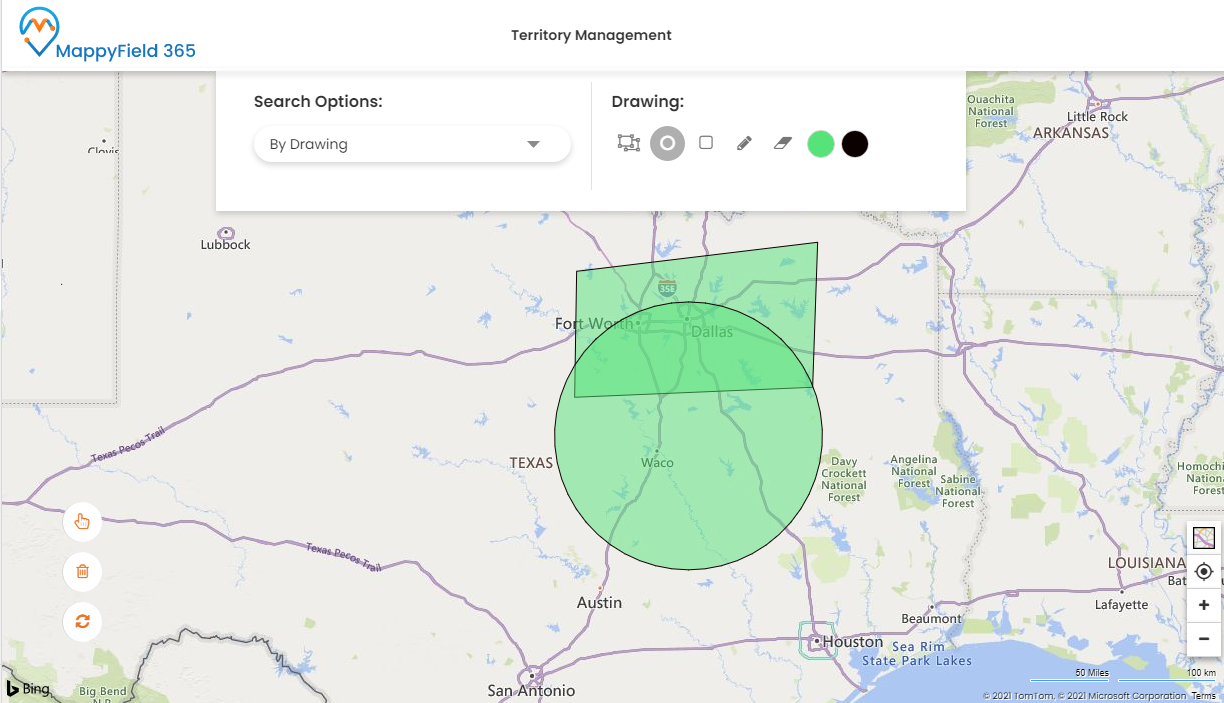
– Similarly, you can cover the area using Circle & Rectangle.
– Here some areas of Texas state are covered using a polygon and a circle.
– You can move the shape and increase/decrease the area of the territory by clicking on the ‘edit’ icon. You can also remove the drawn shape by selecting the erase icon.
– You can change the ‘fill color’ and the ‘outline color’ of the shape as well.
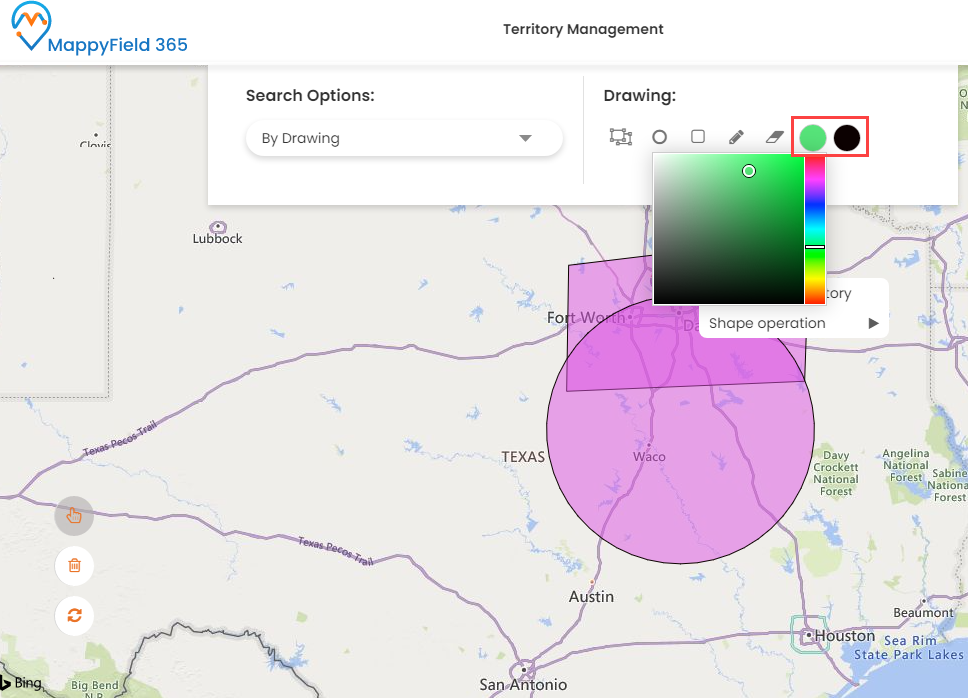
Step 3: Select Shape areas and right-clicking on them
First, select both the shapes by clicking on the selection option from the top-right corner.
After selecting both the shapes, right-click on the selection and you will get the two options:
– Create New Territory
– Shape operations
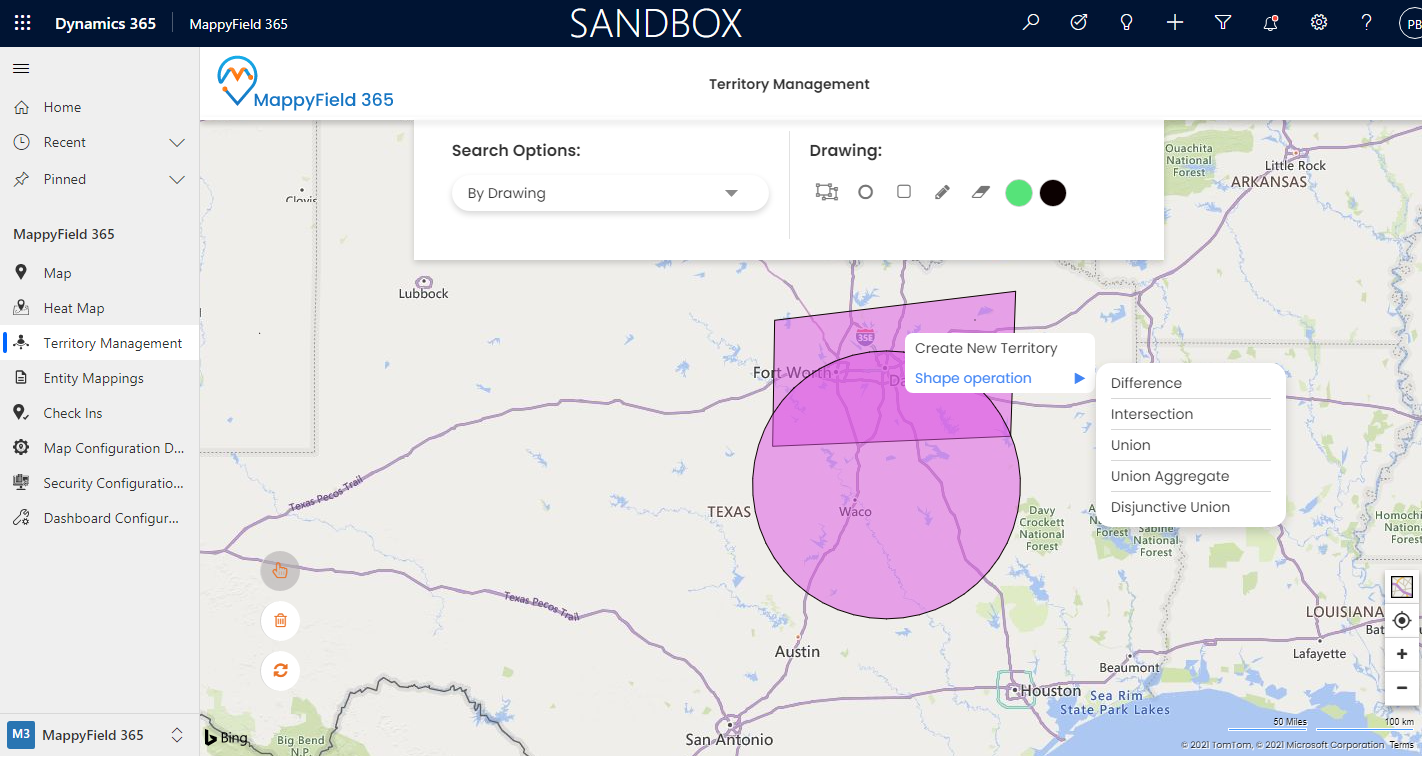
– By moving the cursor on the ‘Shape operation’, you will get the following operations to perform: Union, Intersection, Union Aggregate, and Disjunctive Union.
– You can perform any binary operations as per requirement and manage the territories based on that.
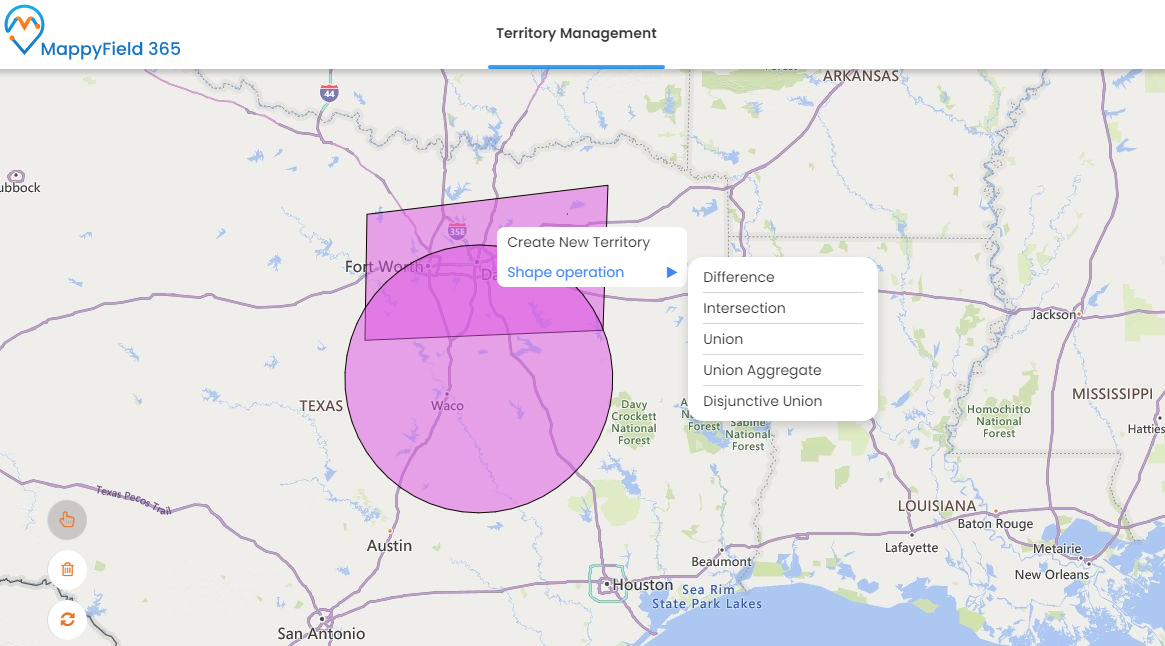
– You can select the operation based on the way you want to manage that territory.
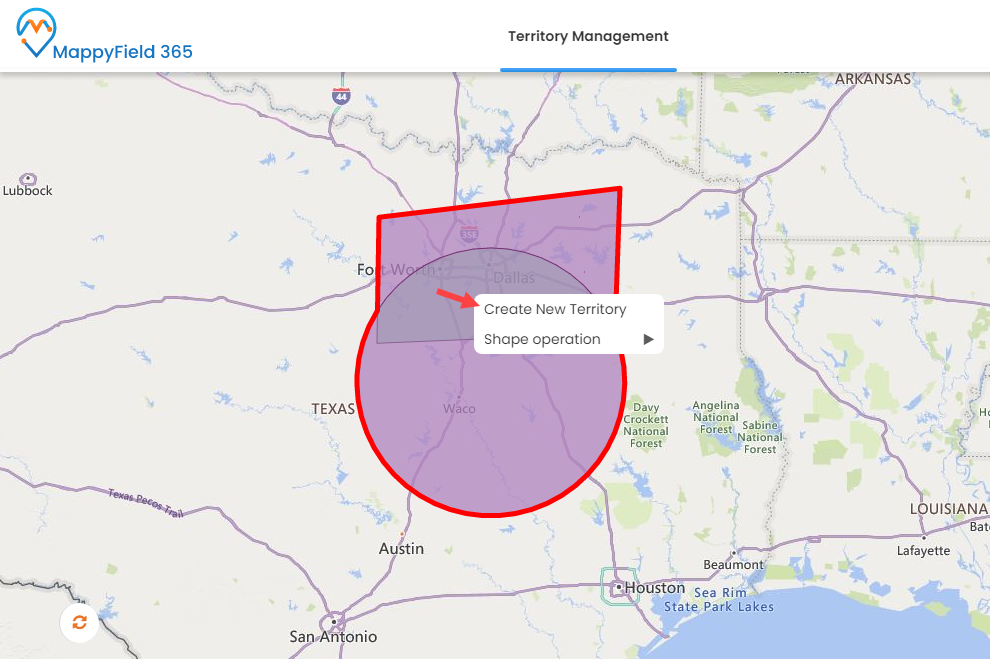
– Using the ‘Union’ operation, you can combine both the areas and save the result of shape operation as a new territory.
– Right-click on the combined shape and click on the ‘Create New Territory’ option.
– By clicking on the ‘Create New Territory’ option, you will get a popup to save the territory details with its name and assign the responsible person (i.e. Sales Manager).
OR
– You can also add to the existing territory where you will find the list of existing territories.
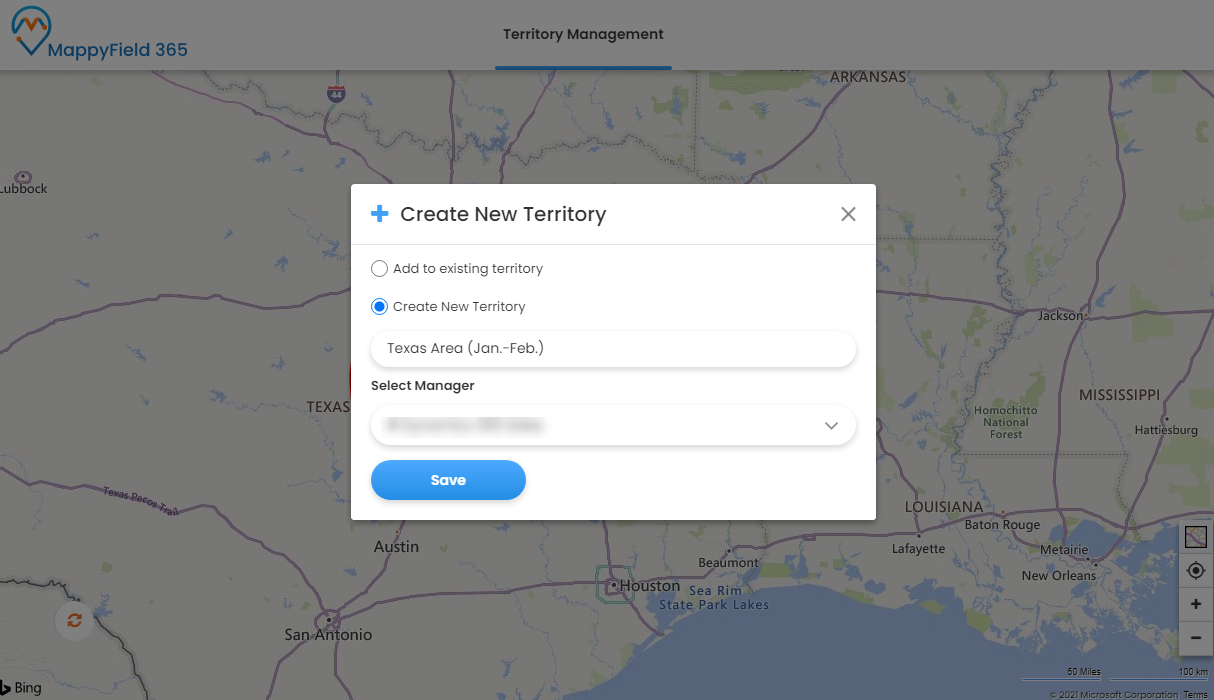
– By clicking on the Save button, the territory will be created or added in the existing as per the selection.
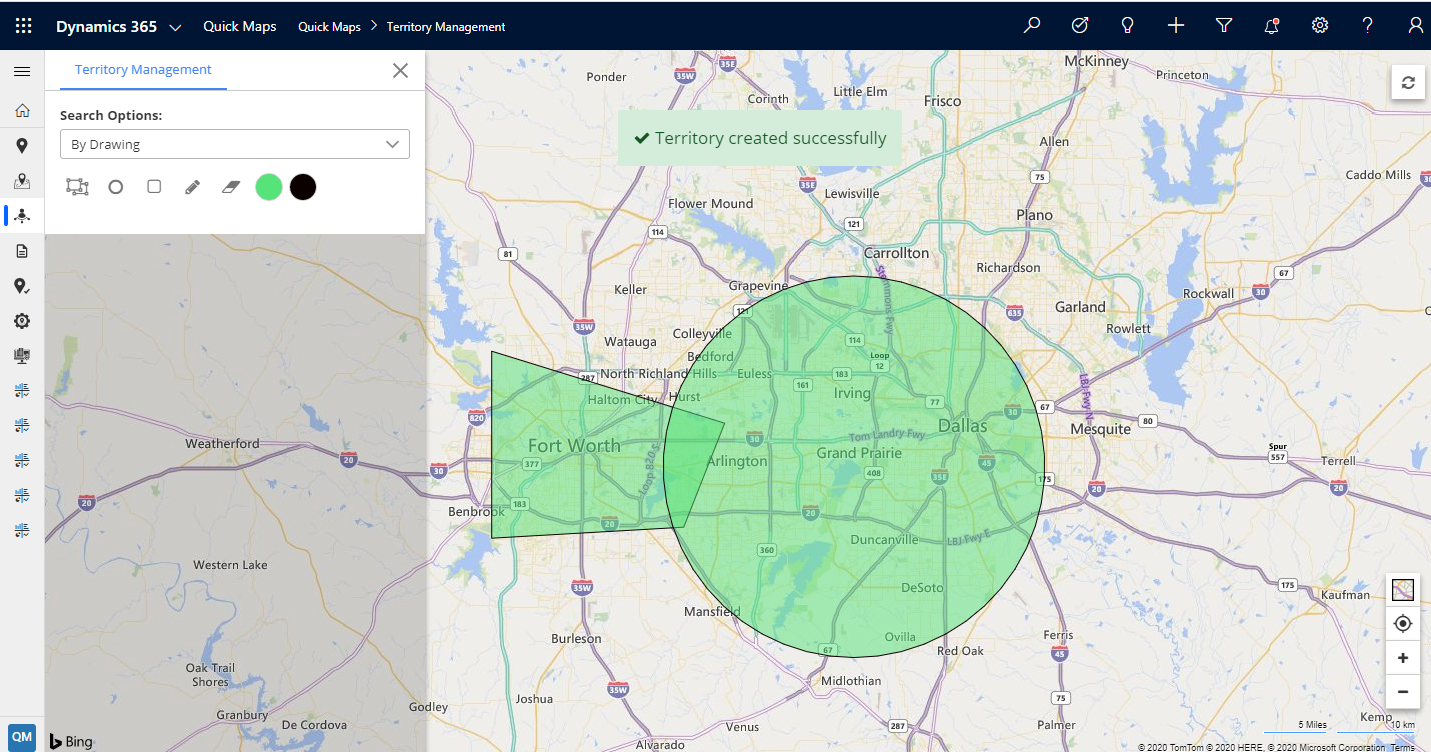
You will find the created territories on the Map when you want to plot the data of any entity using the Territory. You can also find the Territory Management when you select the Territory in the search options.
This way you manage your territories within a few clicks and streamline your sales operations.
Using the Dynamics CRM map integration, AppJetty MappyField 365, you can manage the territories by performing the different binary operations on the selected areas.
All product and company names are trademarks™, registered® or copyright© trademarks of their respective holders. Use of them does not imply any affiliation with or endorsement by them.


