

Managing activities based on the region or area can be challenging for Managers with Dynamics CRM alone. However, it is important to overview sales, marketing, or services based on the different regions & areas.
Microsoft Dynamics 365 provides the Sales territory management from the CRM side. You can manage the specific areas for performing some activities like Sales, Services, Marketing Campaigns, Sales Demo, etc. from the DynamicsCRM Map.
With AppJetty MappyFIeld 365 you can plot your CRM data on the map geographically. Users can get detailed information about their CRM activities as per prospect location on the MappyField 365 map.
MappyFIeld 365 allows you to manage territories in 4-ways: By Region, Drawing, Territory, and File. If you have a shapefile of the specific areas, import the Shapefile to create a Territory on the MappyFIeld 365 map and perform such activities on that shape/region.
This is one of the prominent ways for Dynamics 365 CRM users to plot the records or location on the Map to overlay Dynamics CRM data as well as the metadata included over the geographical boundaries defined by the shape. With the help of .shp, .zip, .kml, or .geojson file types, users can create territory.
Suppose a pharmaceutical company provides Tablets to the government’s primary health care & some of the private hospitals. Being a Manager of distribution, you need to reach out to the supply & demands on an urgent basis.
If you have a Shapefile of those locations, you can create a territory in MappyField 365, import that Shapefile and create a new Territory. So your Medical Representatives can supply the COVID medicines on an urgent basis as per the high priority based on the plotted records on the map.
From the “Territory Management” of the MappyField 365, the users can import the Shapefile and save the territory to plot the records of that Shapefile on the map.
Here are steps to follow:
- Open the MappyField 365
- Navigate to the Territory Management & select the option “By File”
- Select (Import) the Shapefile & create a Territory
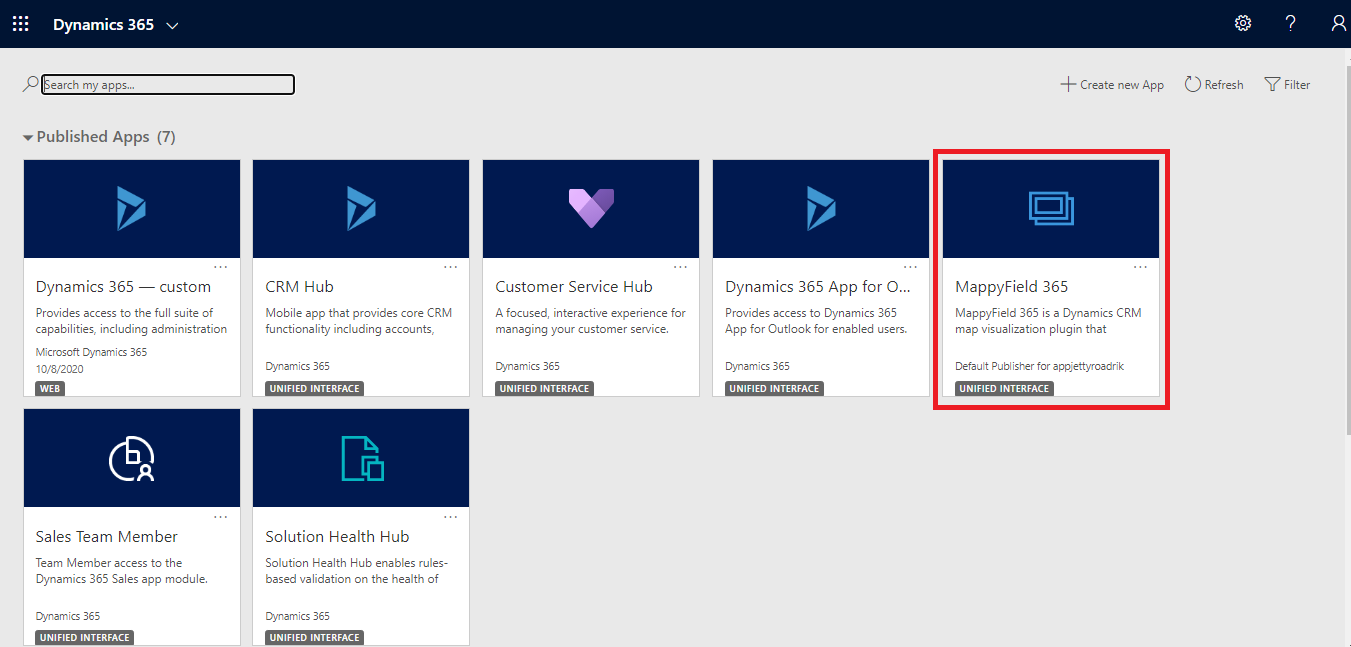
Step 1: Navigate to MappyField 365
Select “MappyField 365” from the Dynamics 365 dashboard or app list from the header.
Step 2: Open Territory Management
Under the “Territory Management”, you can create new territories or manage existing territories directly from the map itself. You can plot regions on a map based on the different search options:
By Region, By Drawing, By Territory, By File.
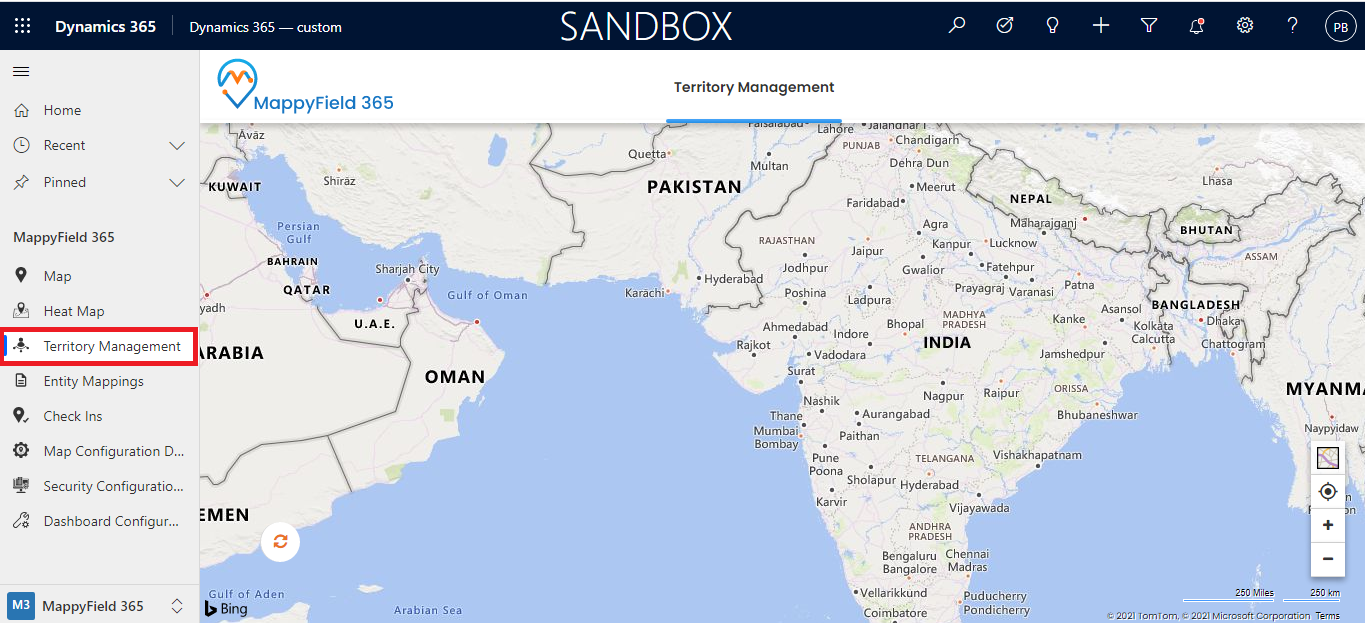
Also, you can plot the existing territories and copy or move them to another as required.
Suppose, being a manager of the Pharmaceutical company, you have a Shapefile to supply the medicines to the Government’s primary health center & some of the private hospitals to reach out to the high demand for medicines.
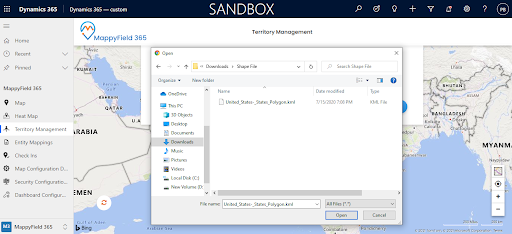
Step 3: Select a Shapefile
Now, under the “Territory Management” of the MappyFIeld 365, select By File in Search Options.
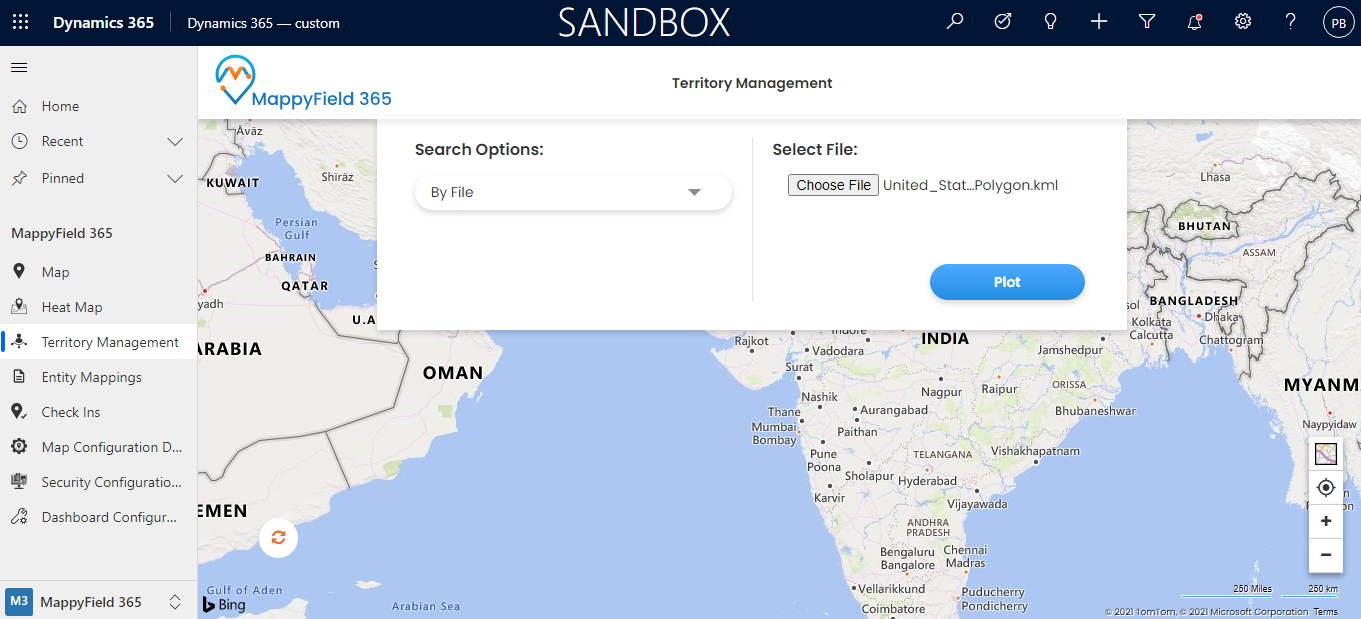
You need to select that Shapefile having .shp, .zip, .kml, or .geojson file type to import on the map.
Once the Shapefile is selected, click on the Plot button and the Shapefile will be plotted on the map.
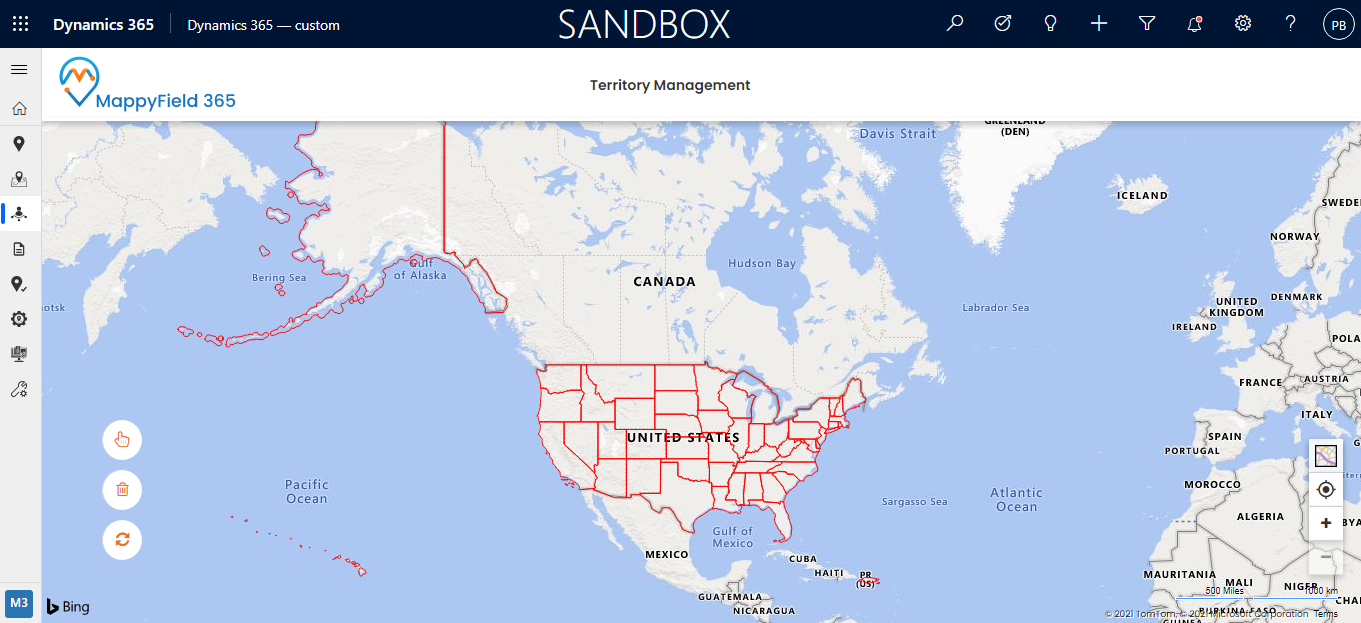
Here, the above image shows the states-wise plotted shapes on the map.
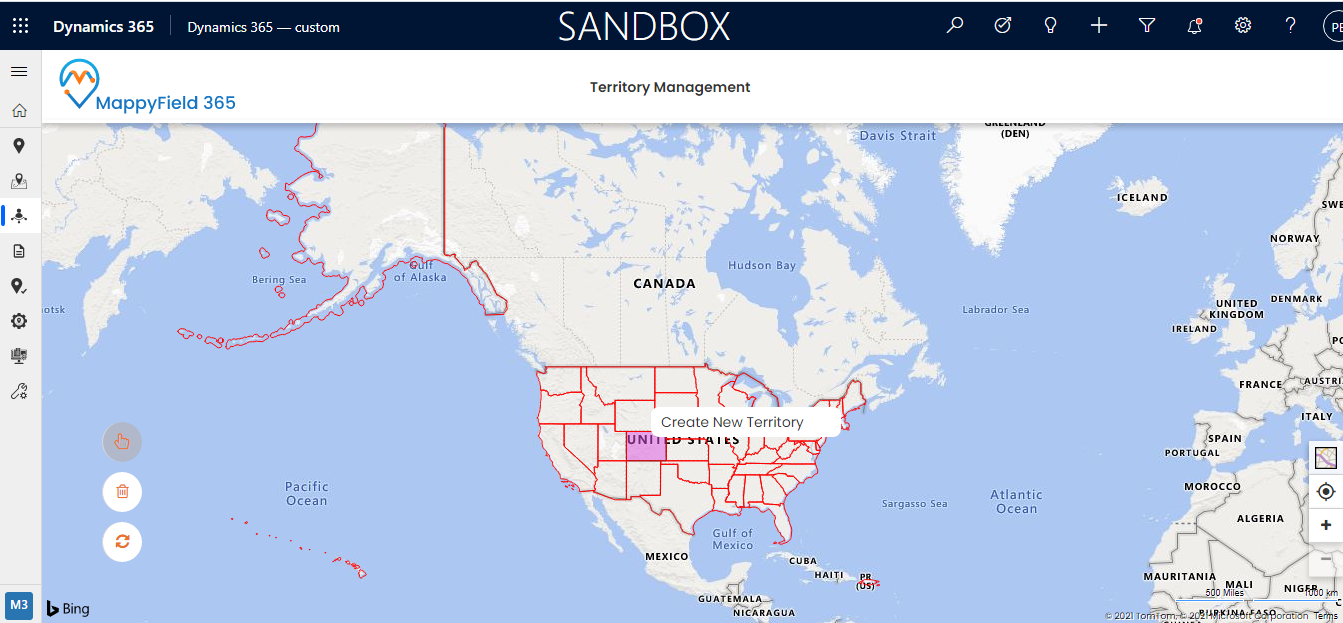
Now, you can create a territory where you need to supply the medicines as first priority. For that, click on the shape and create a territory for that state (or region).
Here you need to enable the selection icon and then select the shape. After selecting the Shape, right-click on it, you will get the option to Create New Territory.
Step 4: Manage Territory
By clicking on the Create New Territory option, the + Create New Territory popup will appear to manage the Territory by creating a New or Add to the existing territory.
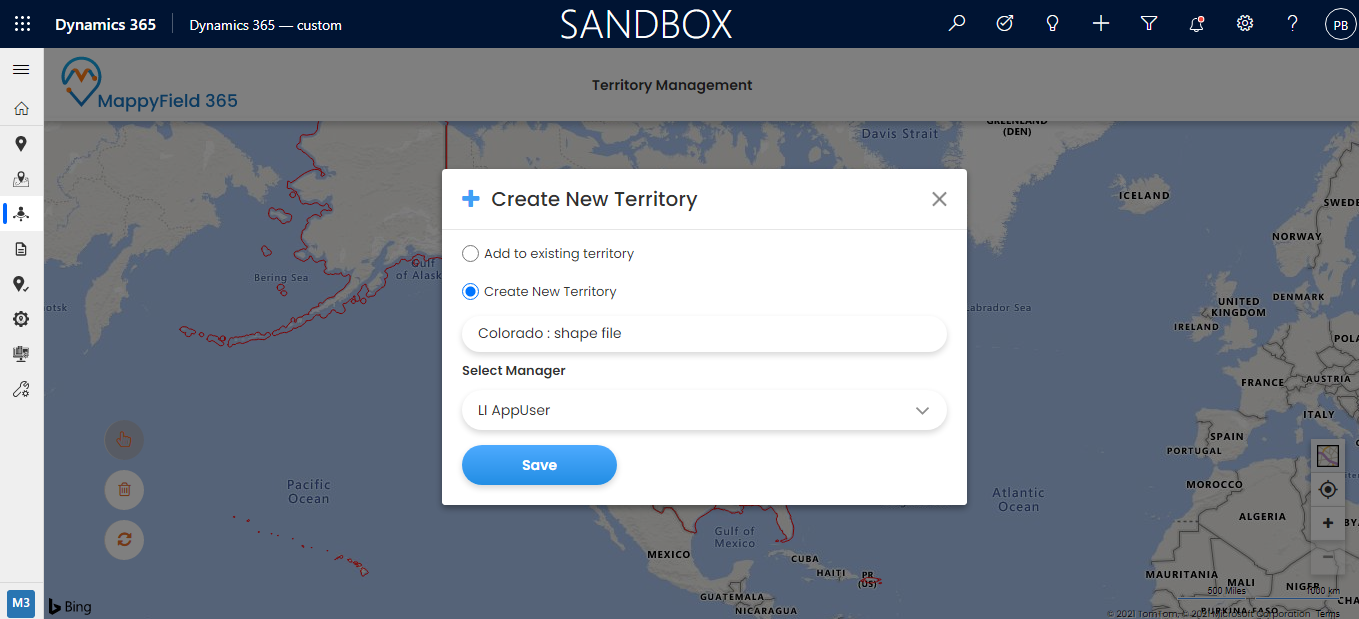
Add to existing territory: You will get the list of the existing territories, click on it to add the selected shape into that territory.
Create New Territory: Insert a relevant name of the territory. i.e., centers: Colorado and select the manager (user) i.e., Select a Medical Representative of your supplier team.
After selecting the Territory from the existing territory or inserting the details to create a new territory, click on the Save button to add to the Dynamics CRM territory list.
So now, the Medical reps can plot the records using that Territory on the MappyField 365 map and perform many different actions from the Map. Being a manager or the Dynamics CRM users with administrator rights, you can track those activities on the map.
This way, if you have a Shapefile of locations or any regions, you can easily import it into the AppJetty MappyField 365 map and manage your territories. By plotting the records using that territory, the users can perform some actions and streamline their Fieldwork through the map.
If you want to know about any feature regarding the Dynamics CRM Map integration app AppJetty MappyField 365, feel free to reach out to us at [email protected] or you can also tweet at us at @appjetty.
All product and company names are trademarks™, registered® or copyright© trademarks of their respective holders. Use of them does not imply any affiliation with or endorsement by them.


