

Targeted marketing has always been a pain point for marketers. Creating customer segments, localizing content, creating specific marketing strategies to target a particular segment, etc. involves paying attention to a lot of details, connecting with your customers, and then putting together all the data to build a plan.
While you have to put in a lot of effort into all the above-mentioned activities, there’s one activity that can be a breeze for you. Connecting with people. Well, at least the organizing part.
In this blog, we are going to demonstrate how to create targeted marketing lists using Dynamics CRM map integration. It’s simple, effective, and brings you closer to your customers.
Note: For the demonstration purpose, we’ve taken Mappyfield in this blog. You can explore other options for Dynamics 365 map integration from MS AppSource.
To create a marketing list from Mappyfield or to assign a marketing list to a specific record or group of records follow the steps below.
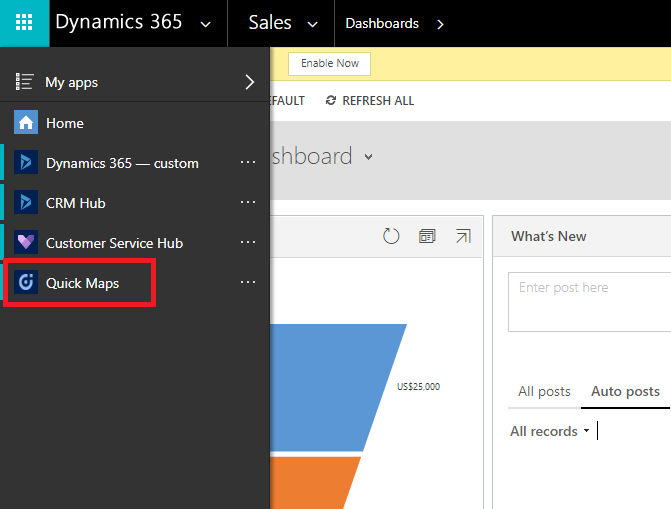
Step 1: Redirect to Dynamics 365 map page
Click on the Dynamics 365 menu and then click on “Mappyfield” from the slider menu or find the “AppJetty” tab from the header menu and click on Maps to open Mappyfield.
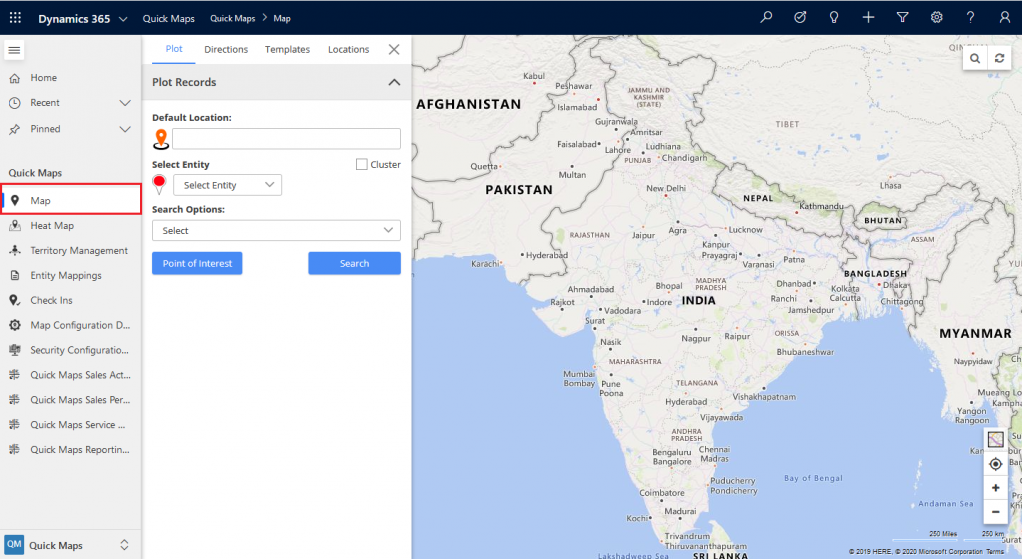
Step 2: Select the entity (Account/Contact/Lead) for which you want to build marketing list
Select the entity from legend (Account/Contact/Lead) for which you want to create a new marketing list.
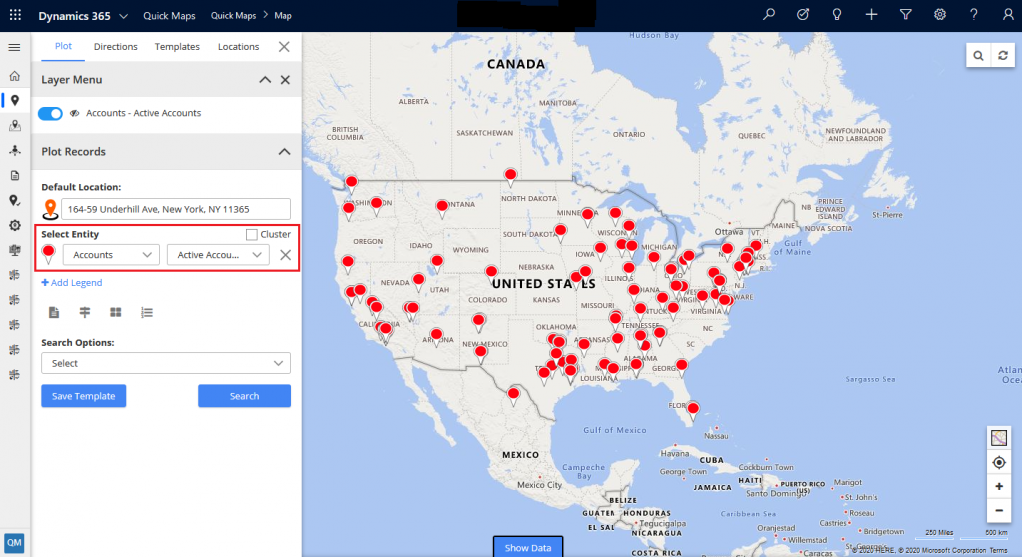
Step 3: Add records to Marketing list
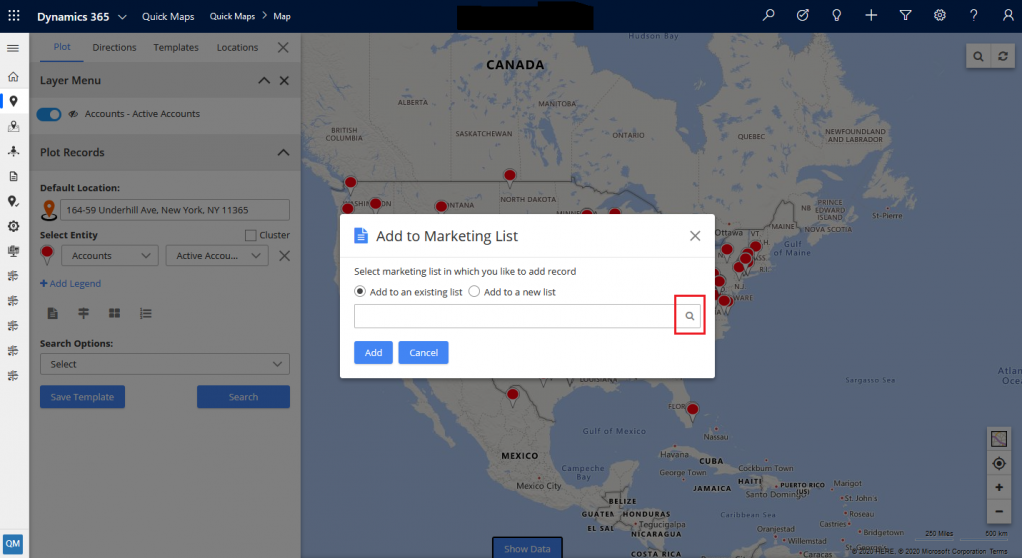
Once you have all the records on the map, select the records you want to add and then Click on Add to marketing list button. It will display two options “Add to existing list” and “Add to new list”
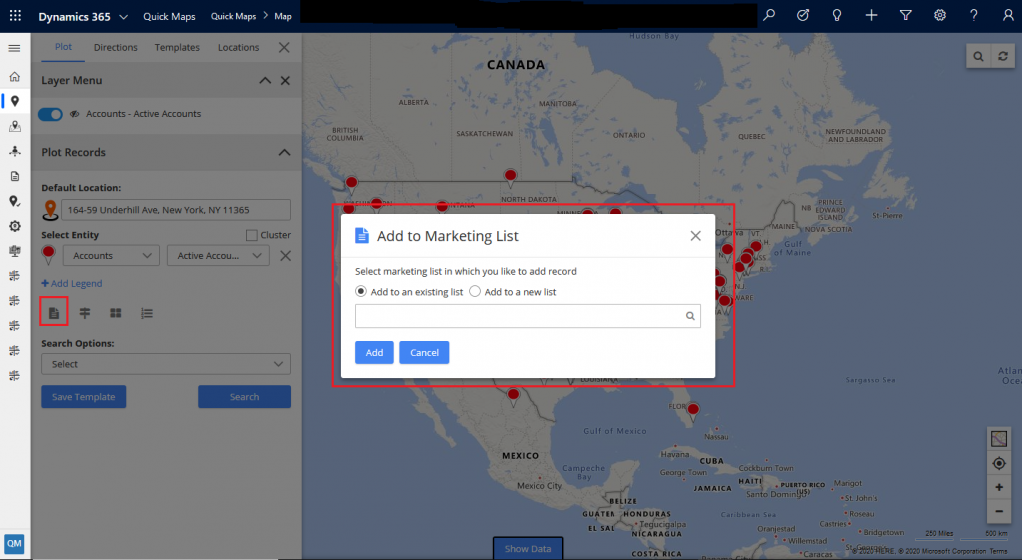
To add records into existing marketing list, follow the below steps:
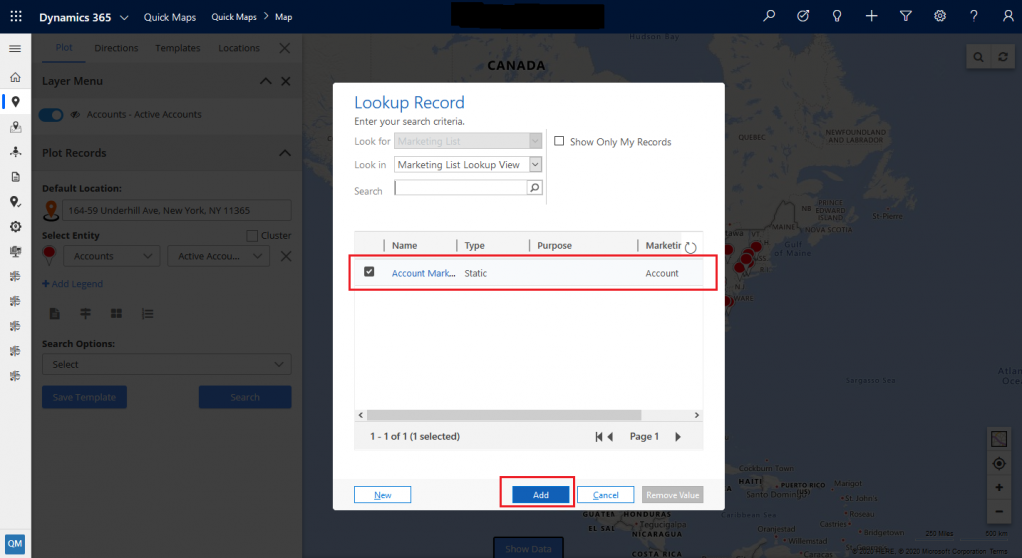
– When you click on the search button in Add to existing list, it will open all the marketing lists available in Dynamics CRM.
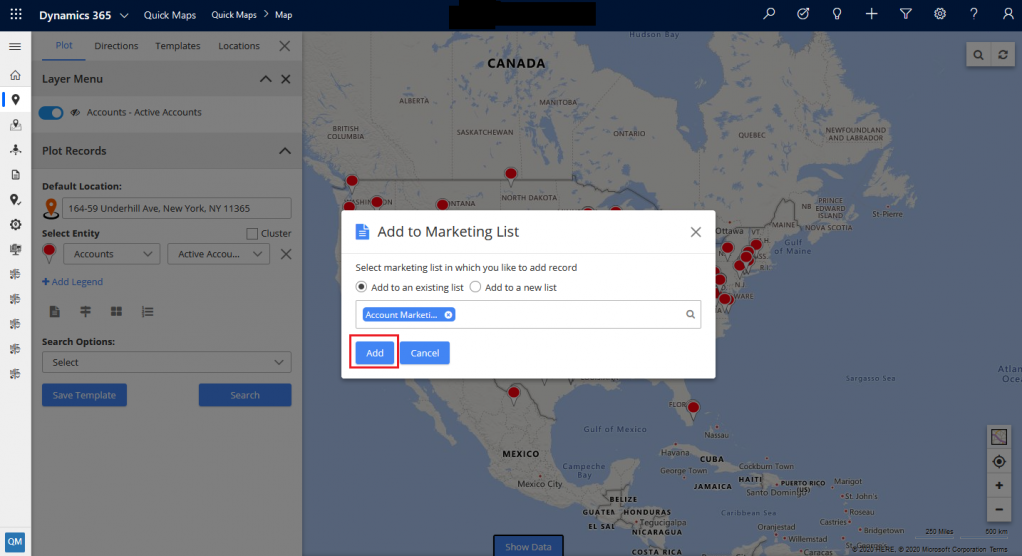
– Select the marketing list you want to add records and click on add button to save records to the marketing list.
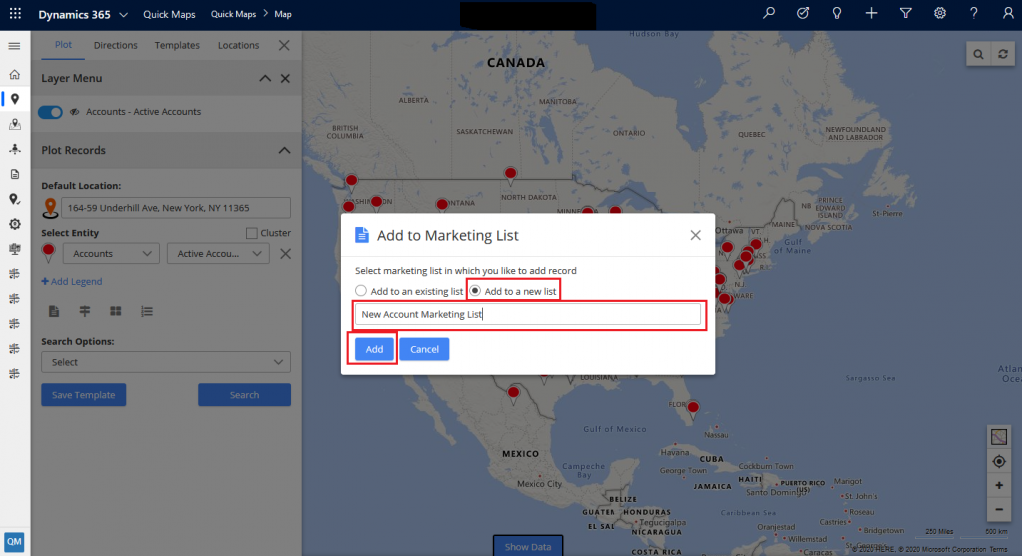
To create a new marketing list, follow the below steps:
– Click on “Add to a new list” button. If that option is selected, you will be able to enter the list name according to your understanding. Once you have entered the name, click on the add button to create a new marketing list and add records in the created marketing list.
To add individual record into marketing list, follow below steps:
– Click on any records/pin from map
– Mouse hover on Save & Assign and Click on Add to marketing list

This way creating a region-wise marketing list or a segmented marketing list becomes a breeze. You just need the right tools and a vision for the customer-centric organization.
All product and company names are trademarks™, registered® or copyright© trademarks of their respective holders. Use of them does not imply any affiliation with or endorsement by them.


