

With Microsoft Dynamics 365 as your CRM system, your demands for customized functionality and dynamic user experience are obviously higher..
Creating a dynamics dashboard in Microsoft Dynamics 365 is not just about the setup, it is about implementing your strategy for business, sales, and services behind it.
Dashboards are one of the most common features to get the analysis with visualization. AppJetty MappyFiled 365 – a Dynamics CRM app with Bing Map Integration provides you the functionality to create and design geographical dashboards to show the information that you want exactly how you want to see it and shoot it to other users as well.
The sales manager who handles multiple activities at a time will be needing analytics to check all the records at glance. They can design the dynamics dashboard that, when published, are visible to everyone in the organization.
The dynamic dashboard allows the user to see records according to specific queries. You can retrieve data using FetchXML queries.
In this blog, we talk about how to create a dashboard using the queries to create the custom dashboards by selecting the CRM entities and their relevant records as per the business requirement like Sales Activities, Leads, Pending Cases, Appointments etc. Later on you and your team can see the data for that custom dashboard and get the idea about the sales activities.
Please follow the below steps:
- Navigate to the Dashboard Configuration to create a custom dashboard
- Insert the Entity details and insert a generated FetchXML Query
- Navigate to the MappyFiled 365 Dashboards and find the MappyField365 Custom Dashboard
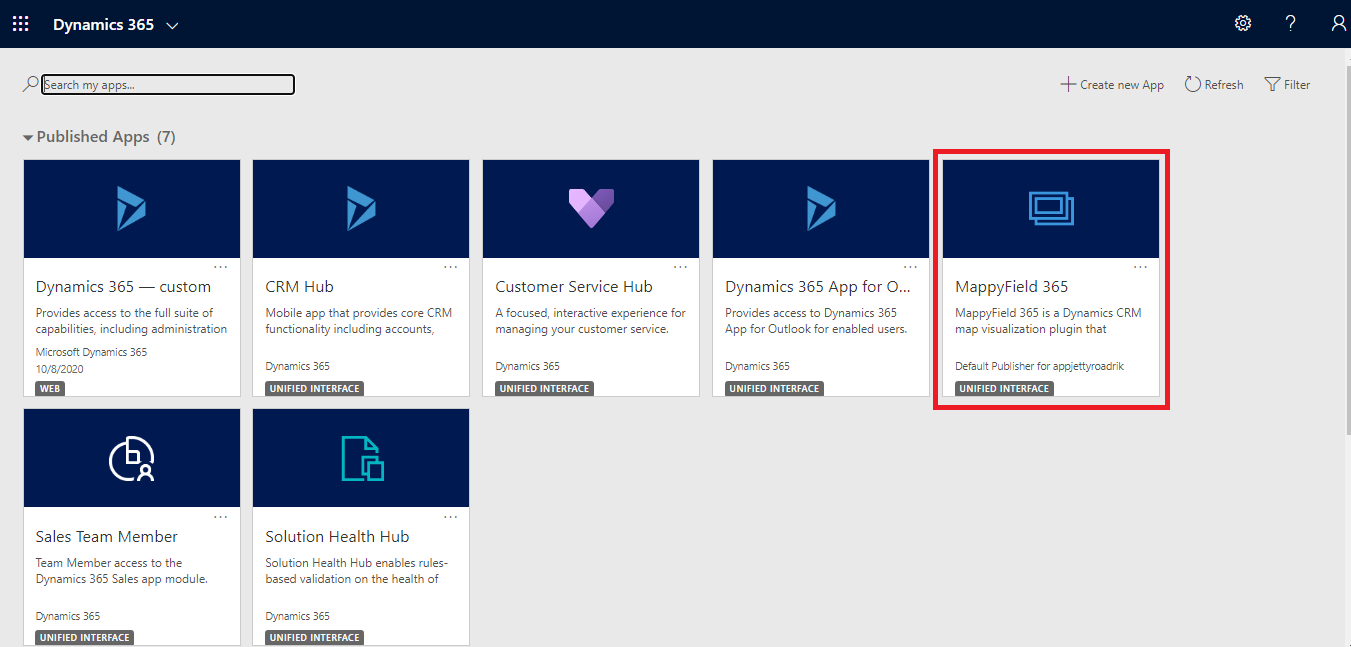
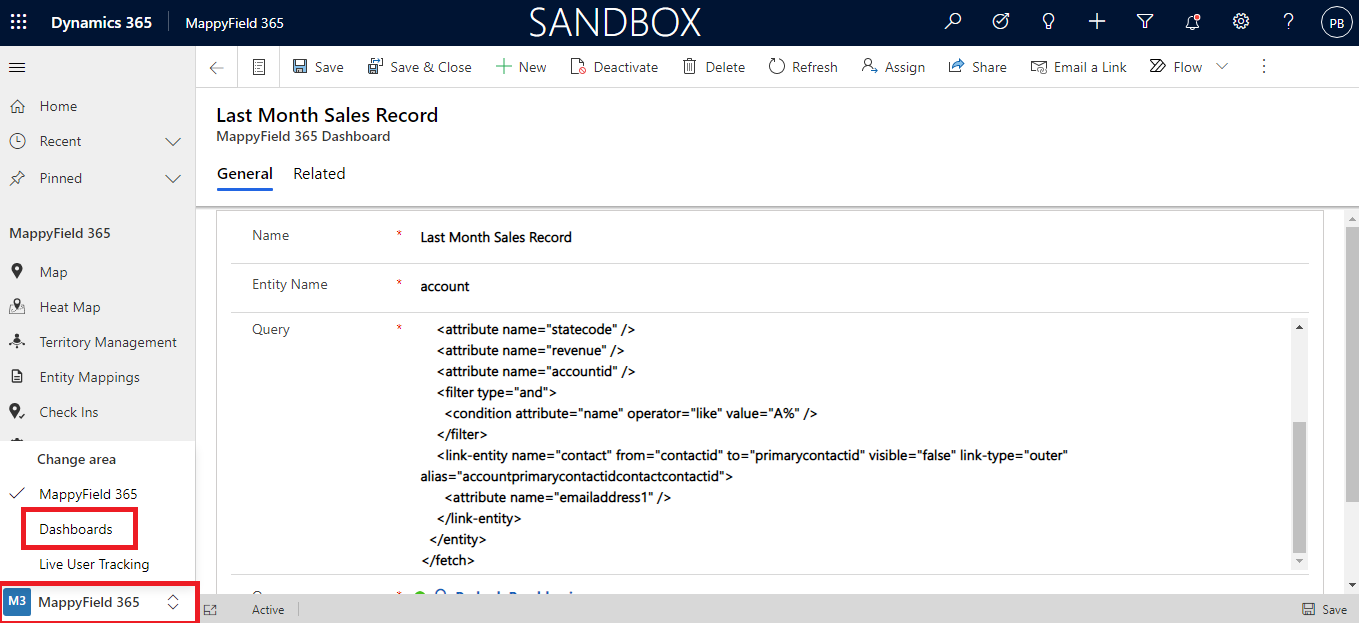
Step 1: Navigate to MappyField 365
Select “MappyField 365” from the Dynamics 365 dashboard or app list from the header.
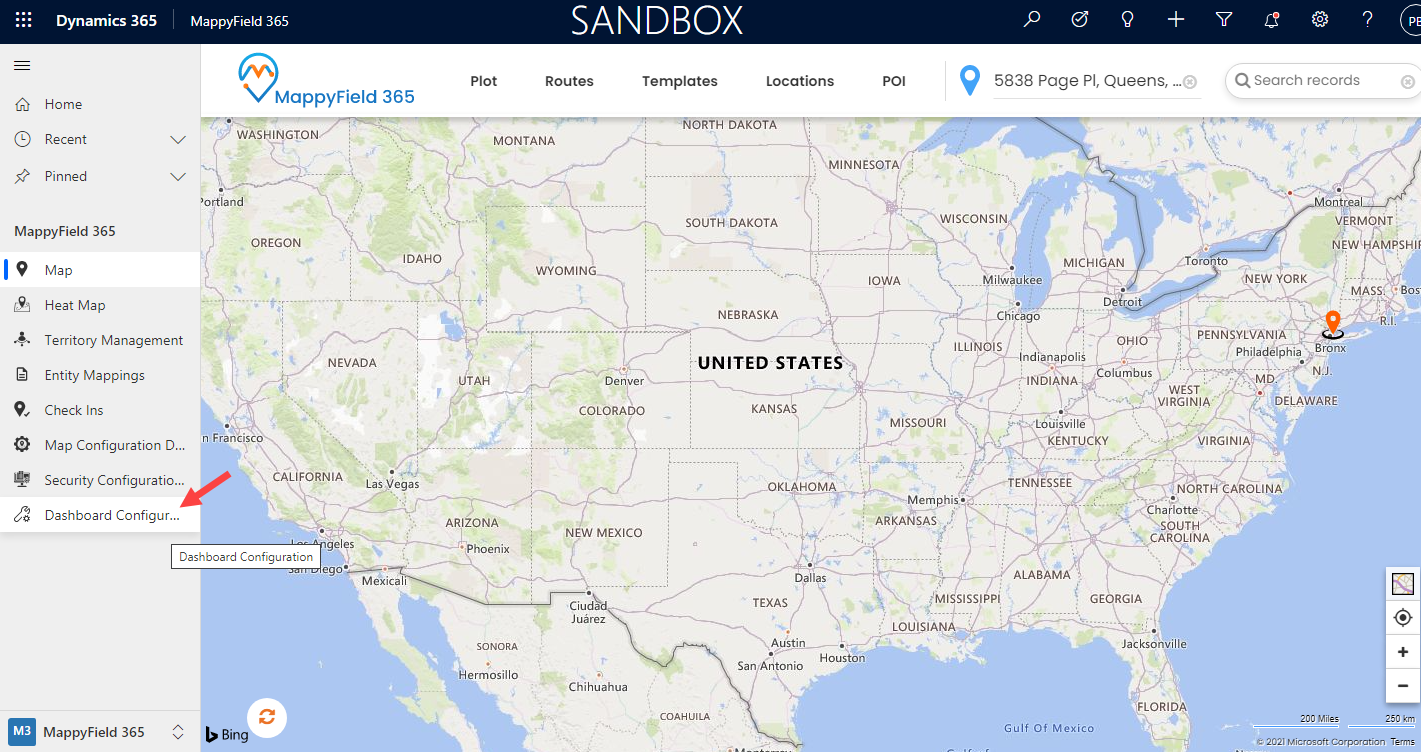
Step 2: Click on Dashboard Configuration
Navigate to the “Dashboard Configuration” from the left side navigation pane of the MappyField 365.
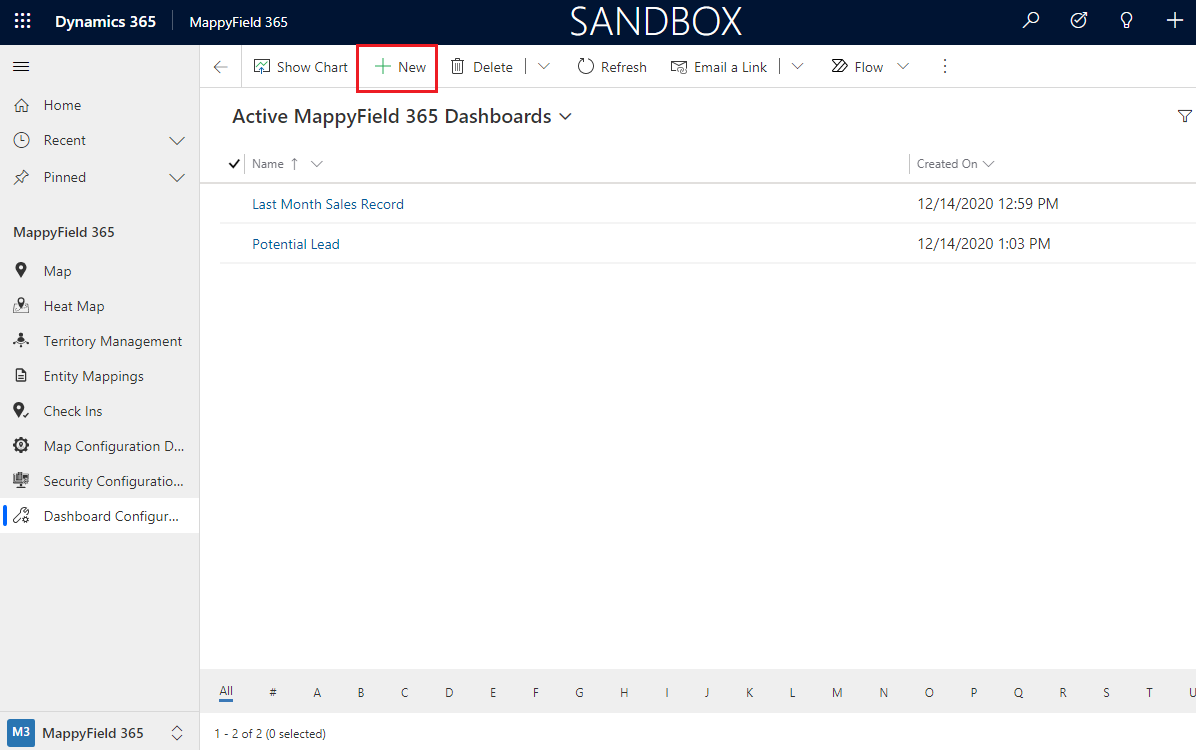
You will get the list of the records of custom dashboards that have already been created. To create a new customized dashboard as per your requirement, click on the + New.
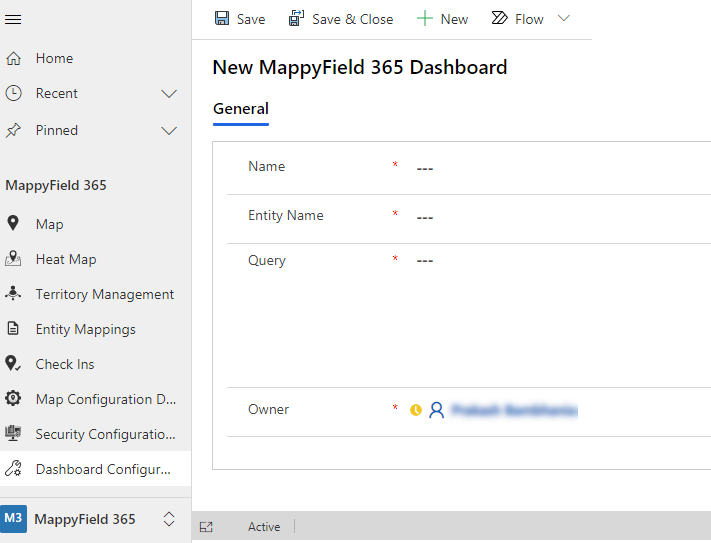
Step 3: New Custom Dashboard
You will navigate to the “New MappyFIeld 365 dashboard” page. From here you can select the mandatory options and add a query as per your business requirement.
Let’s take an example for better understanding.
Suppose, being a sales manager, you need to track sales activity of the last month so according to that you can take the further steps. Last month your team got many leads and want to check the sales records of the last month. So you can track and check the last month’s sales records by designing your own custom dashboards.
So now, to configure the custom dashboard as per last month sales record, you need to insert the following details to customize the dashboard:
- Name: Insert the relevant name for the Custom dashboard
- Entity Name: Insert the logical Name of the entity for which you are creating the dashboard
- Query: Insert FetchXML Query of the defined entity.
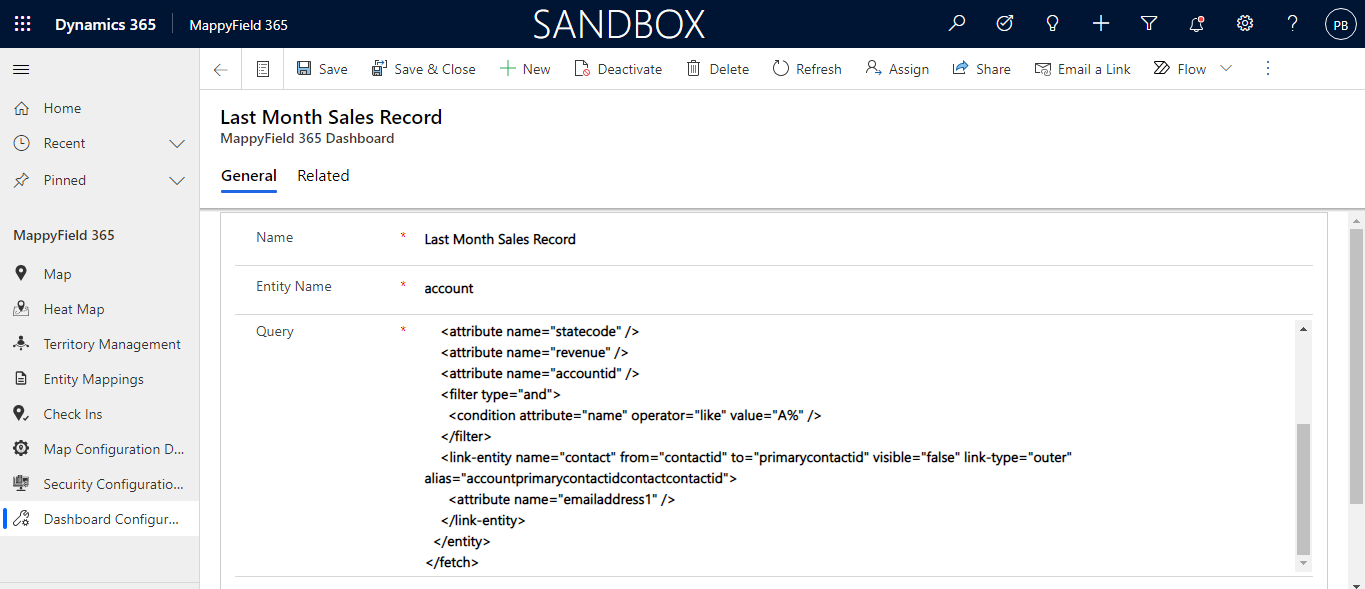
After configuring all the above three fields Save the record.
Step 4: Navigate to the MappyField 365 Dashboards
Now, navigate to the “MappyField 365” from the navigation map and click on the ‘Dashboards’.
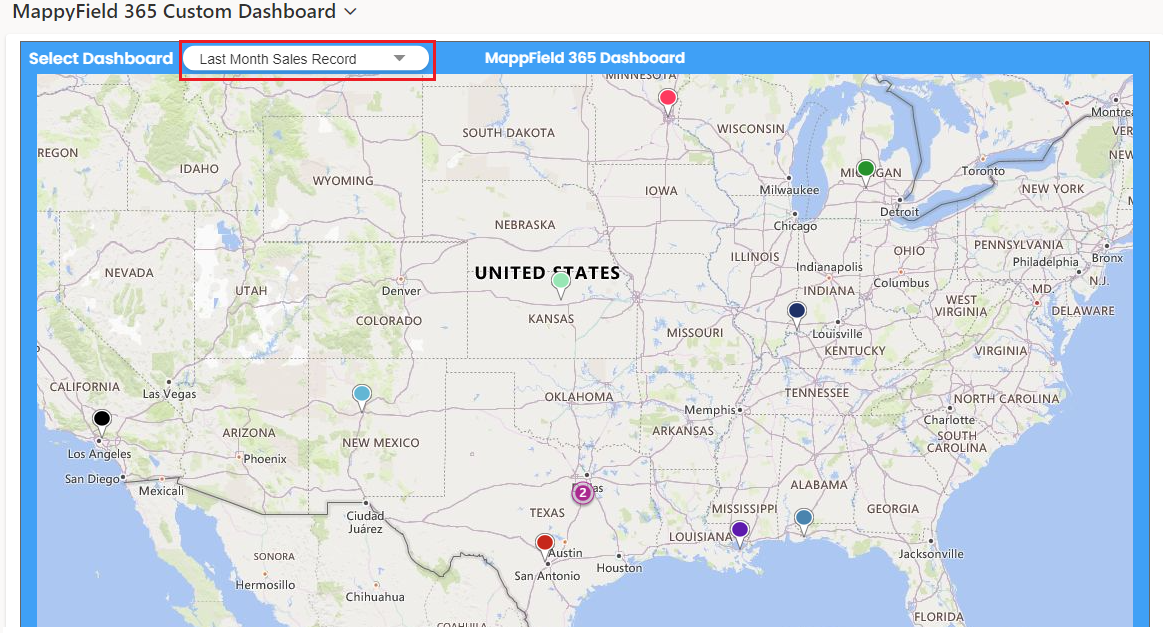
You will navigate to the “MappyField 365 Dashboards”. From the MappyField 365 Dashboards drop-down, find & click on the MappyFiled 365 Custom Dashboard.
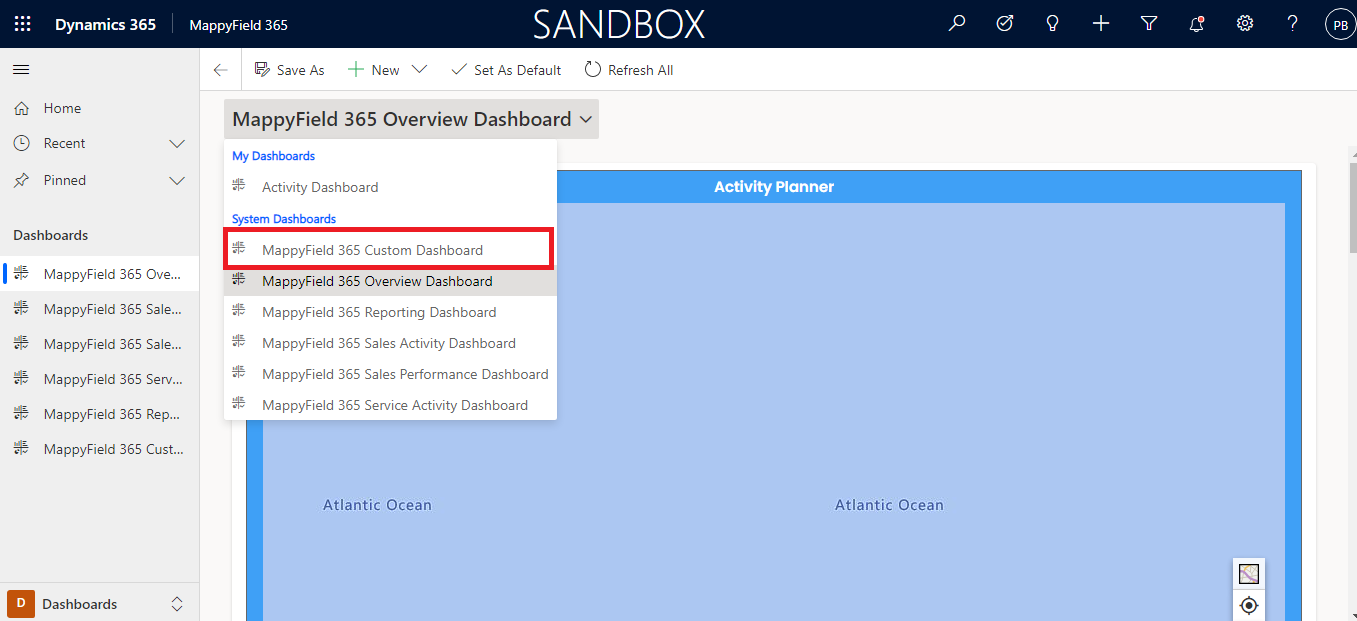
It will show all custom dashboards which have been created from “Dashboard Configuration”.
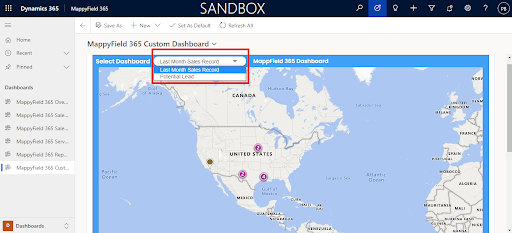
Now, the sales manager can view records according to that configured dashboard and manage the sales activities.
Hence, you can create a new custom dashboard and by inserting the FetchXML query as per your business requirement. You can check all major CRM activities on MappyFiled 365 map by creating the custom dashboard. It will help you to get the current status of any activities, work progress and get the analytics from that custom dashboard so you can take further steps according to that.
Using MappyField 365, you can plot the entity records and manage the CRM activities geographically.
All product and company names are trademarks™, registered® or copyright© trademarks of their respective holders. Use of them does not imply any affiliation with or endorsement by them.


