

Creating or managing the tasks or appointments for the sales executives can be always challenging. Being a sales executive or manager, knowing when and where your team members are going to connect the customers is crucial. Especially it becomes crucial when it comes to achieving your sales target.
For this, you need to integrate the Dynamics CRM Field Mapping tool with the features. We have taken MappyField 365 in this article. So, in this blog, we are going to show how your sales executive can manage and create the tasks and appointments in the dynamics 365 map CRM.
Step 1: Go to the Map tab.
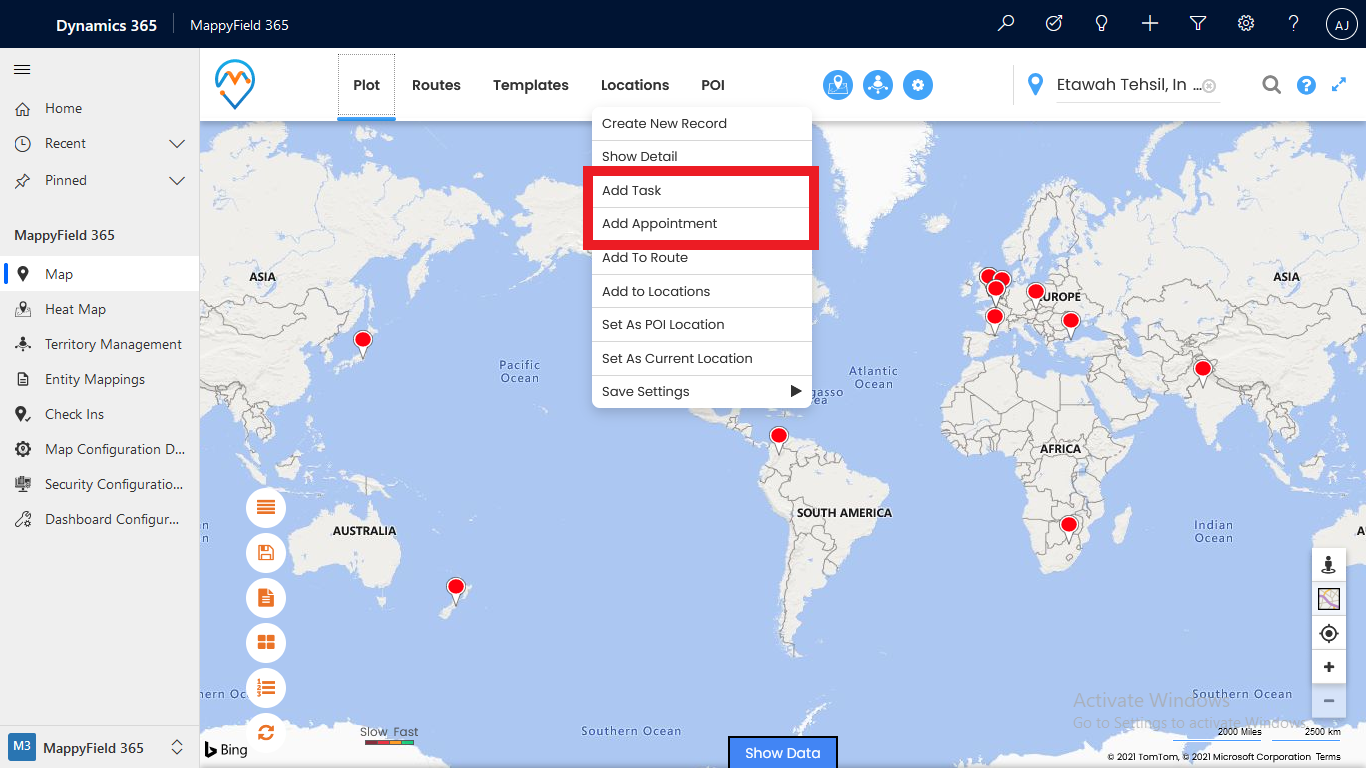
Step 2: Right-click anywhere on the map to open the context menu.
Step 3: To create a task or appointment, click on Add Task or Add Appointment button.
Create Task:
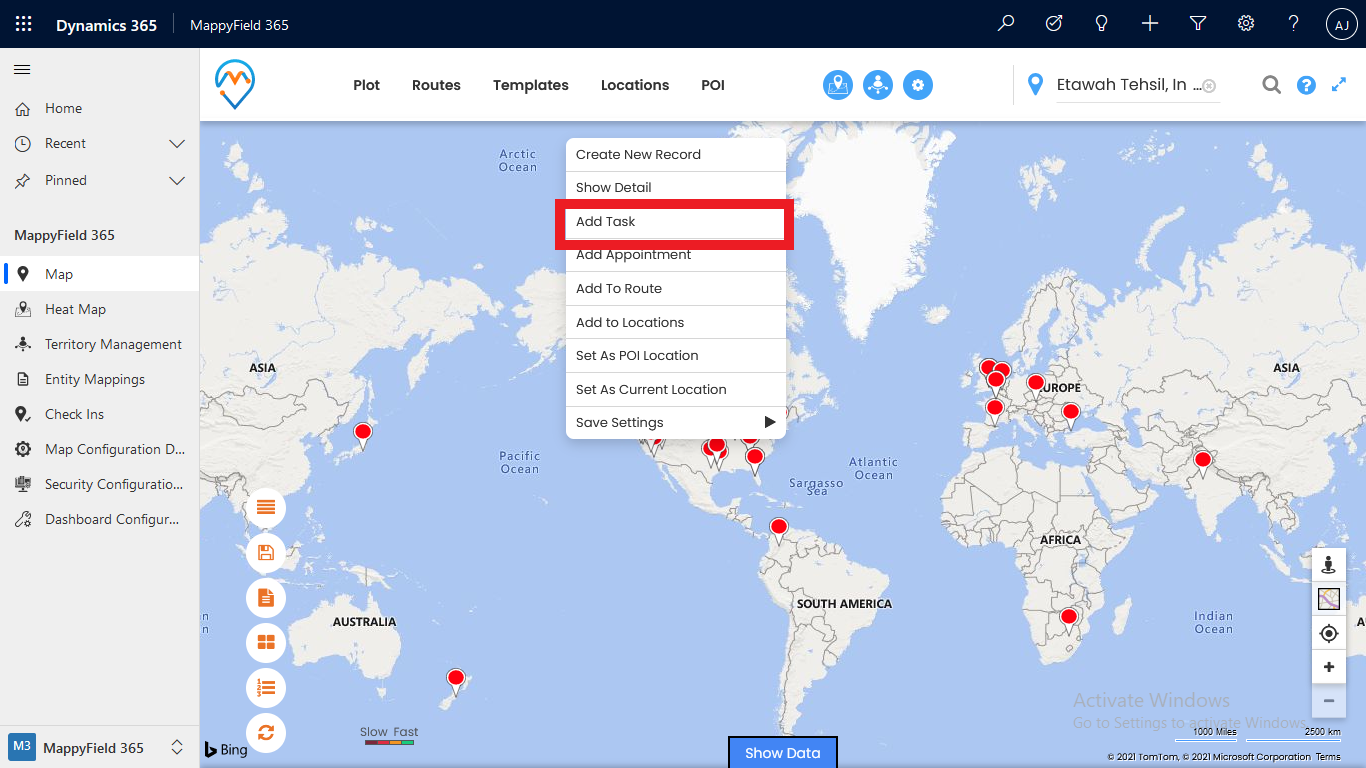
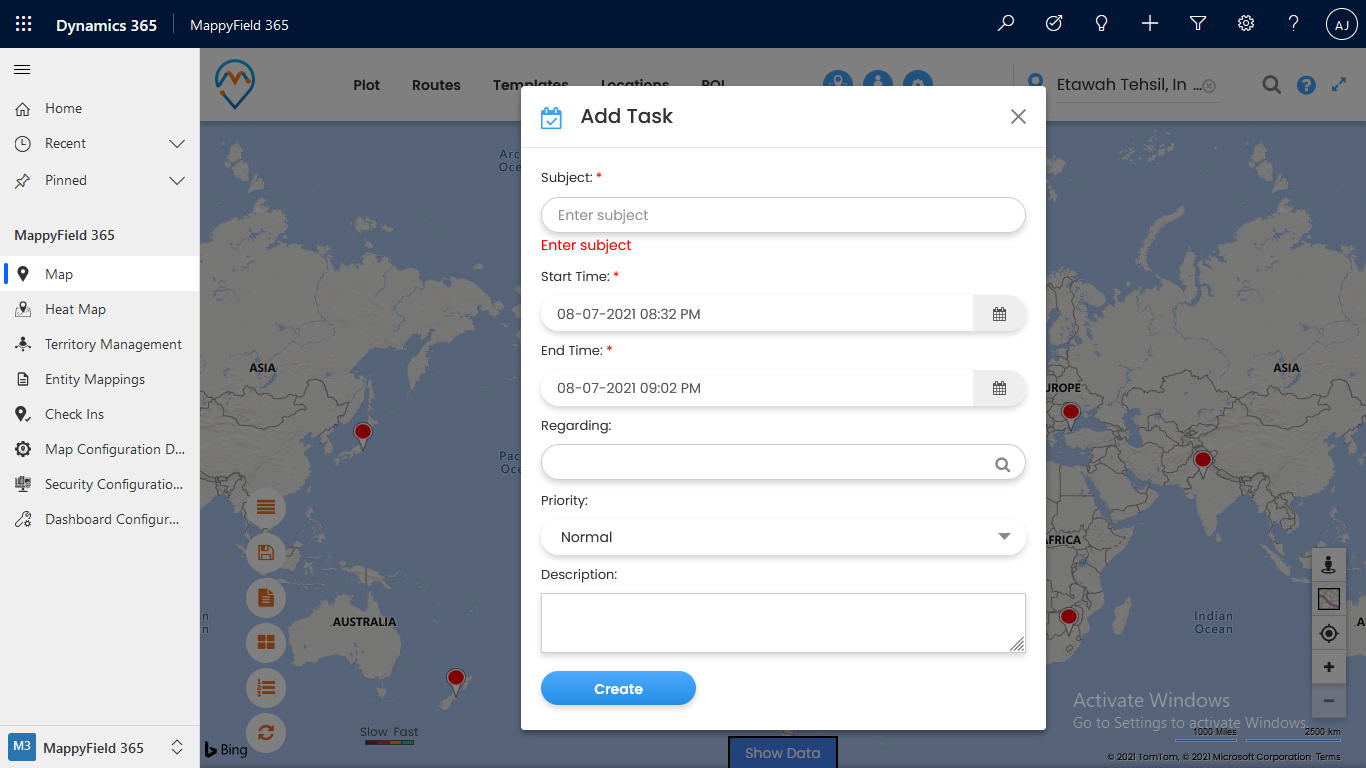
Step 1: To create a task, click on Add Task Button on the context menu.
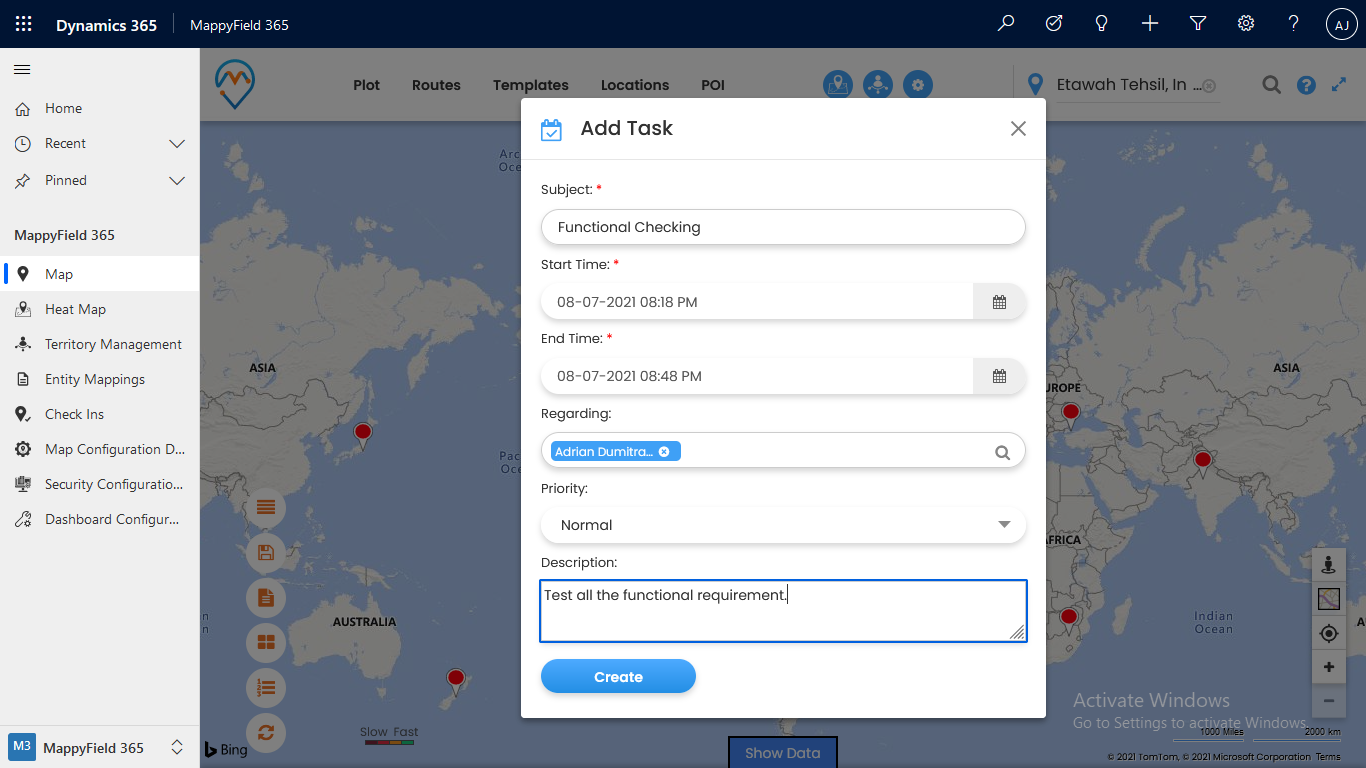
Step 2: Enter valid details to create the task such as Subject, Start Time, End Time, set Regarding for whom you have created the task. Select Priority and provide a brief Description for the task.
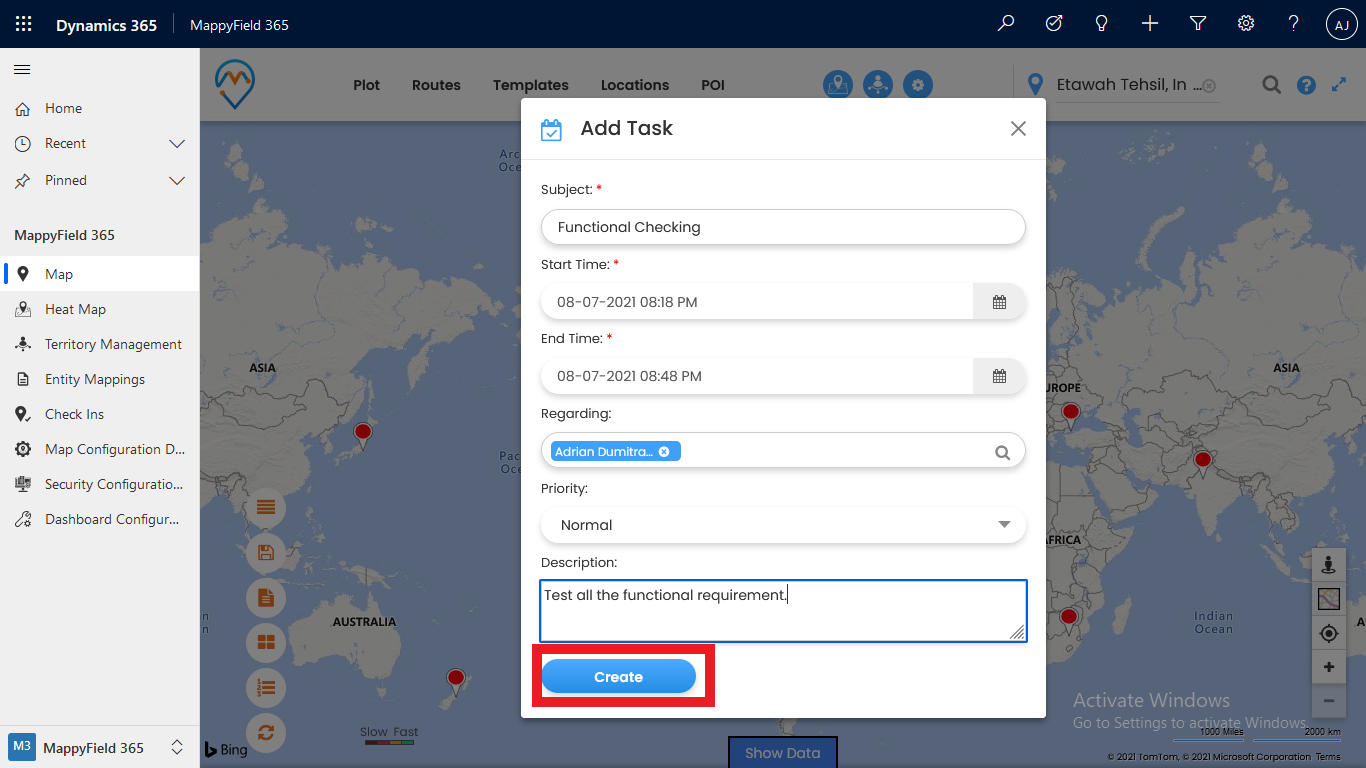
Step 3: After completing the Step 2, click on the Create button.
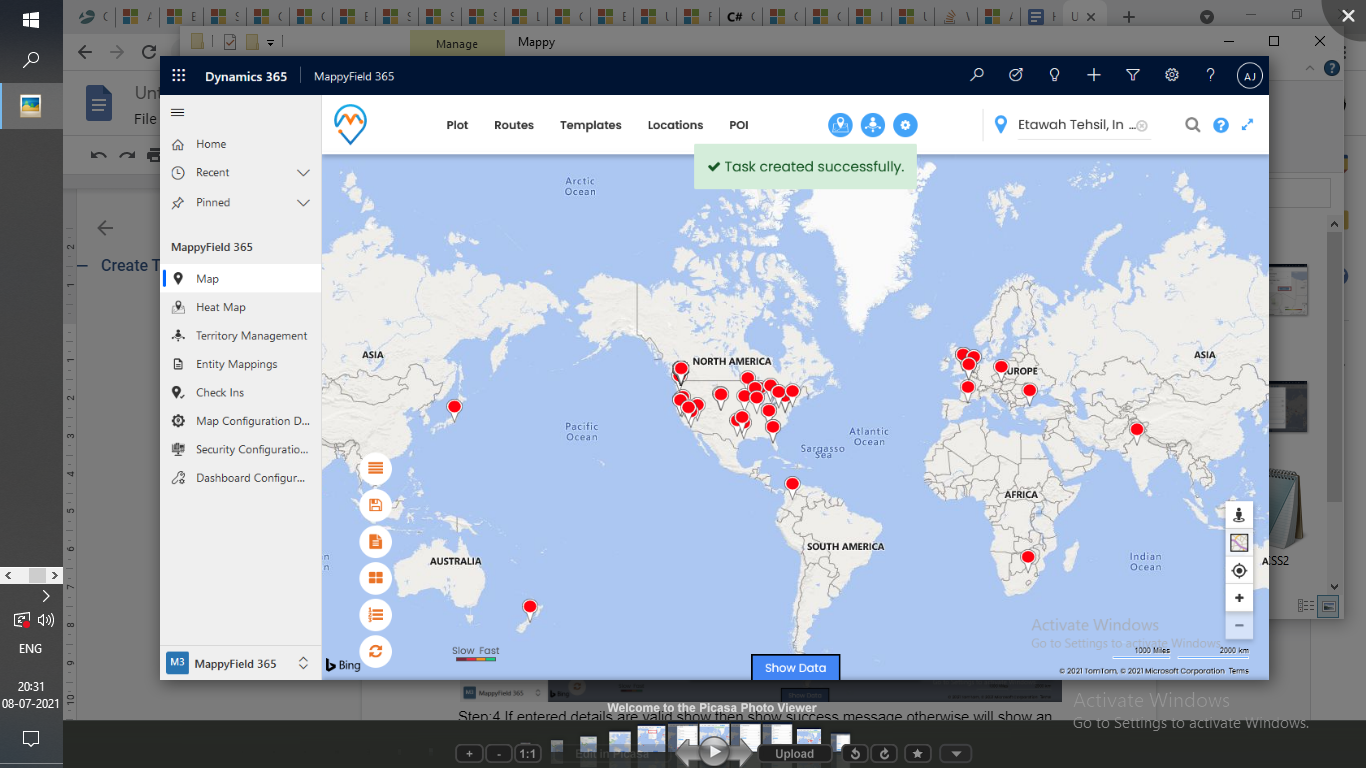
Step 4: If entered details are valid then you can see Task created successfully, otherwise it will show an “error.validation” message.
→ If Entered Details are Valid:
→ If Entered Details are not proper or missing:
Create Appointment:
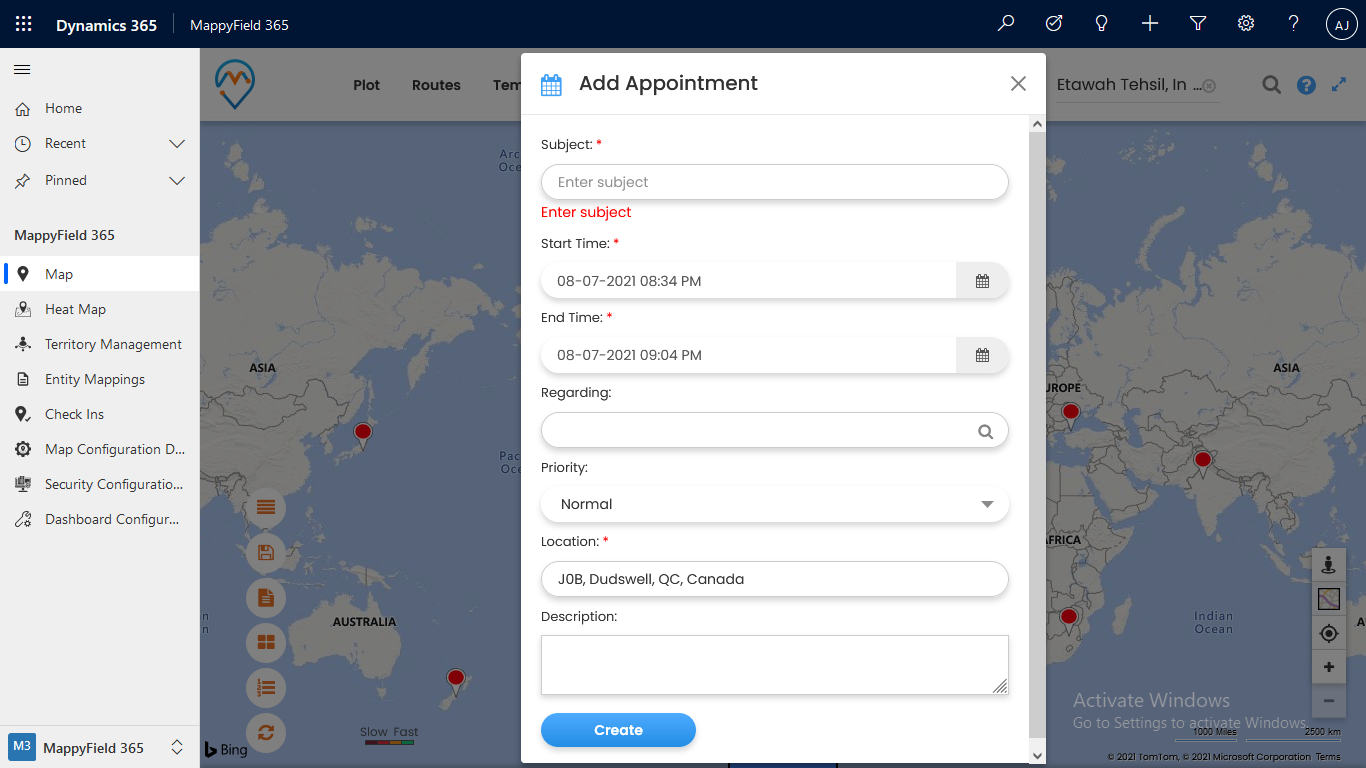
Step 1: To create an appointment, click on Add Appointment Button on the context menu.

Step 2: To create the appointments, enter valid details like Subject, Start Time, End Time, Regarding (for whom you have created an appointment), location, select Priority, and provide a brief Description for the appointment.
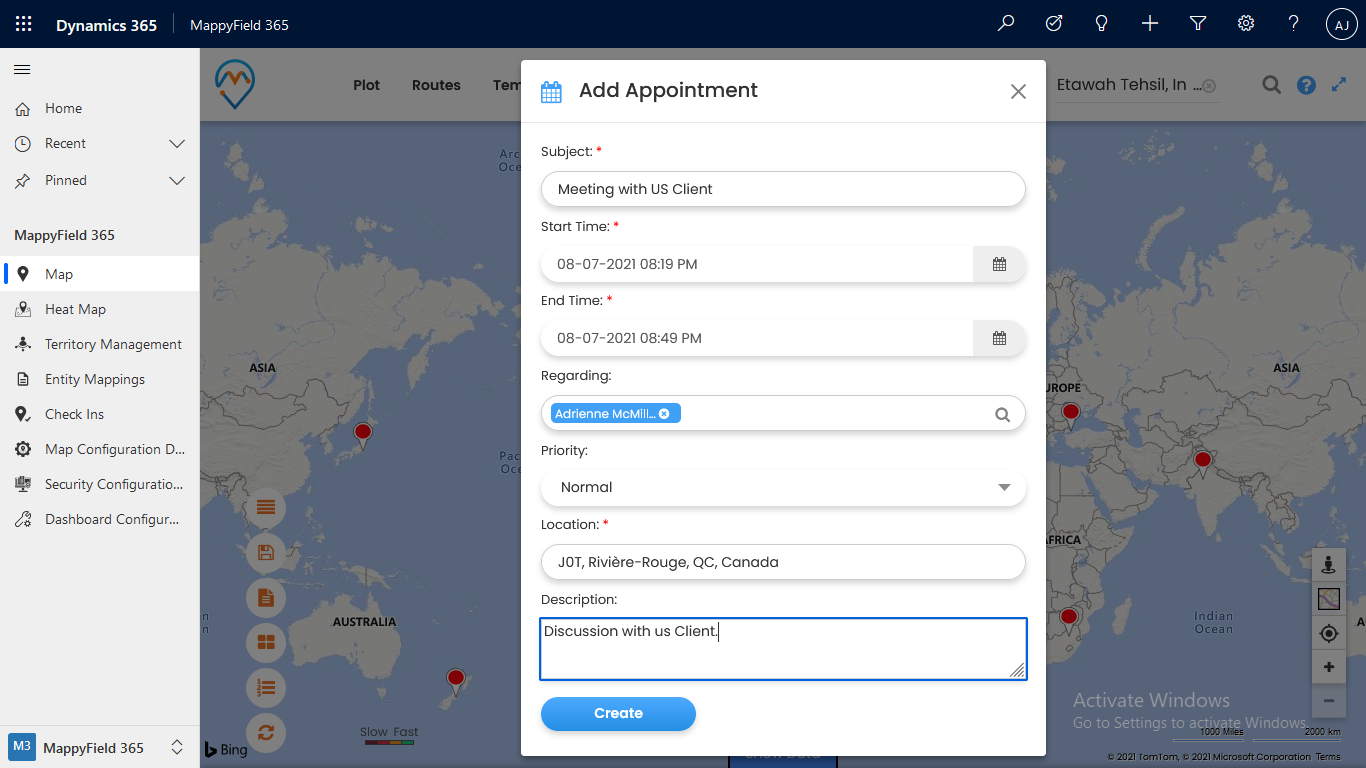
Step 3: After that click on the Create button.

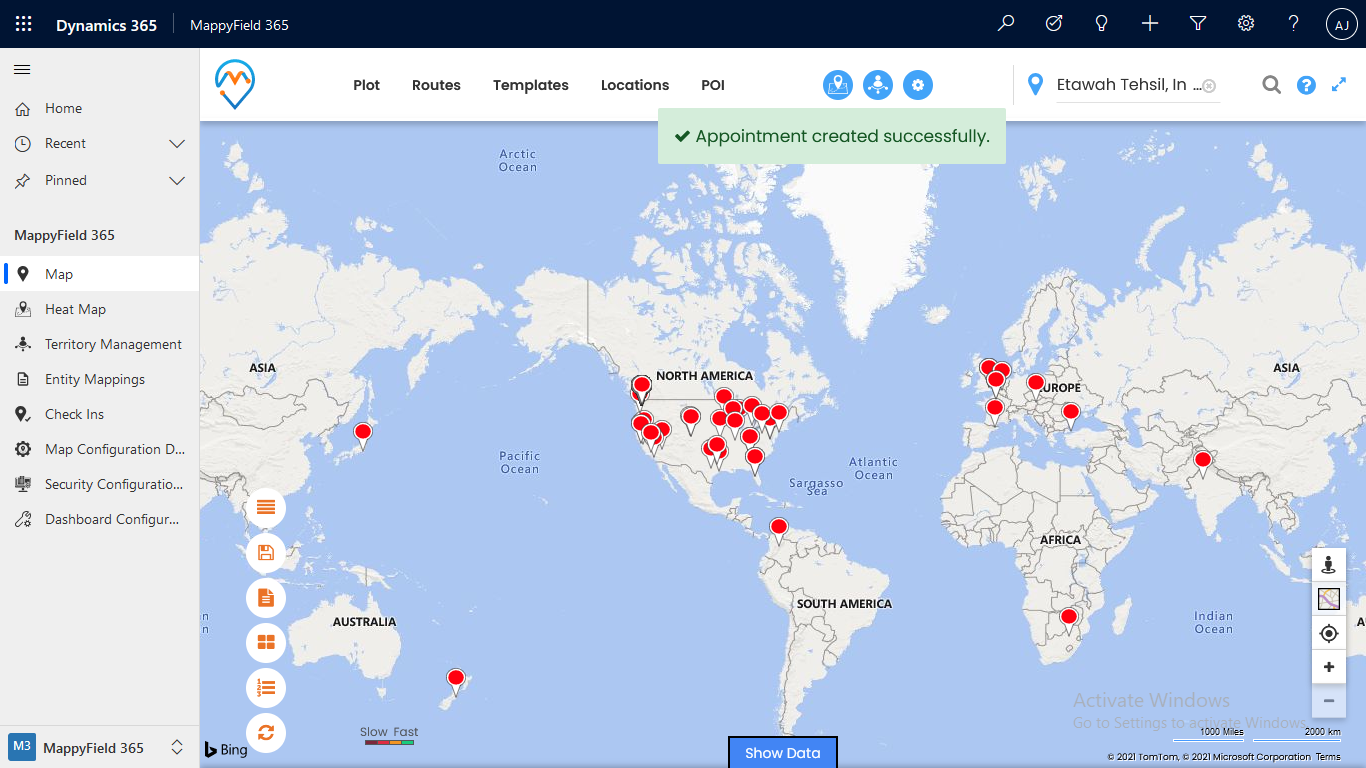
Step 4: If entered details are valid then you can see the Appointment created successfully message otherwise it will show an”error validation” message.
→ If Entered Details are valid
→ If Entered Details are improper and missing
In this way, your sales manager or you can create or manage the tasks and appointments in the MappyField 365.


