

Managing the CRM users territories-wise is always complex and challenging for the head of the department or the Admin user of the Microsoft Dynamics 365 CRM. Being an admin user, you need to keep balancing while managing the territory. It will be helpful if you get the counts when you are creating the territory. For that, the admin user needs to navigate the different options in the Dynamics CRM backend.
But what if you get the statistics of the CRM records while creating the territory and assigning it to the manager/team? The MappyField 365 map integration provides the statistics when you create the territory.
AppJetty MappyField 365 is a map integration plugin of MS Dynamics 365 CRM that helps to plot your CRM data on the map. You can plot the different records, analyze data, create territories, and more from the map of the MappyField 365. Create territories defining the Region, manual areas by Drawing Tool, existing Territories, and importing Shapefile/CSV file.
You will get the counts of the CRM entity records of Accounts, Contacts, and Leads as per the plotted areas/regions on the map. The statistics will give visibility on how many total CRM entity records are inside the plotted area and with that, you can also decide to assign the territory to which manager/team.
In this blog, we have explained how you get the statistics when you are creating the territory and assigning it to the sales manager/team.
Step 1: Navigate to MappyField 365
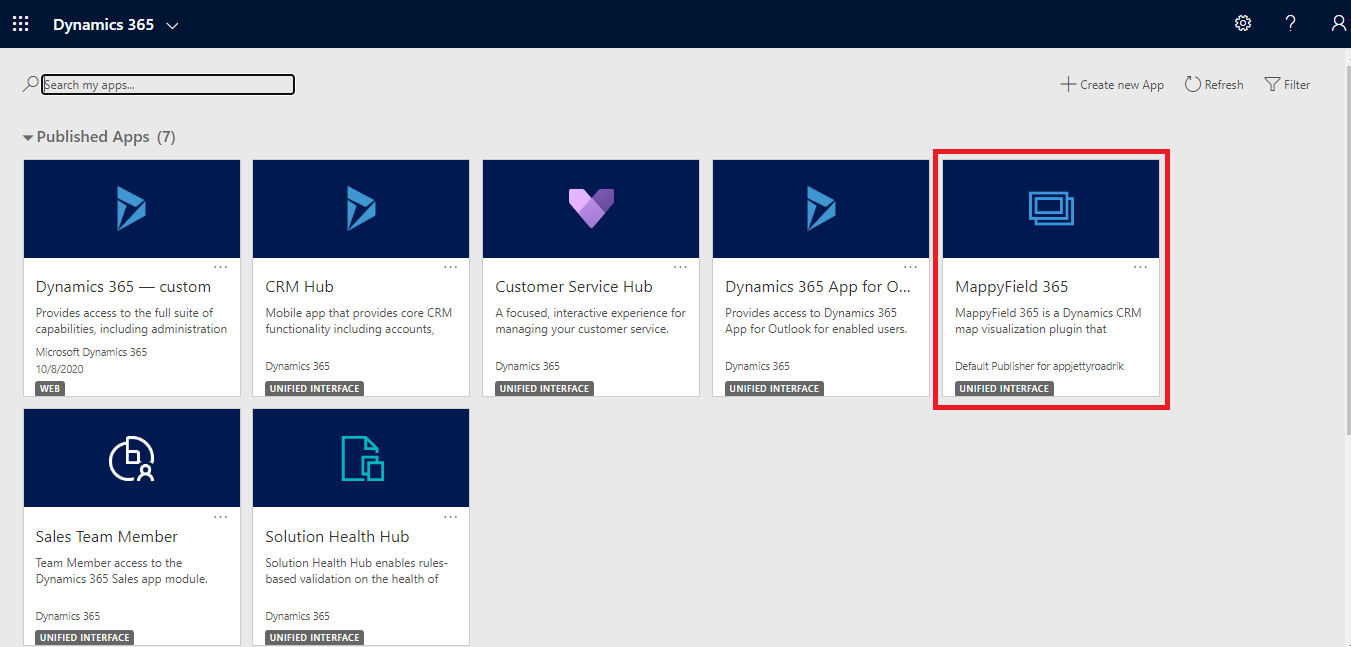
Select “MappyField 365” from the Dynamics 365 dashboard or app list.
By default, you will be navigated to the “Map view” of the MappyField 365.
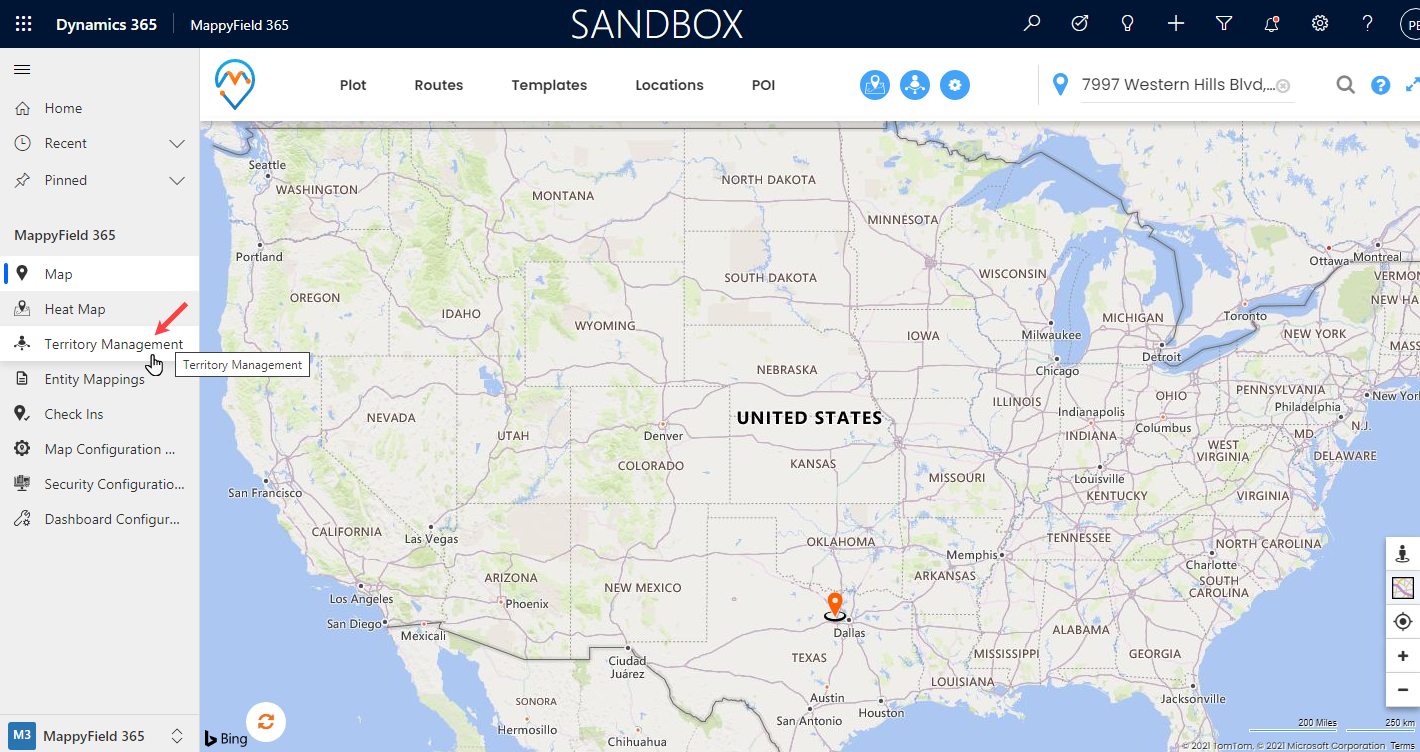
You will find the Territory Management from the MappyField 365 navigation panel (left side) to create and manage the territories.
Step 2: Plot Area/Region to create a new territory
By clicking on the “Territory Management”, you will find the Search Options. You can create and manage the Territories using By Region, By Drawing, By Territory (existing), and By File.
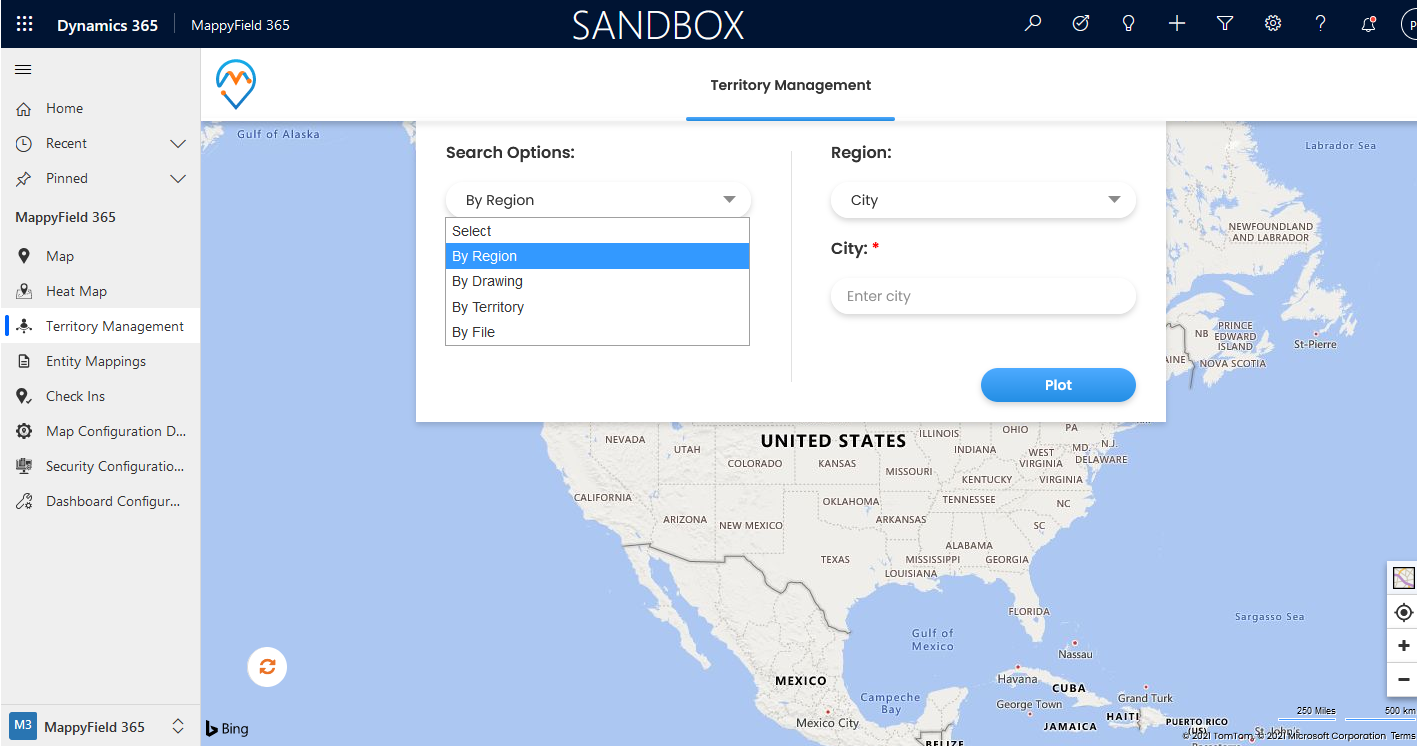
Suppose, if you want to create a new territory using the Region, select “Region” from the Search Options drop-down.
You will find the four options to create a territory using the Region:
> City > State > Country > Postal code
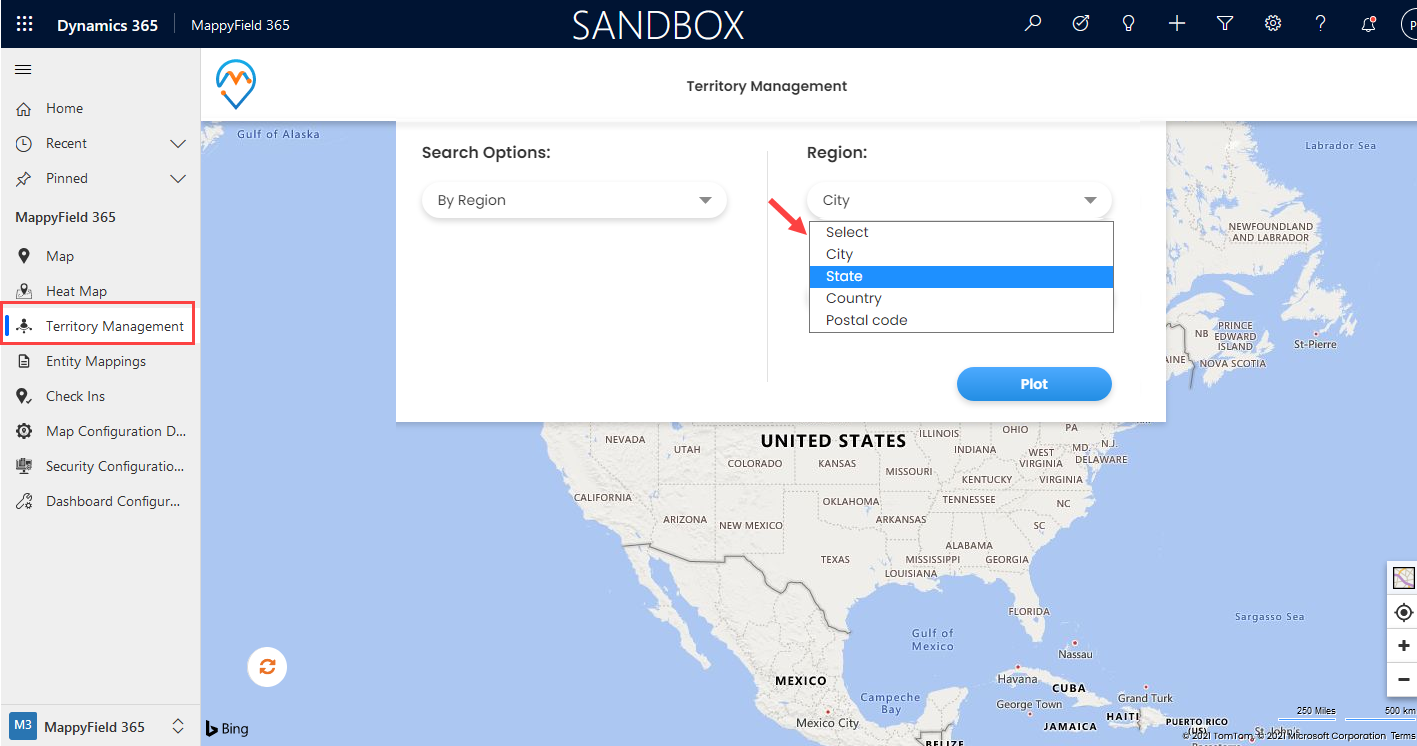
If you want to create a territory as per the state, select the “State” in the Region drop-down option and enter the name of the state in the State edit box.
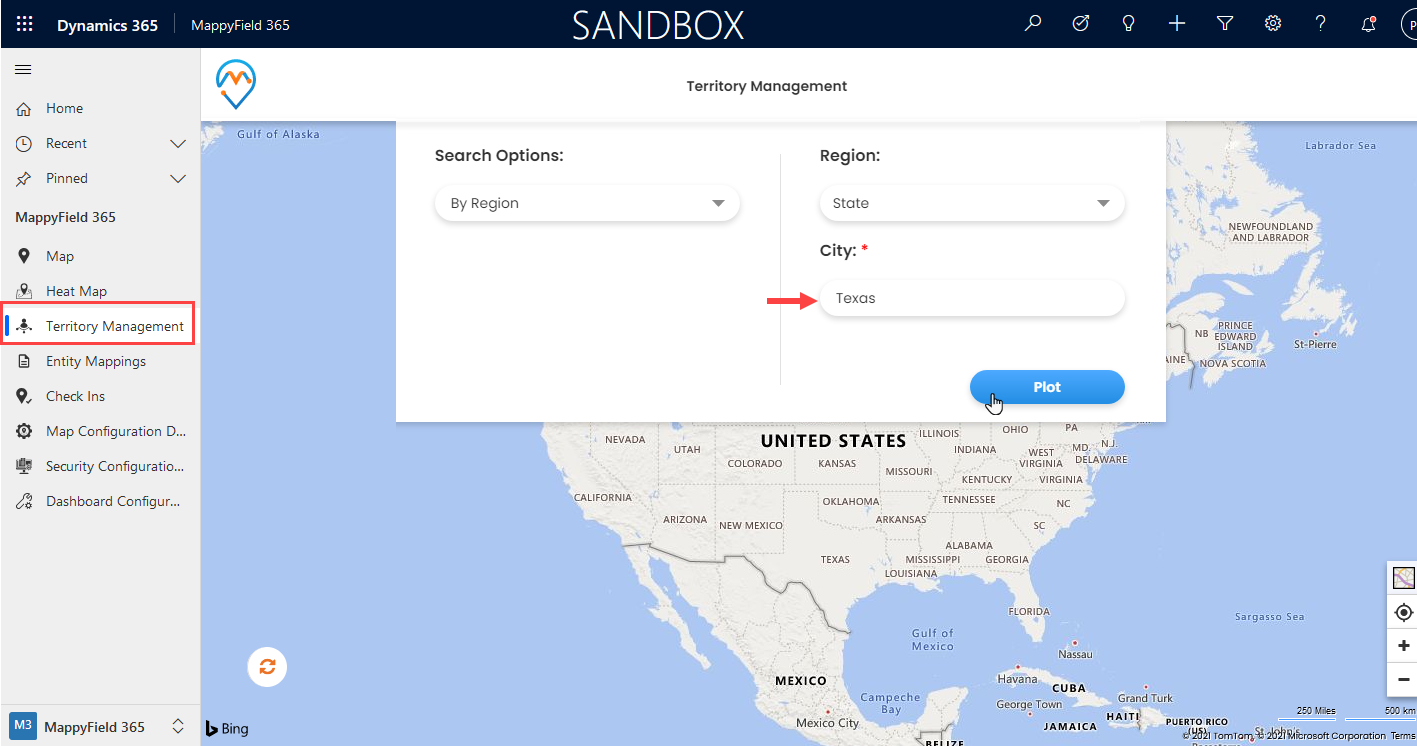
After selecting the “State” and inserting the state’s name, click on the Plot button.
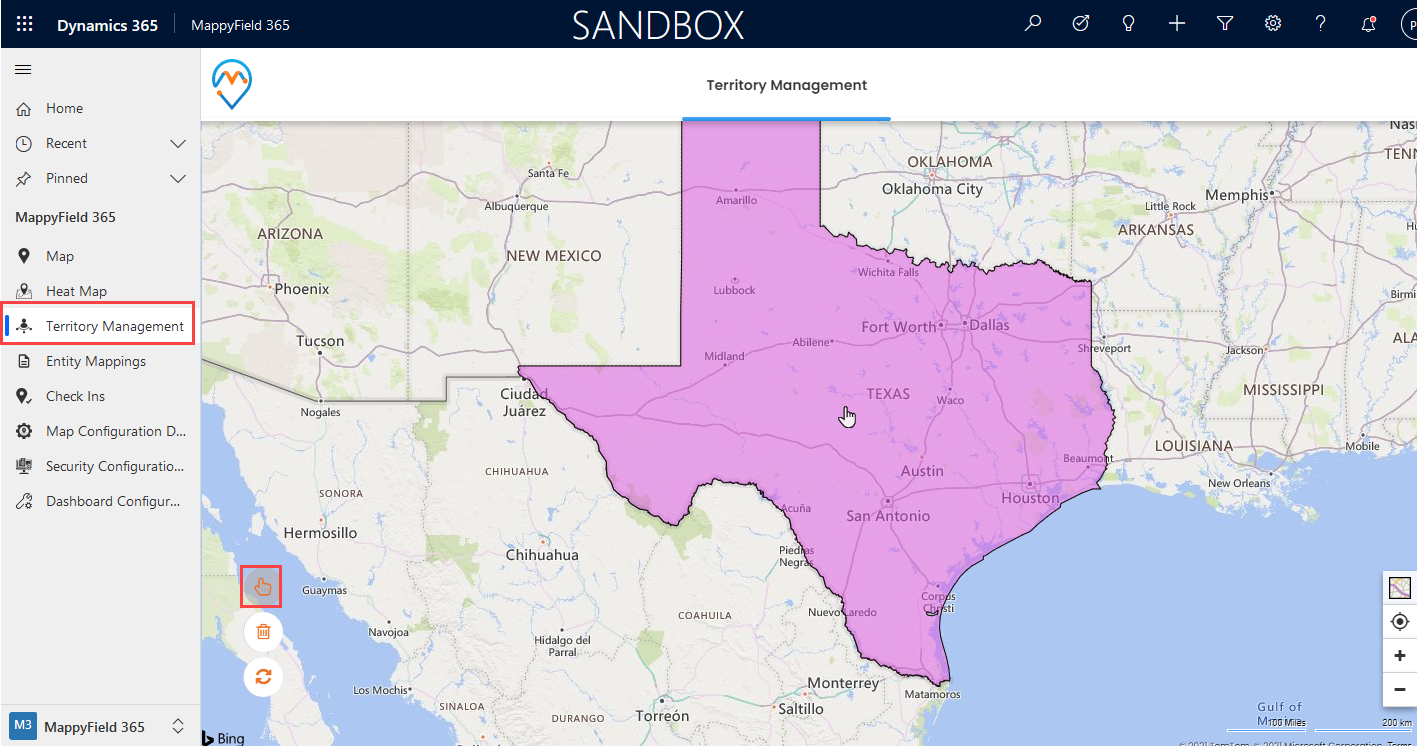
Now, the state will be plotted as a highlighted area on the map. You need to select that area using the selection tool.
First, click on the ‘hand’ tool and click on the highlighted area on the map to create a new territory.
Step 3: Create New Territory
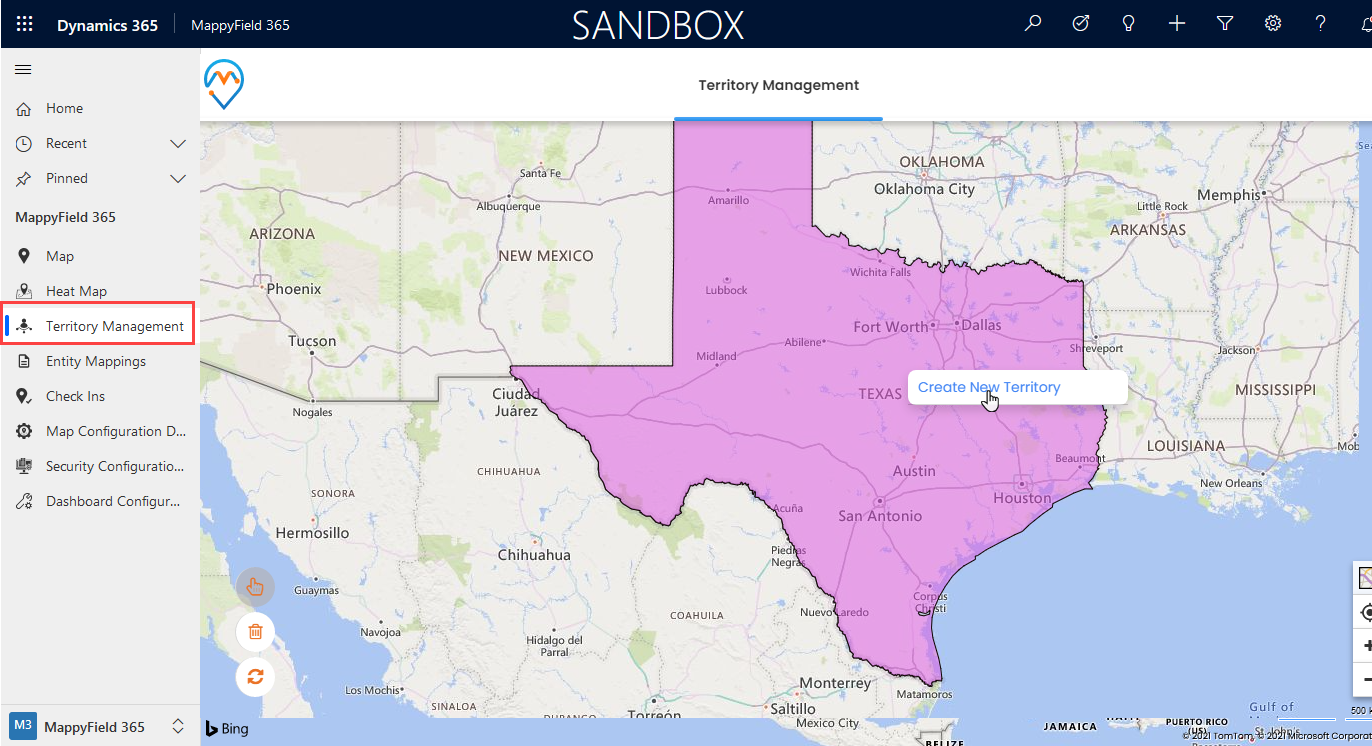
After selecting the plotted area/region, you need to right-click on the selected area. If you have plotted the multiple areas/regions, you need to select all the regions using the selection tool.
Now, by right-clicking on the selected area, you will get the “Create New Territory” option.
By clicking on the “Create New Territory”, you will get a popup to manage the existing territory and to create new territory.
Now, by selecting the CRM record from the “Select Manager” drop-down option, you will get the No. Of Records section. It will display the statistics of the selected CRM records as per the plotted regions/areas to create a territory.
So, based on the No. Of Records (counts) you can decide which manager/team is required to assign the new territory. You will get the count for three entities inside the plotted area on the territory map (Texas):
- Accounts: 15 records
- Contacts: 3 records
- Leads: 1 record
If you have added multiple areas, you will get all the CRM records of Account, Contacts, and Leads. (i.e. by drawing on the map)
AppJetty MappyField 365 plugin of MS Dynamics 365 CRM provides geo-analytical solutions that help managers who work in sales, marketing, or managing the teams and their activities. MappyField 365 includes a wide range of functionalities that enable CRM users to manage, track, and check the activities from the map itself.
If you want to know about any feature regarding AppJetty MappyFIeld 365, feel free to reach out to us at [email protected] or you can just click on the “Request Demo”.
All product and company names are trademarks™, registered® or copyright© trademarks of their respective holders. Use of them does not imply any affiliation with or endorsement by them.


