

To maximize the potential of targeted markets, organizations create sales territories based on factors like customer segment, geography, sales potential, history, or the combination of all these factors. Creating sales territory not only helps the company to earn better but also the sales team to forecast proper targets and achieve them.
But managing sales operations with various territories is not always easy. Especially for the sales managers. So, for better territory management as well as your sales team management, we are going to show how to create, assign, re-assign, and manage your sales territories from a single screen in Dynamics CRM 365.
By default, Dynamics 365 provides its users with the functionality of creating and assigning territories. And here’s how you can create Sales Territories from the Dynamics CRM:
Step 1: Creating a Sales Territory and assigning a sales manager
Navigate to Settings → Business Management → Sales Territories.

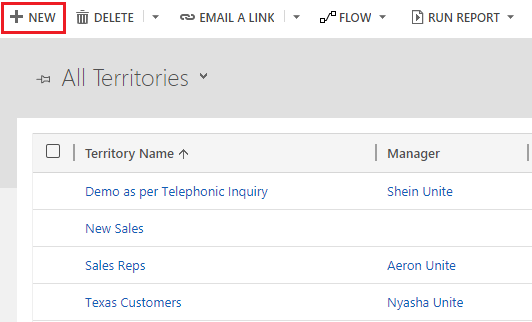
→ By clicking on Sales Territories, the list of existing territories will be displayed. From here, you can create and manage the territories.
→ To create a new Territory, click on + New button.
→ You will be redirected to the “New Territory” page. Insert required Territory Name and assign a Manager for this Territory and select the Parent Territory if required.
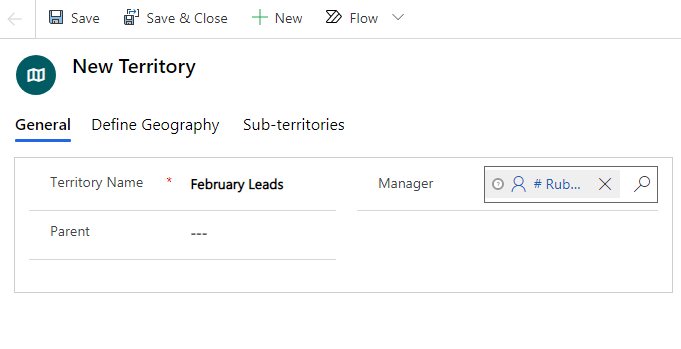
→ After inserting all the details, click on the Save button.
→ Created Territory can be seen in the list of Territories.
→ Now, you need to select the Territory to the Accounts for targeted activities.
Step 2: Assigning Territory to an Account
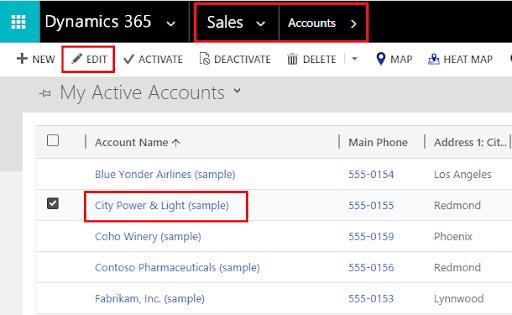
→ Navigate to Sales → Accounts.
→ Select an account and click on the Edit button or just click on the account to which you want to assign a territory.
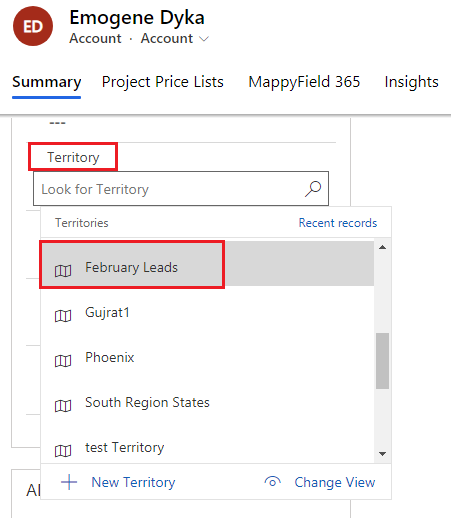
→ Select the relevant Territory and save the changes.
In this way, you can create a new Territory and assign the same to a Manager and an account.
Now, with this default functionality, you might not get the clear visibility of the assigned territories. You will need to perform a lot of manual tasks inside the CRM for even a tiny bit of visibility of territories and how they are performing. You might not even get an overview of how a particular sales territory is performing as well.
Apart from this, there are many other limitations to this default territory management functionality of Dynamics CRM. To overcome them, you can look for an alternative by searching “Dynamics Map Integration”. The reason behind looking for a map integration is that a map will give you an overview of all of your sales territories, how they are performing, how many sales reps/managers are assigned to a particular territory, and whatnot.
We’ve covered how to use a Dynamics CRM Map Integration for territory management as well in this blog. We’ve taken MappyField 365, an extension for Dynamics CRM, for explanation purposes. You can always go to MS App Source to look for a map extension.
With MappyField 365, you can easily create and manage the Territories geographically. And not just create and manage the Territories but you can also assign the same to managers and accounts right from a single screen. You can also merge the territories as per your needs.
Now, let’s see how to create, assign, and manage territories in MappyField 365.
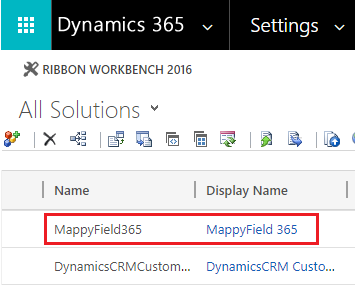
Step 1: Import the package of MappyFIeld 365 and install it.
Step 2: Navigating to MappyFIeld 365 -> Territory Management
Step 3: Creating and managing Territories from MappyFIeld 365 -> Territory Management
→ In MappyField 365, there are four different options to create and manage the Territories
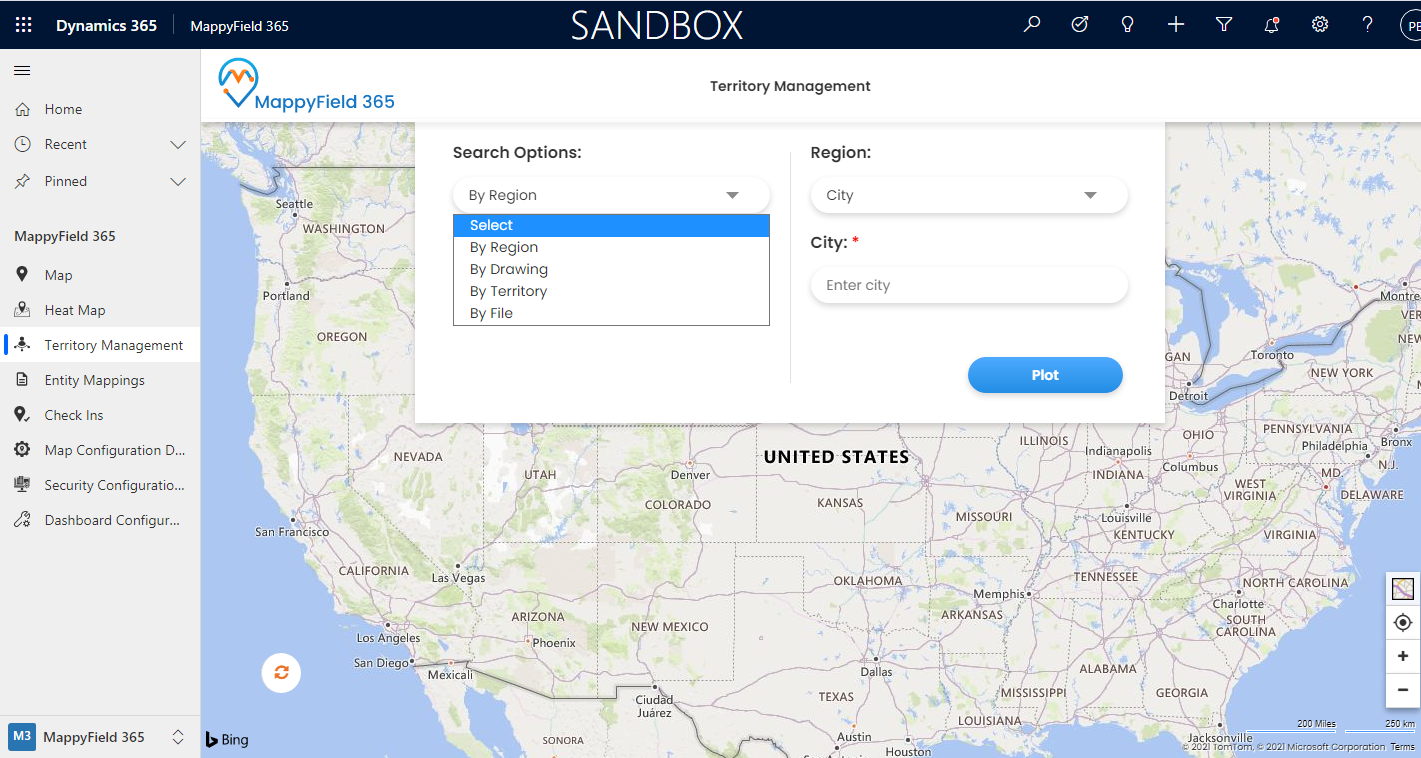
→ Navigate to “Territory Management” from the left Navigation menu in MappyField 365.
→ Territories can be created and managed by following four ways in MappyField 365:
1. By Region
2. By Drawing
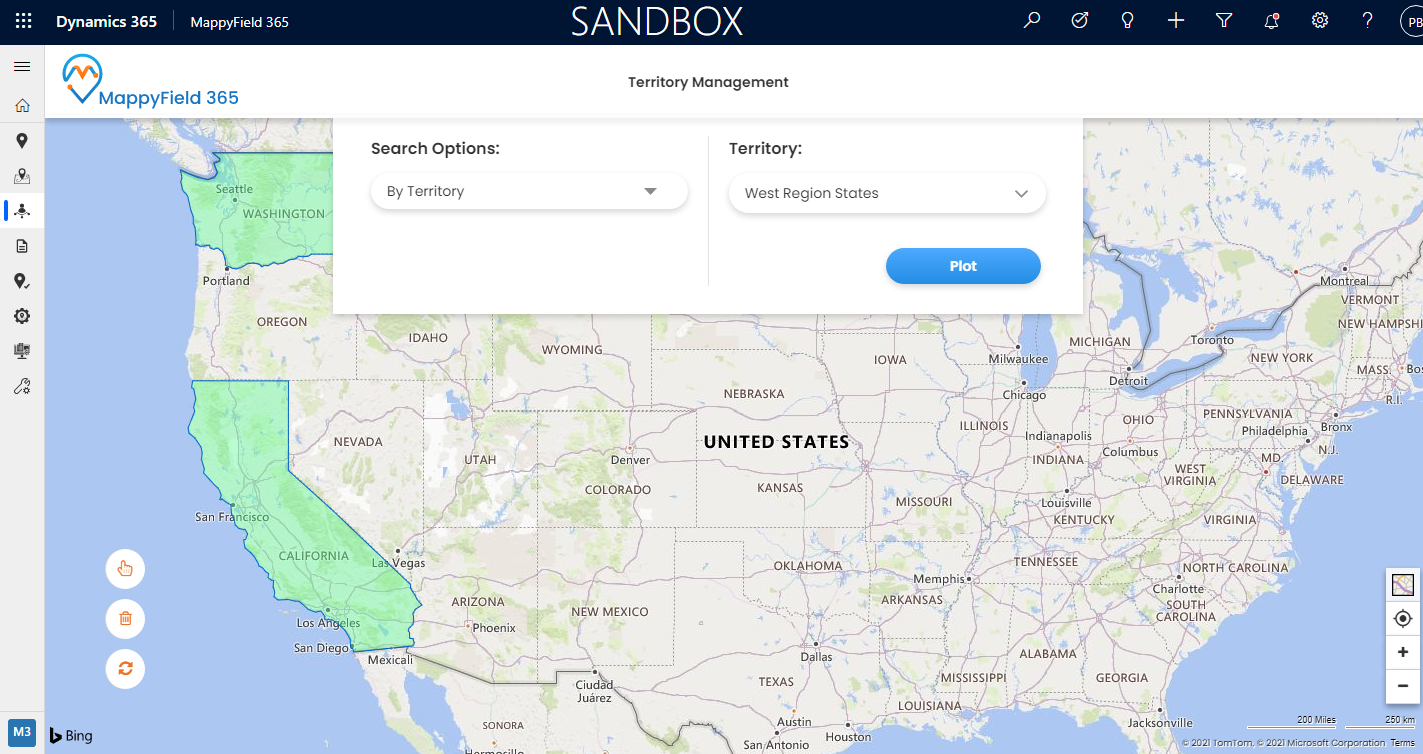
3. By Territory
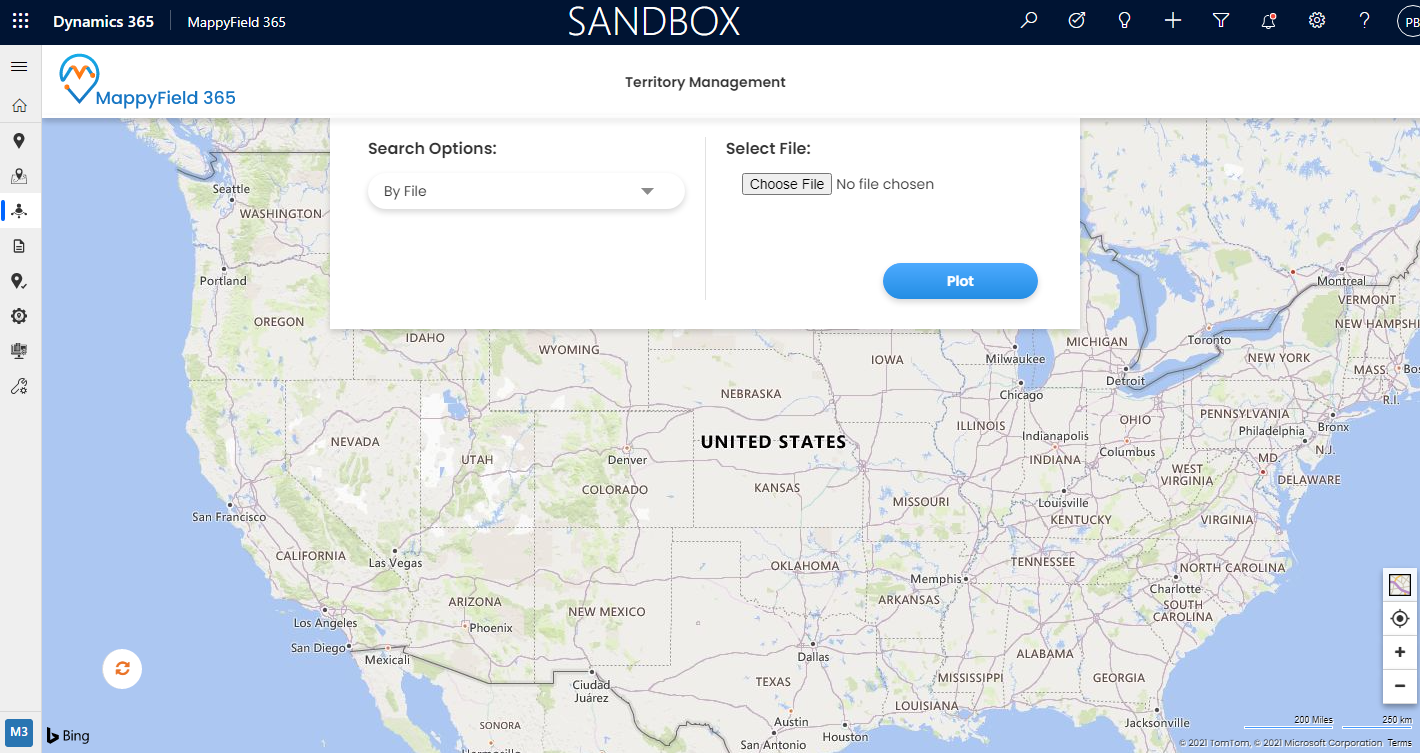
4. By File
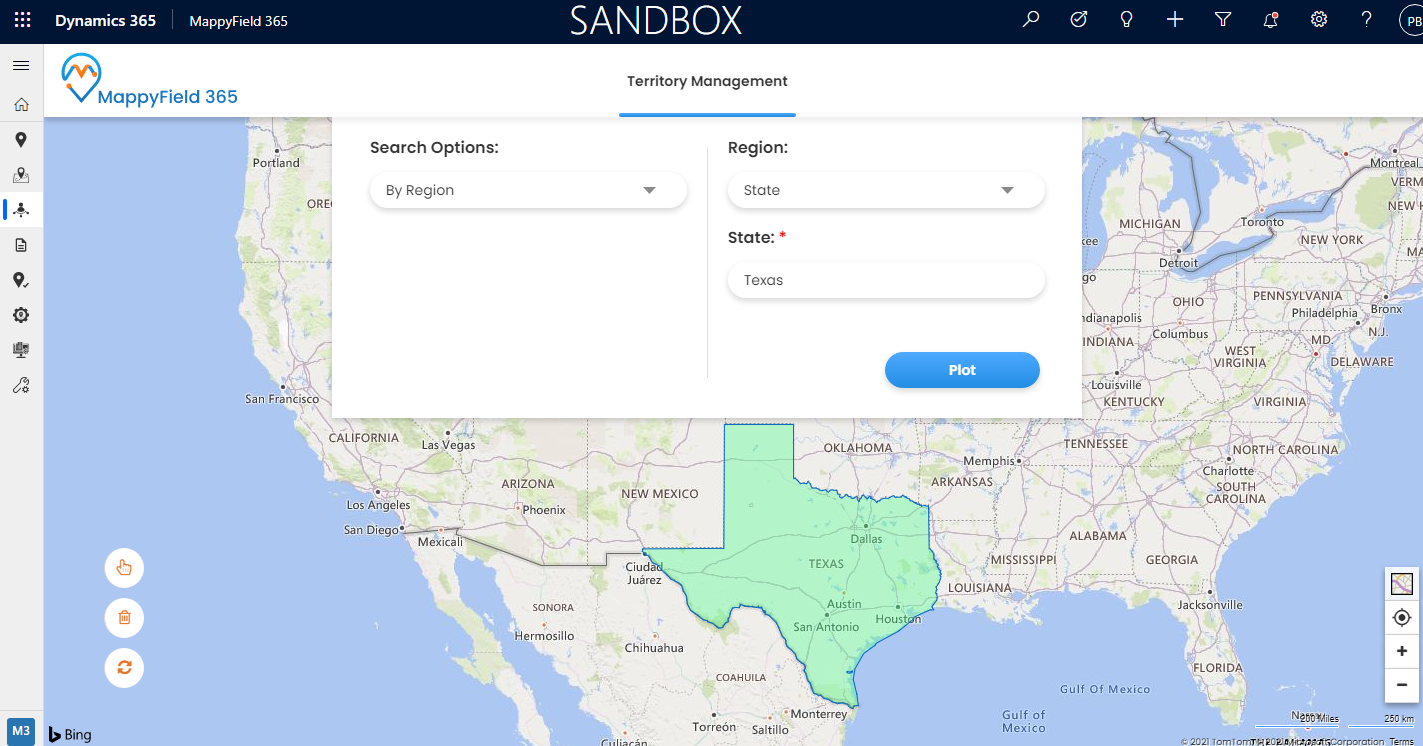
1. By Region: Select a ‘Region’ from available options which are City, State, Country, and Postal code. After selecting the required options, insert the territory name to create a boundary as per the selected options.
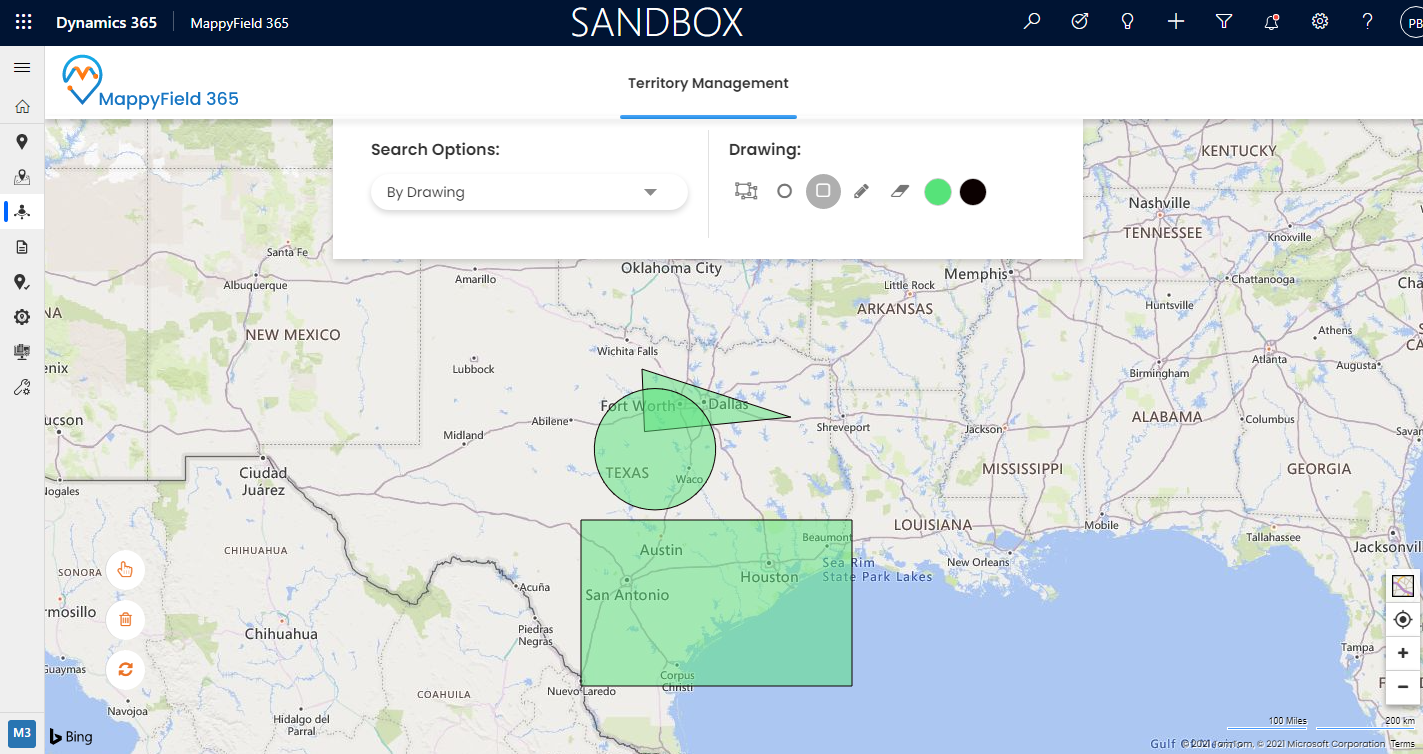
2. By Drawing: Select any ‘drawing tool’ to create a shape on the map to create a territory. There are multiple drawing tools like Polygon, Circle, and Rectangle. You can also manage the shape color & its border color.
3. By Territory: A new territory can be plotted on a map to merge into an existing territory or to create new Sales territory. Only the admin (Sales Manager) can merge multiple territories in a single territory by moving a new one into an existing territory.
4. By File: Select ‘By File’ option to import the territory data on the map from the shapefile. The format of the shapefile will be .shp, .shx.
Step 4: Create, assign, and merge Sales Territories
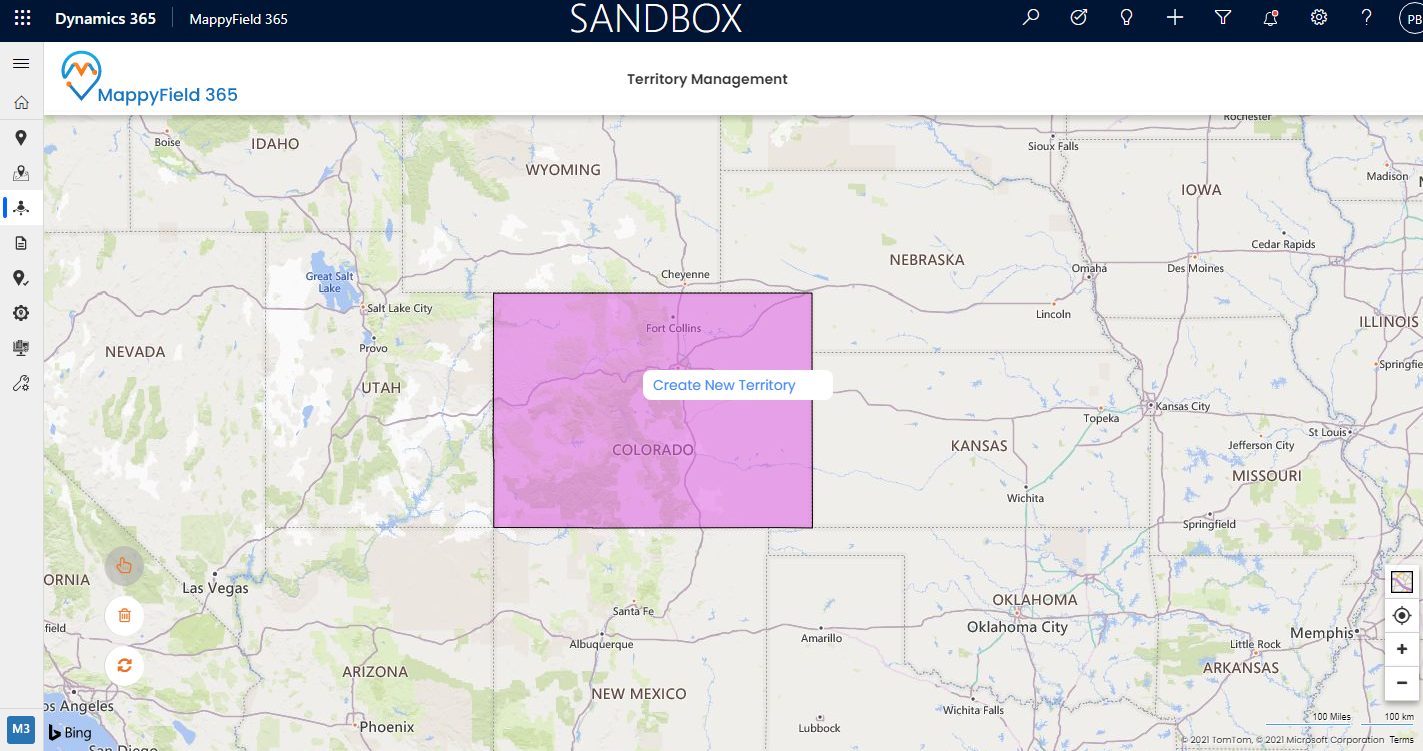
– Click on icon to select the drawn shape.
– Once the shape is selected, the color of the shape will be changed.
– Right-click on a selected shape and click on the “Create New Territory” button.
– After clicking on “Create New Territory”, Create New Territory popup will appear. Insert the Territory Name and select a sales manager to assign the same to them.
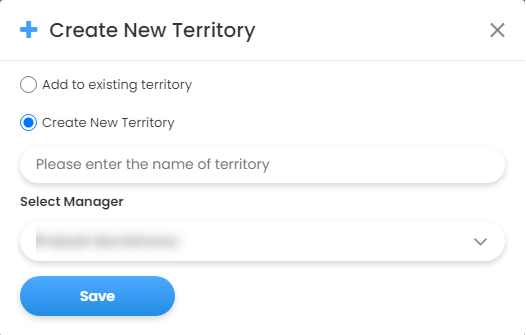
– From here, you can also add the new territory to an existing territory by selecting ‘Add to existing territory’ option to merge multiple territories.
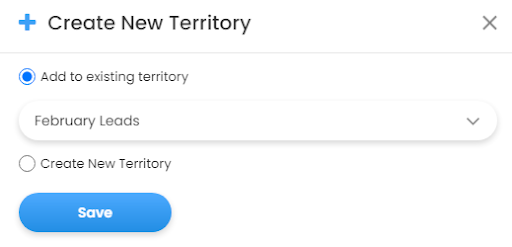
– By clicking on the Save button, the new sales territory will be created.
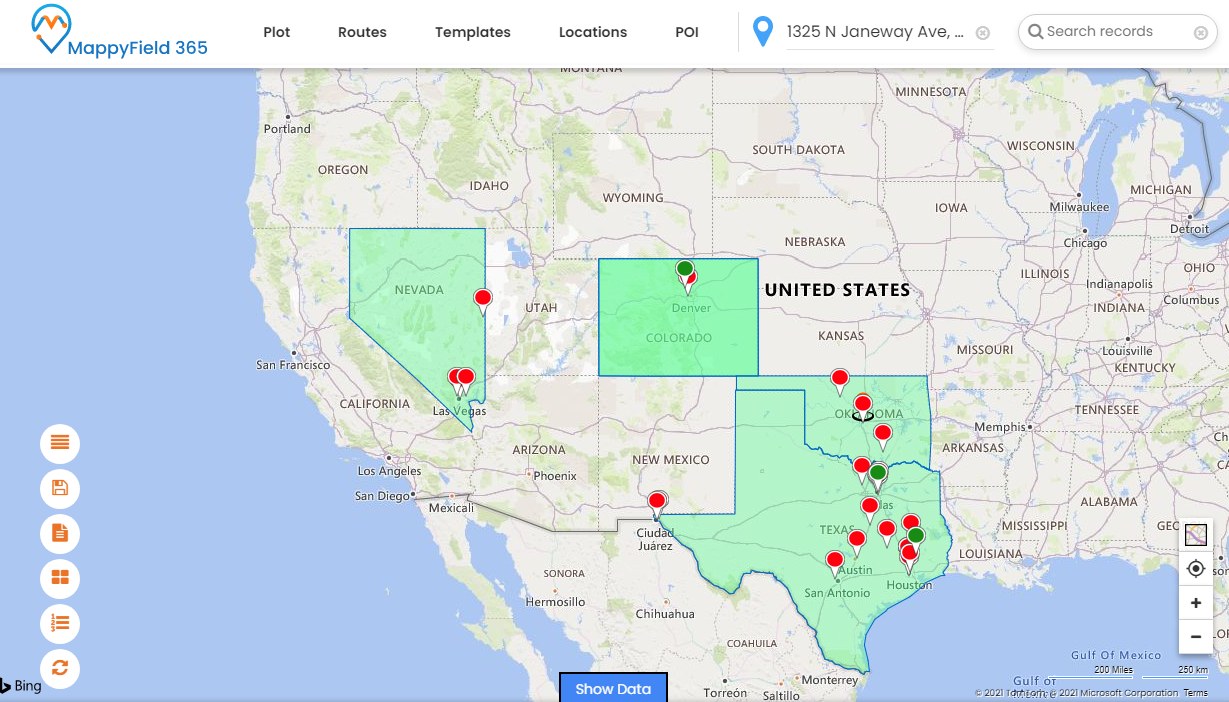
Step 5: For a consolidated view of territories on the Map, navigate to MappyField 365 → Map.
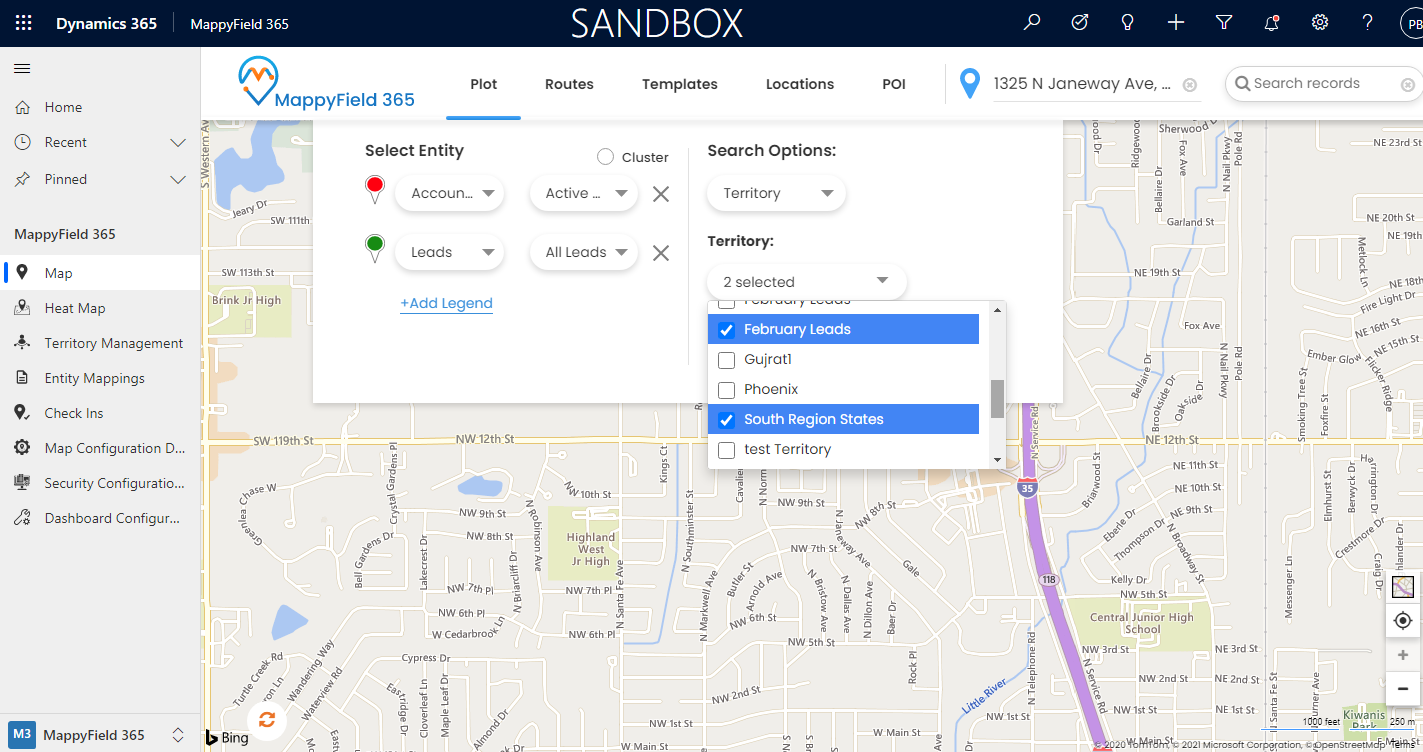
Step 6: After selecting the required data like ‘Entity’, Territory Search option, and the ‘Territories’, click on the Search button to get the map view of your territories.
Ready to smartly manage your territories with Dynamics CRM Map Integration?
All product and company names are trademarks™, registered® or copyright© trademarks of their respective holders. Use of them does not imply any affiliation with or endorsement by them.


