

Many teams use MappyField 365 to plan routes, view customer locations, and work with map data inside Dynamics 365. Before those features can run, Google Maps must be connected with the right credentials. That is where this setup starts.
The steps below will walk you through creating the Google Maps API key and Map ID for MappyField 365. These login credentials enable the system to support route planning within Dynamics 365, display maps, fix locations, calculate distances, and support route planning. The setup is simple, yet crucial because a single missing step might degrade everyone’s experience when using the map.
This guide will help you ensure that you have properly integrated the map. Regardless of whether you manage CRM or simply want to set it up, this guide will provide you with the necessary steps, explain why they are essential, and help you complete the setup without hassle.
Steps to Configure Google Maps for MappyField 365
To use Google Maps with our product MappyField 365, you must generate credentials, including a Google Maps API key and a Map ID.
Google Maps API key generation
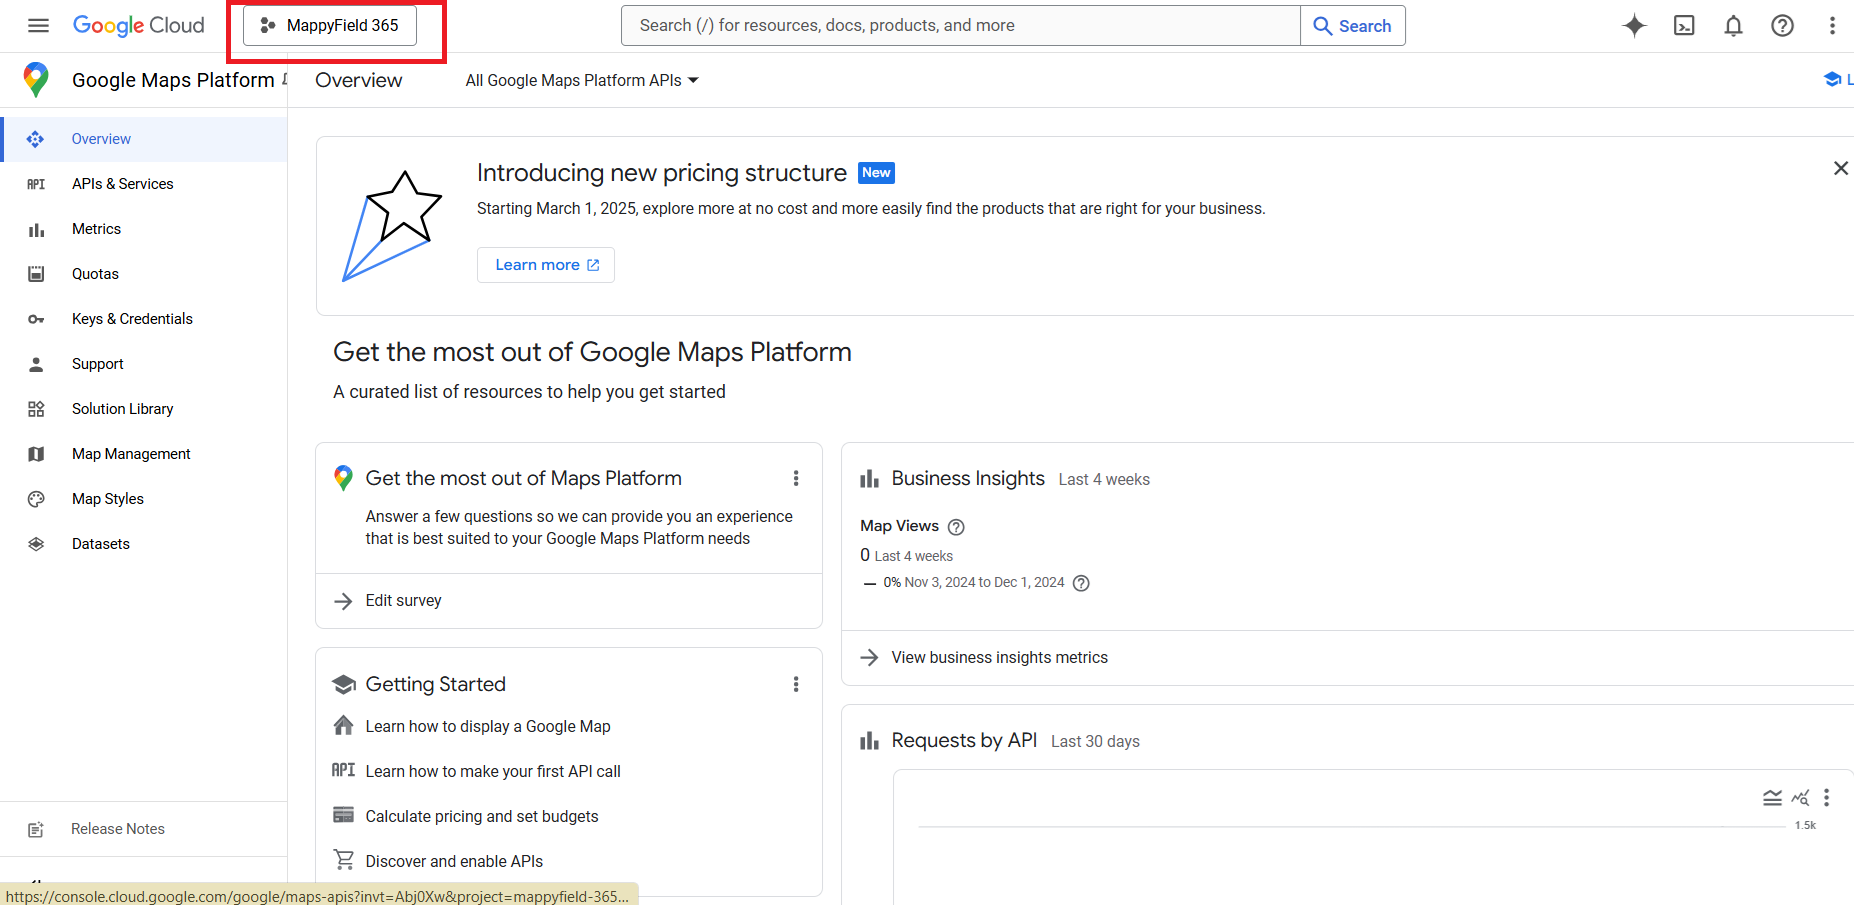
1. Go to the (Google Map Cloud Console) ➤ Click on Project Section.
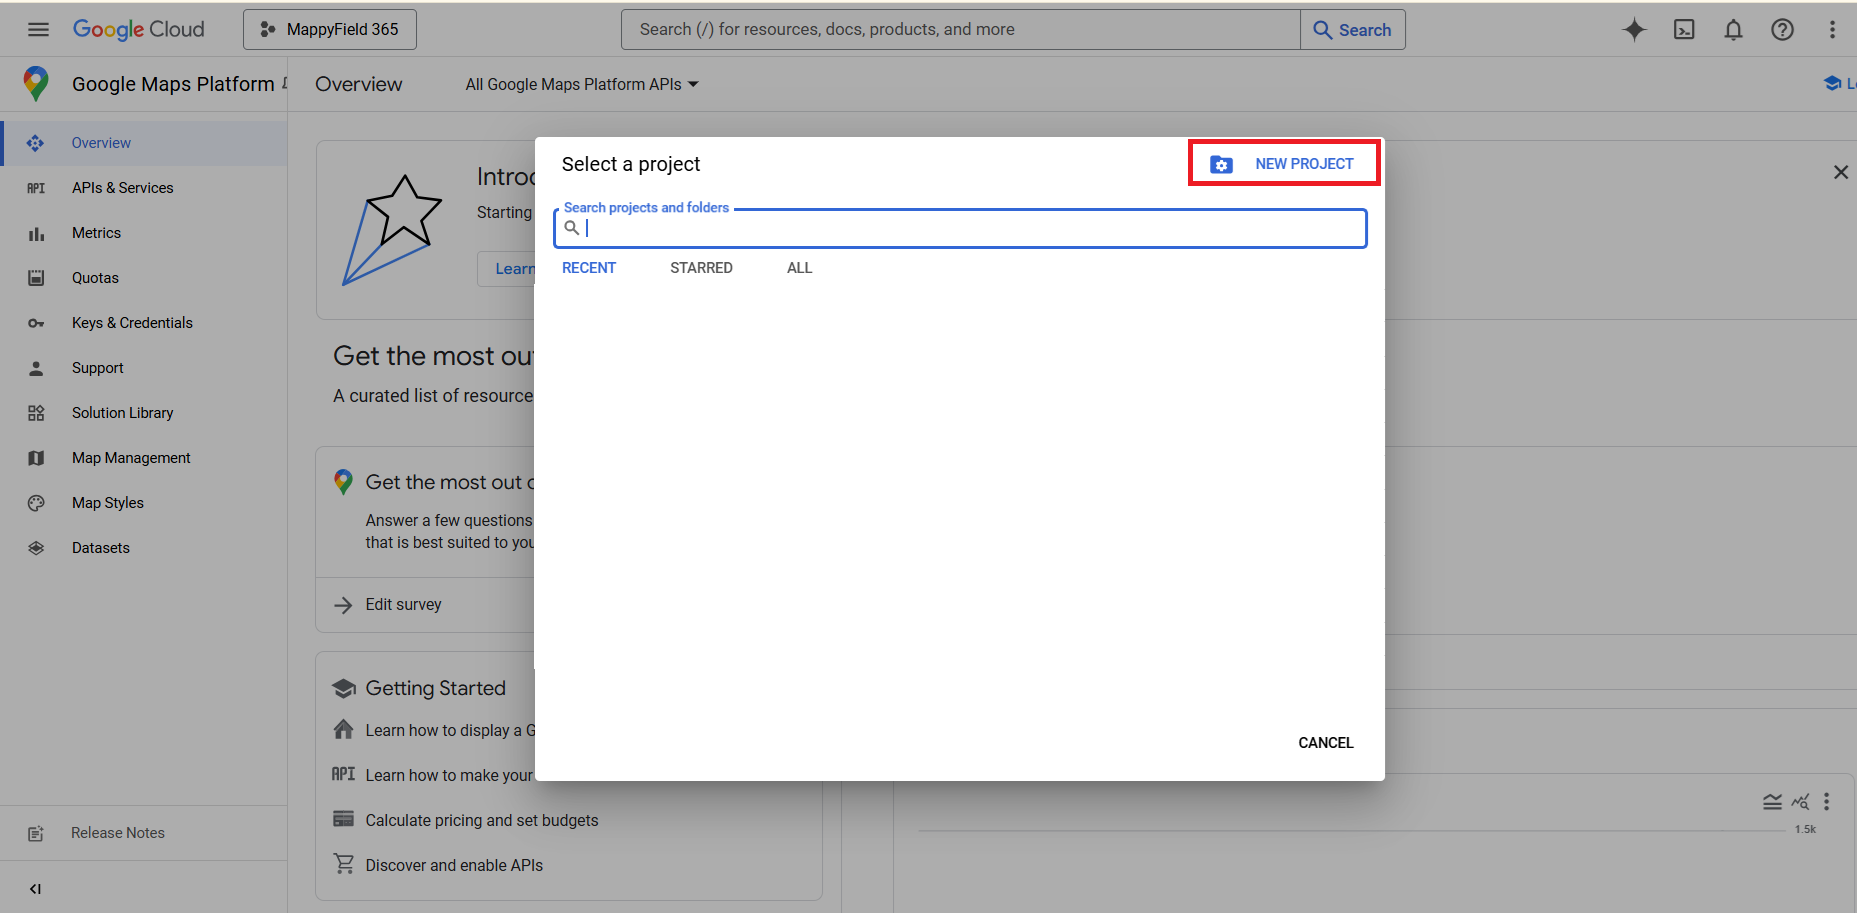
2. Click on New Project.
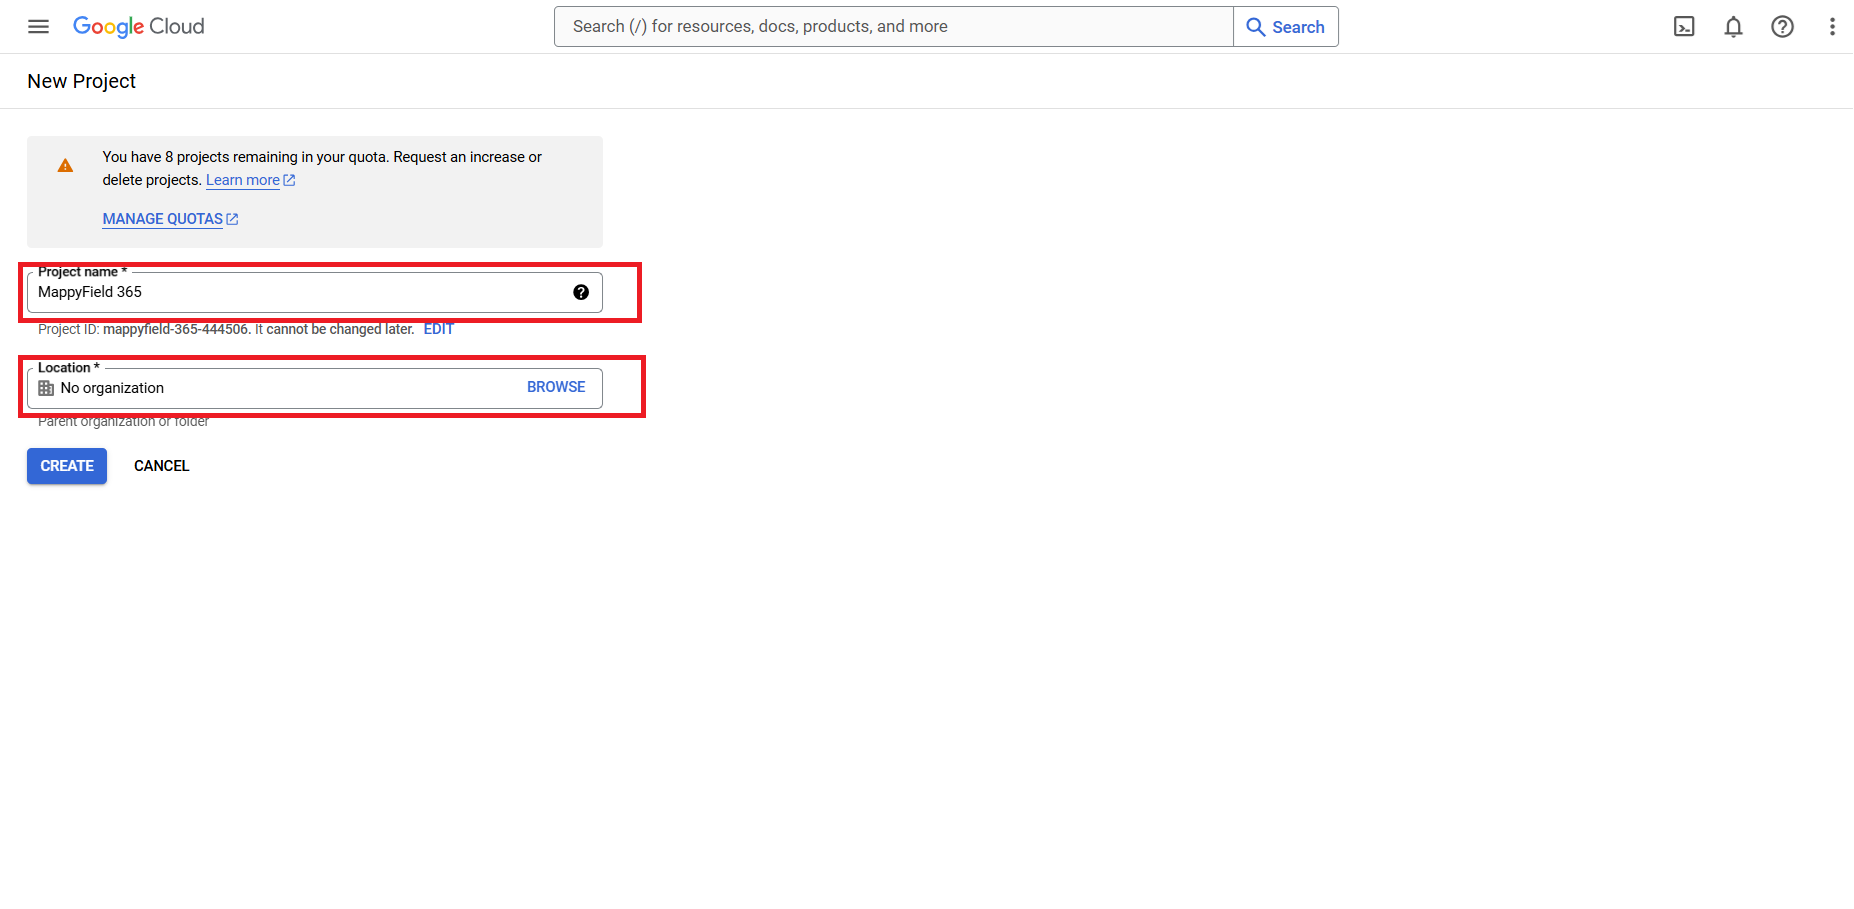
3. Give an appropriate Project Name. Select the Location, then create the project.
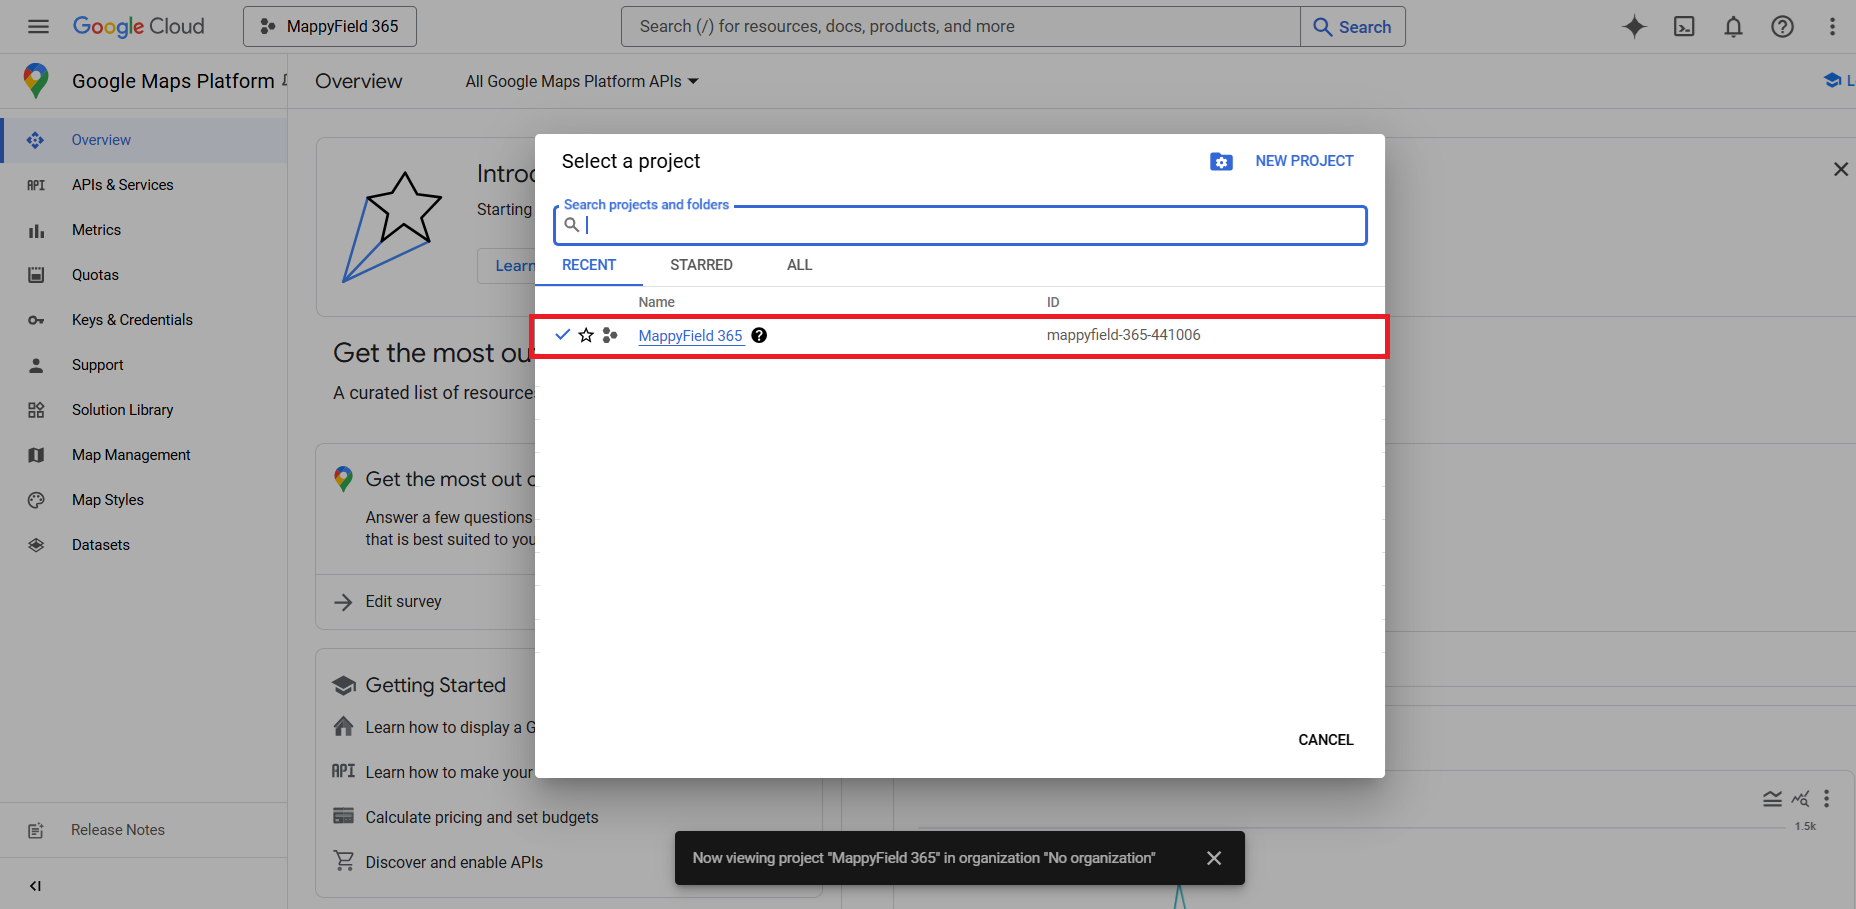
4. Once your project has been created, go to the Project section and select that project to open it.
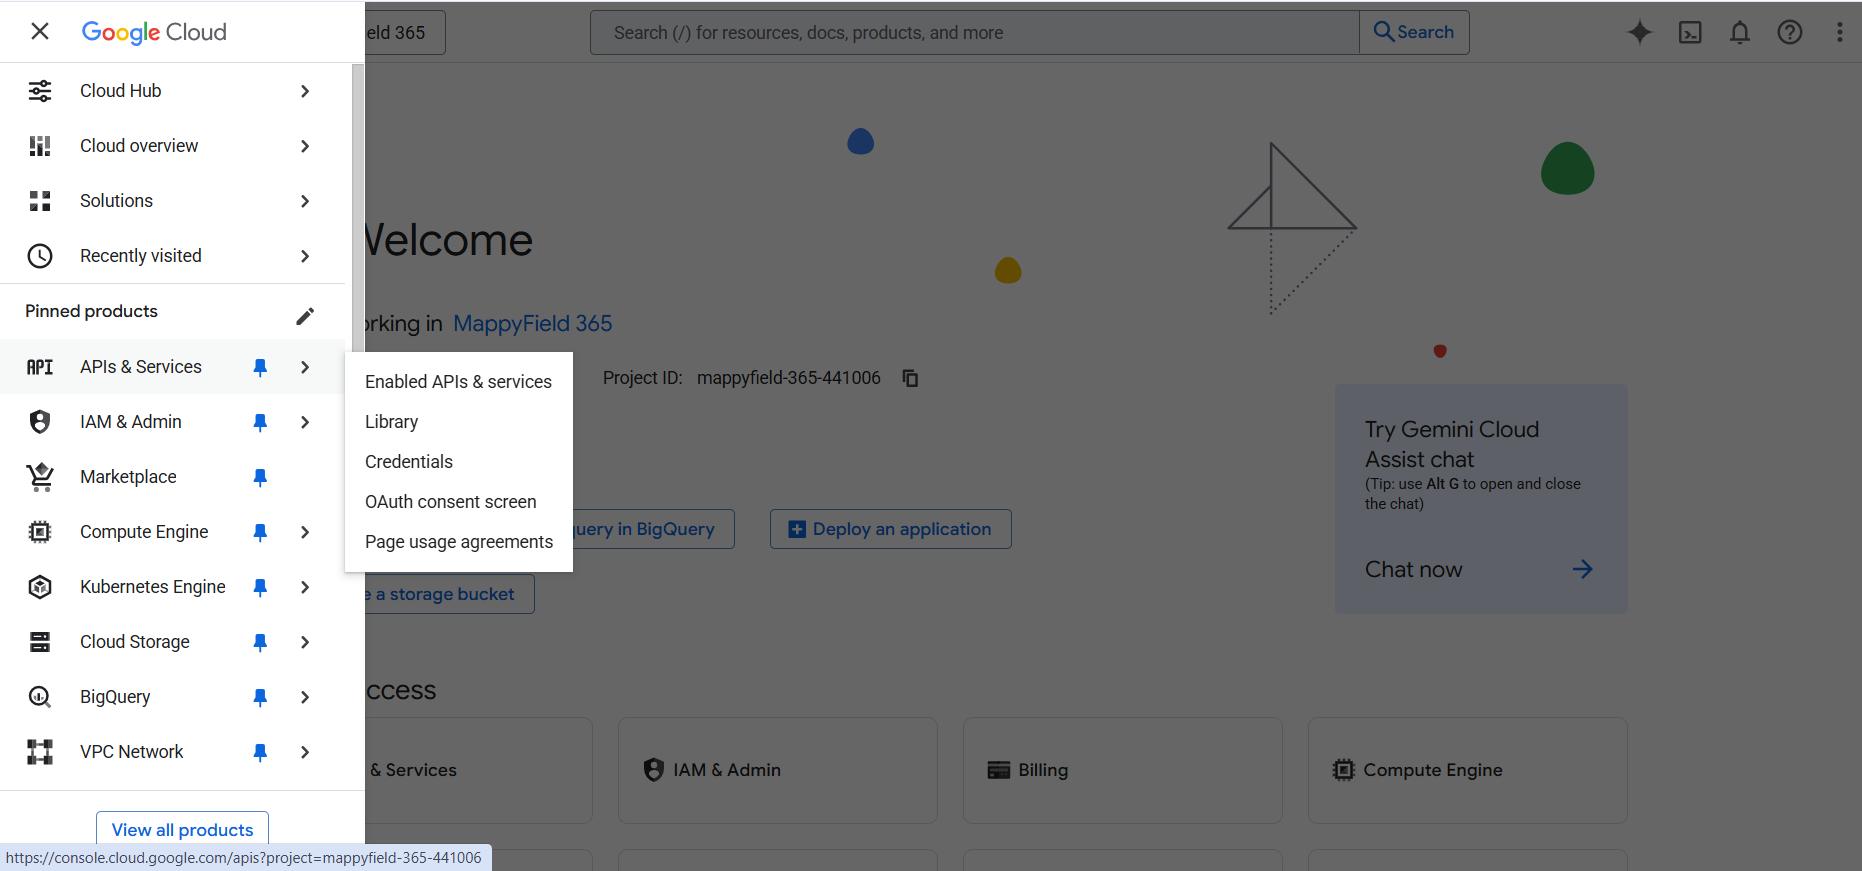
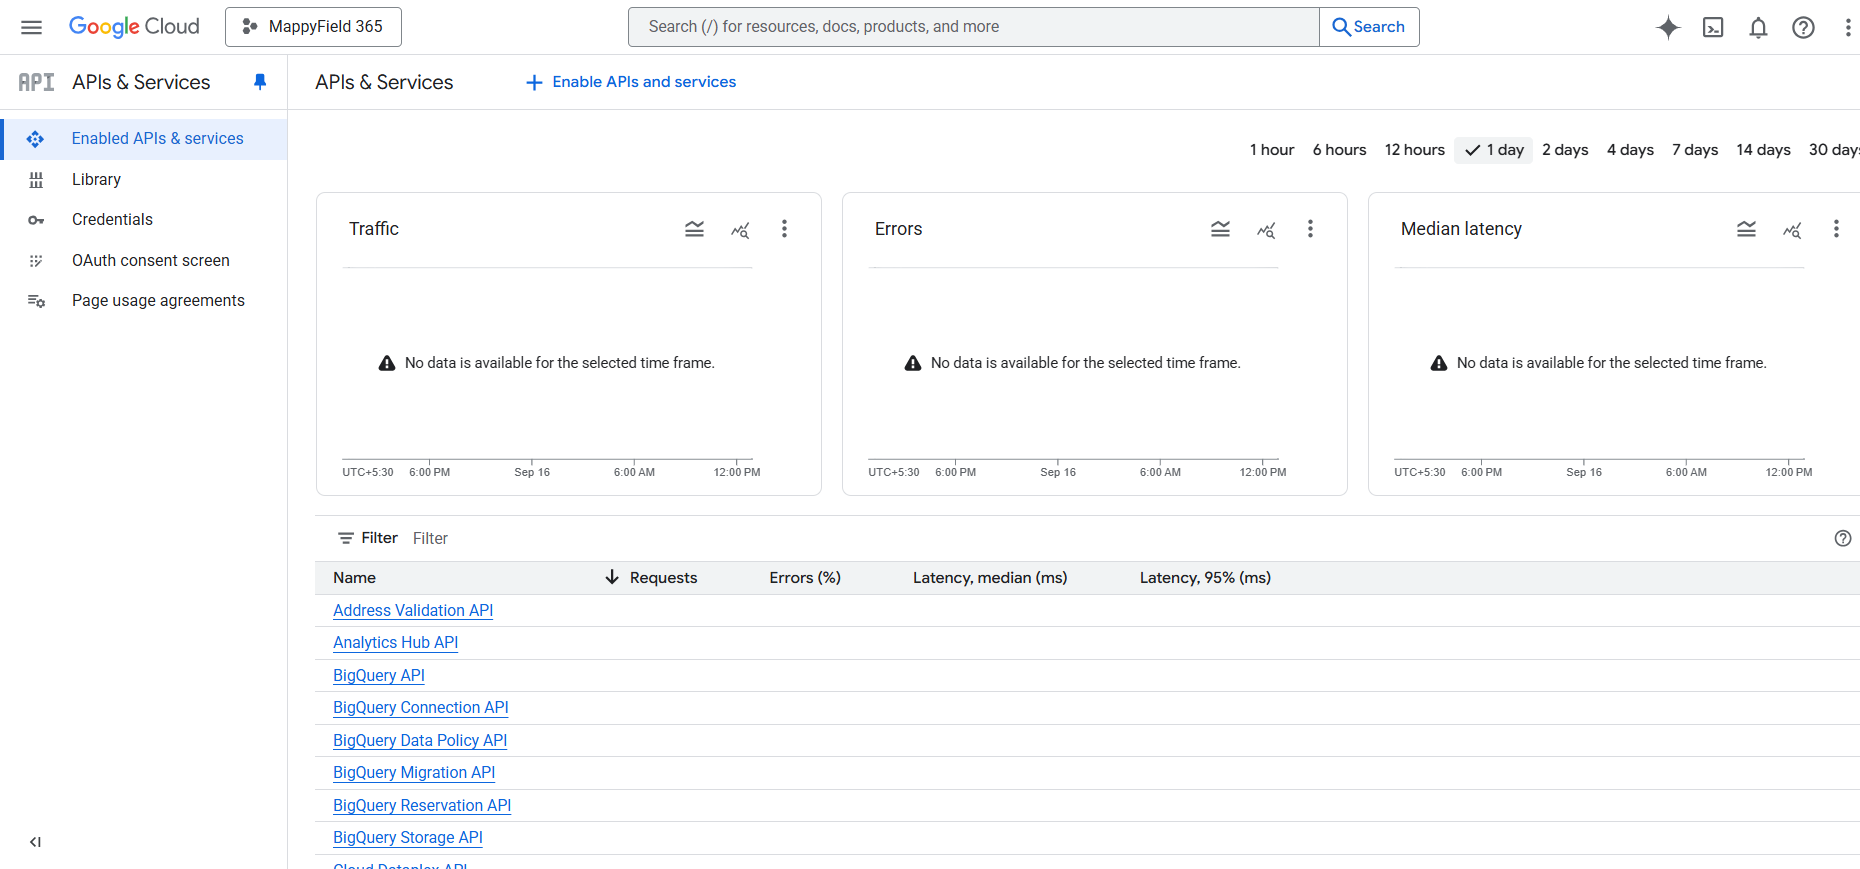
5. Click on the Navigation Menu ➤ API & Services ➤ then Click On Create Credentials.
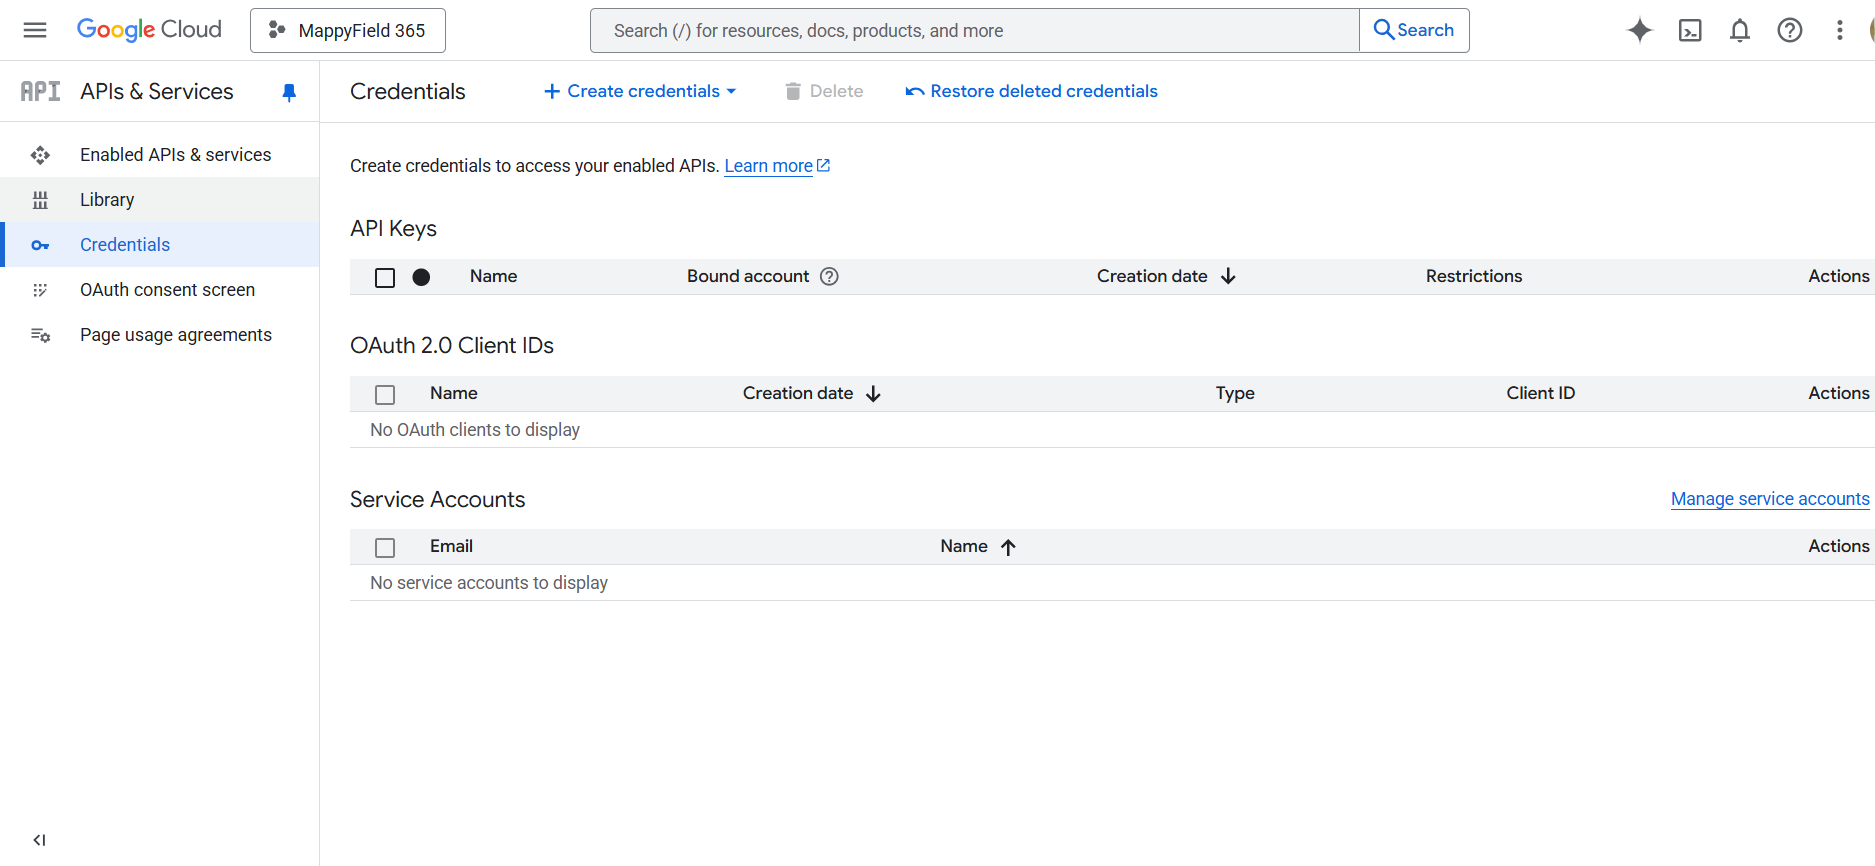
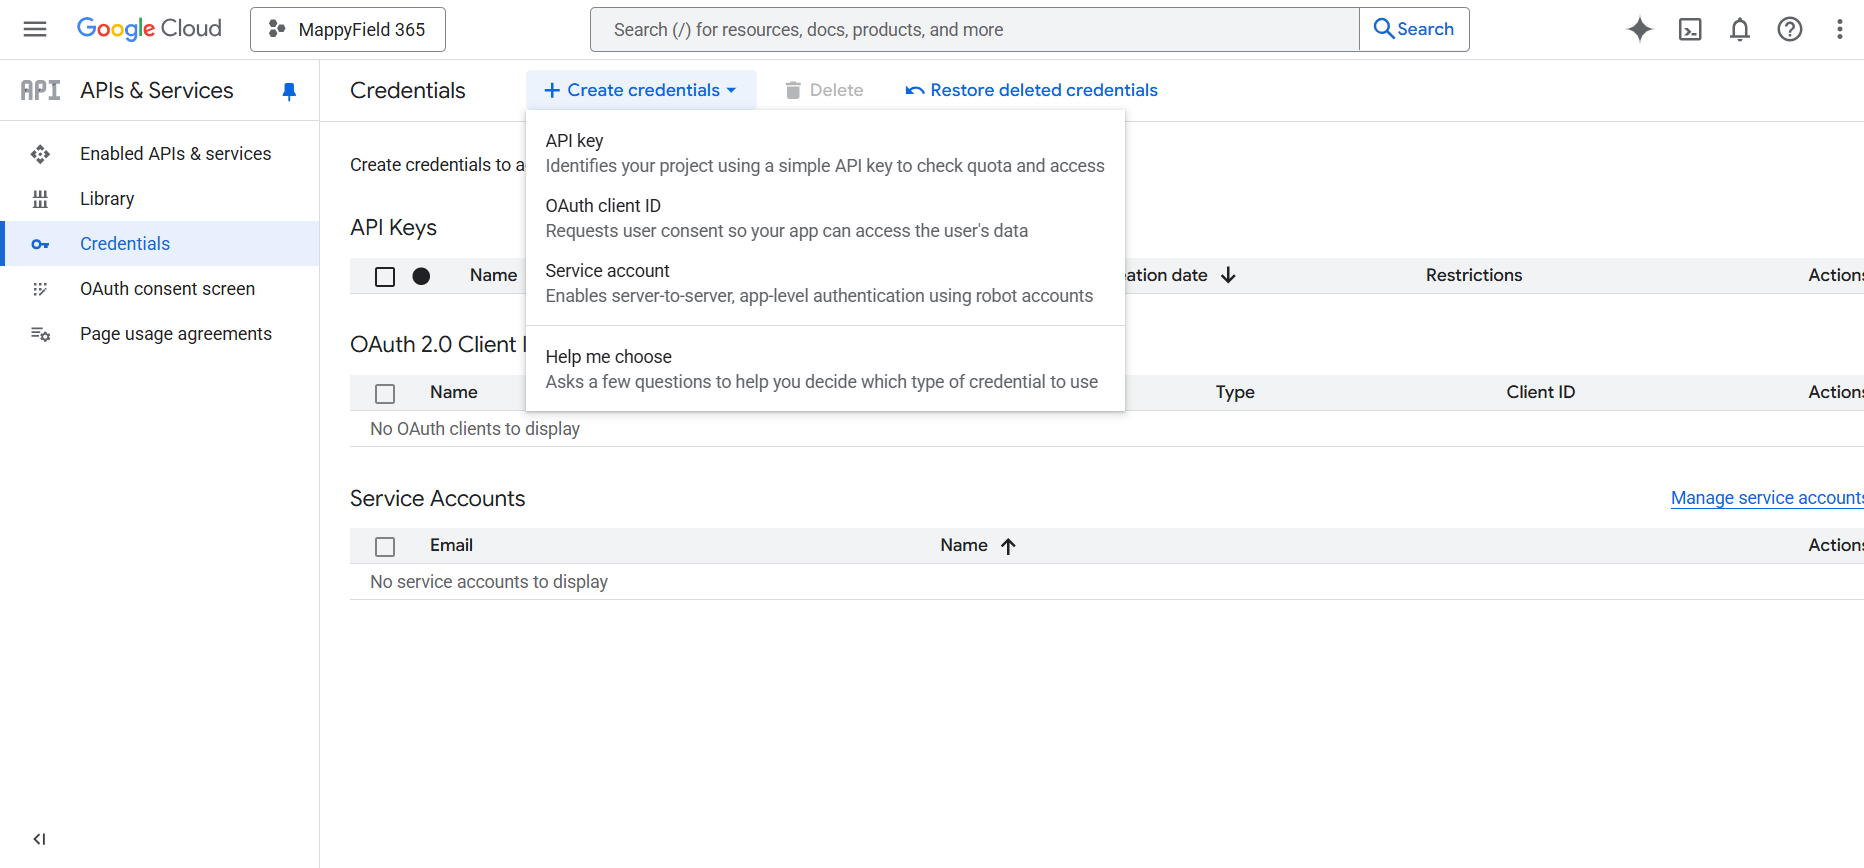
6. Click on the Create Credentials ➤ Select API Key ➤ Click on Create Credentials.
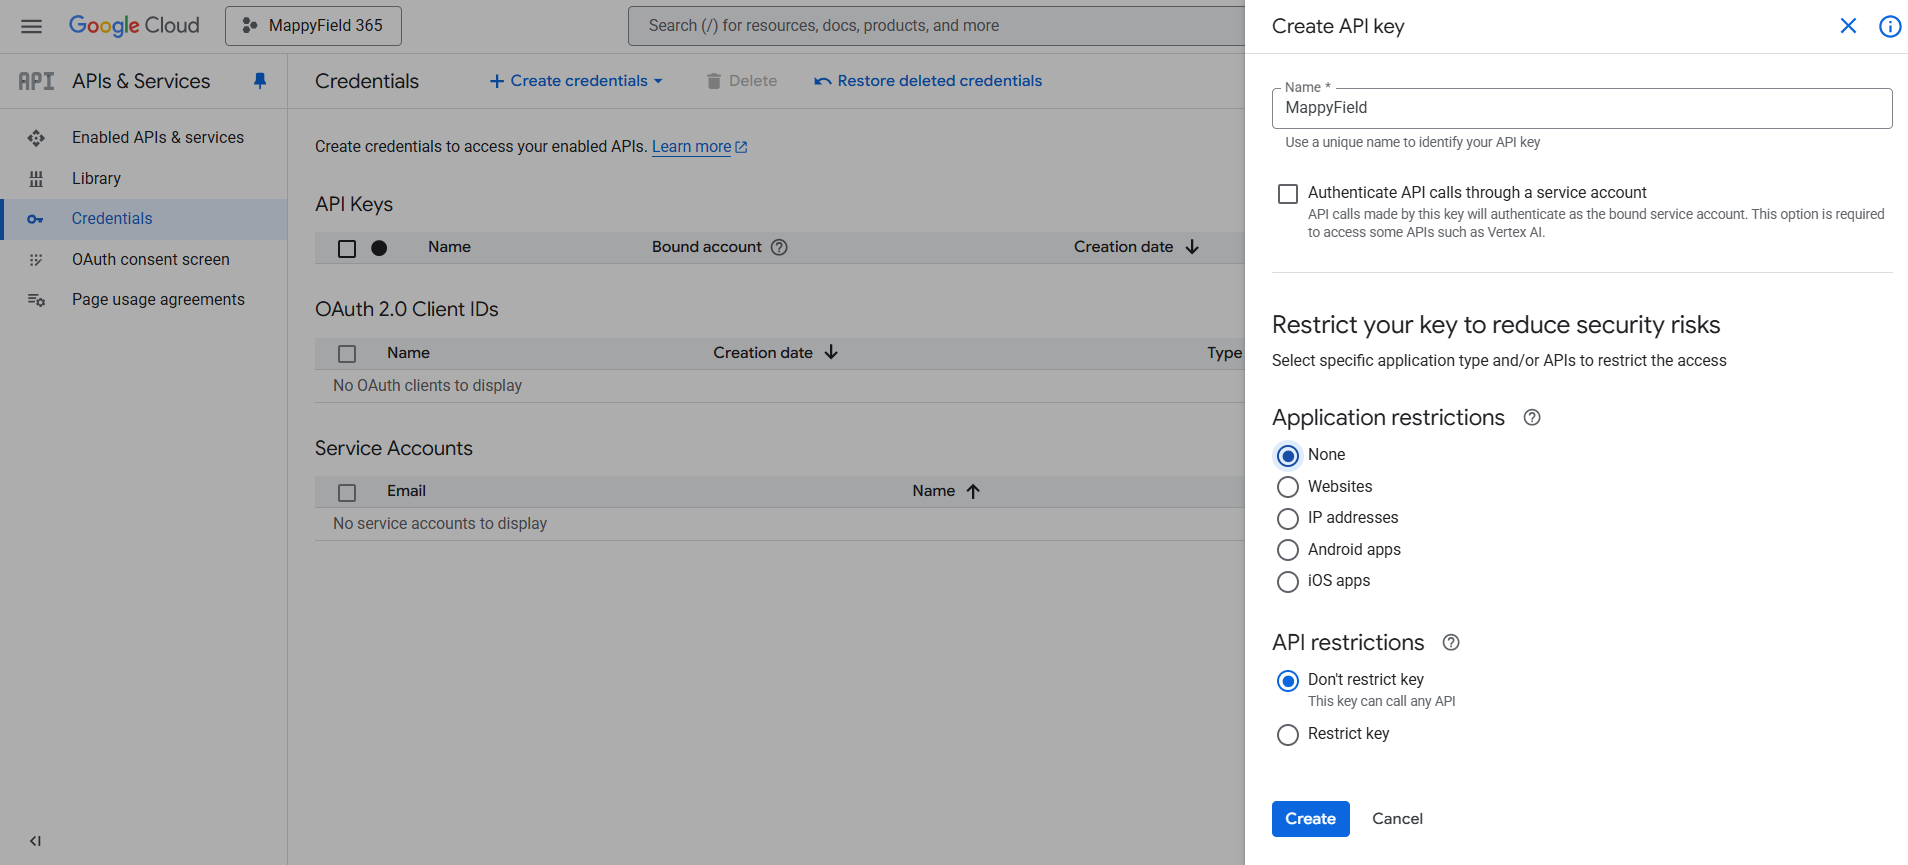
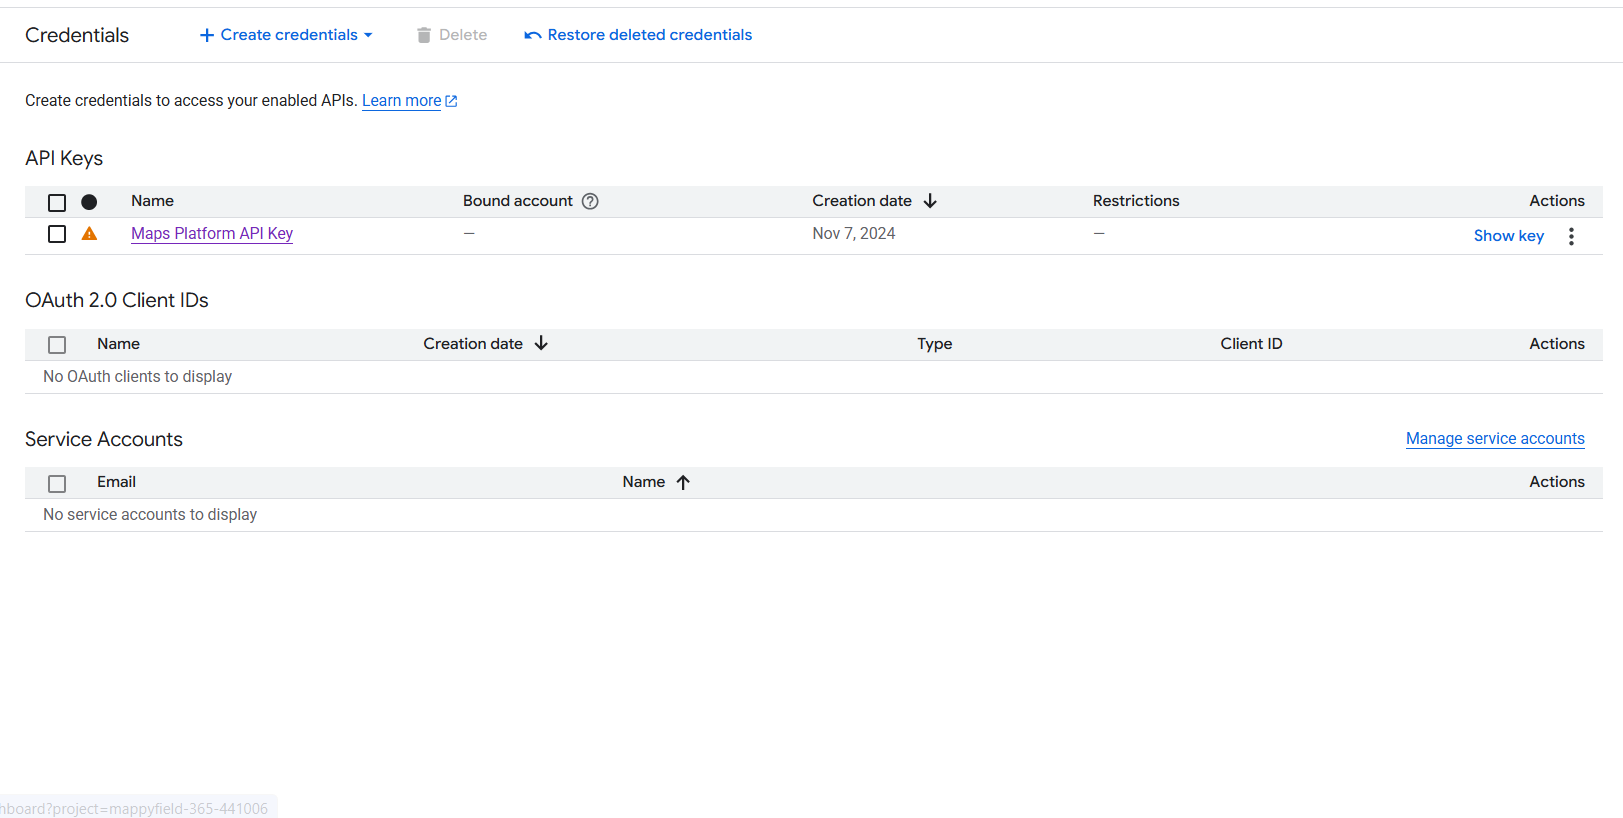
7. Give the key name MappyField ➤ Select Application restrictions (None) ➤ Select API restrictions (Don’t restrict key) ➤ Click On Create.
8. Copy key from Show key Option and save it somewhere.
9. Now go into Enable APIs & Service ➤ Click on + Enable APIs and Services.
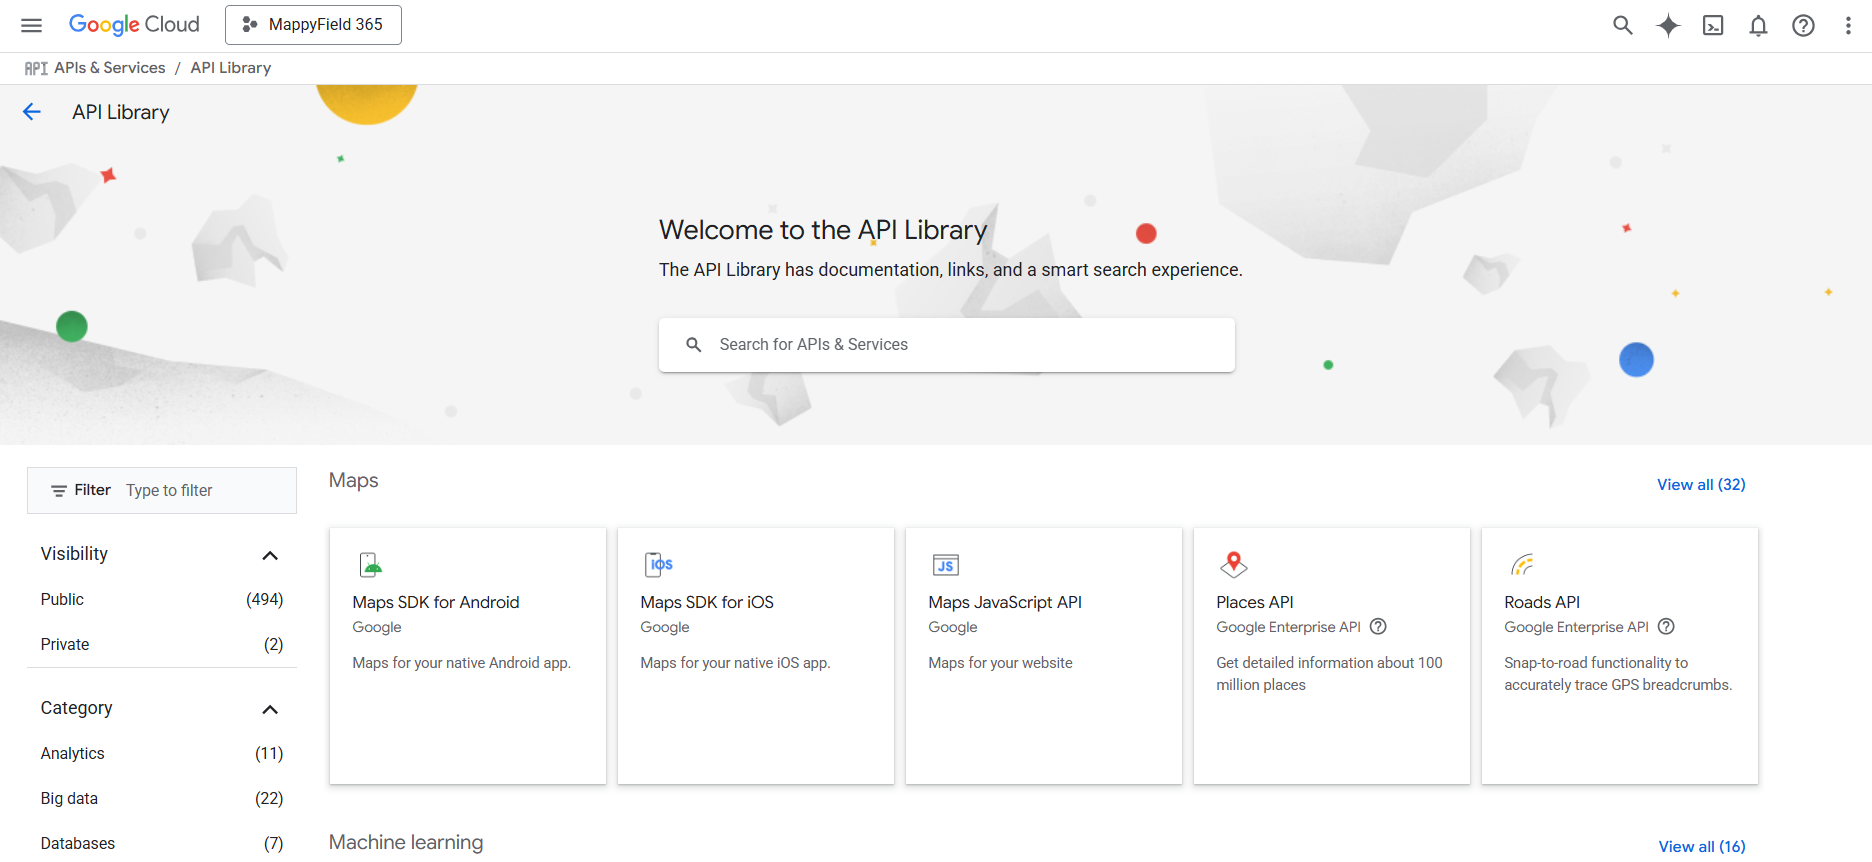
Enable these API services
01 ] Route Optimization API
02 ] Routes API
03 ] Geocoding API
04 ] Geolocation API
05 ] Maps Embed API
06 ] Address Validation API
07 ] Places API
08 ] Maps JavaScript API
09 ] Places API (New)
10 ] Directions API
11 ] Distance Matrix API
12 ] Navigation SDK
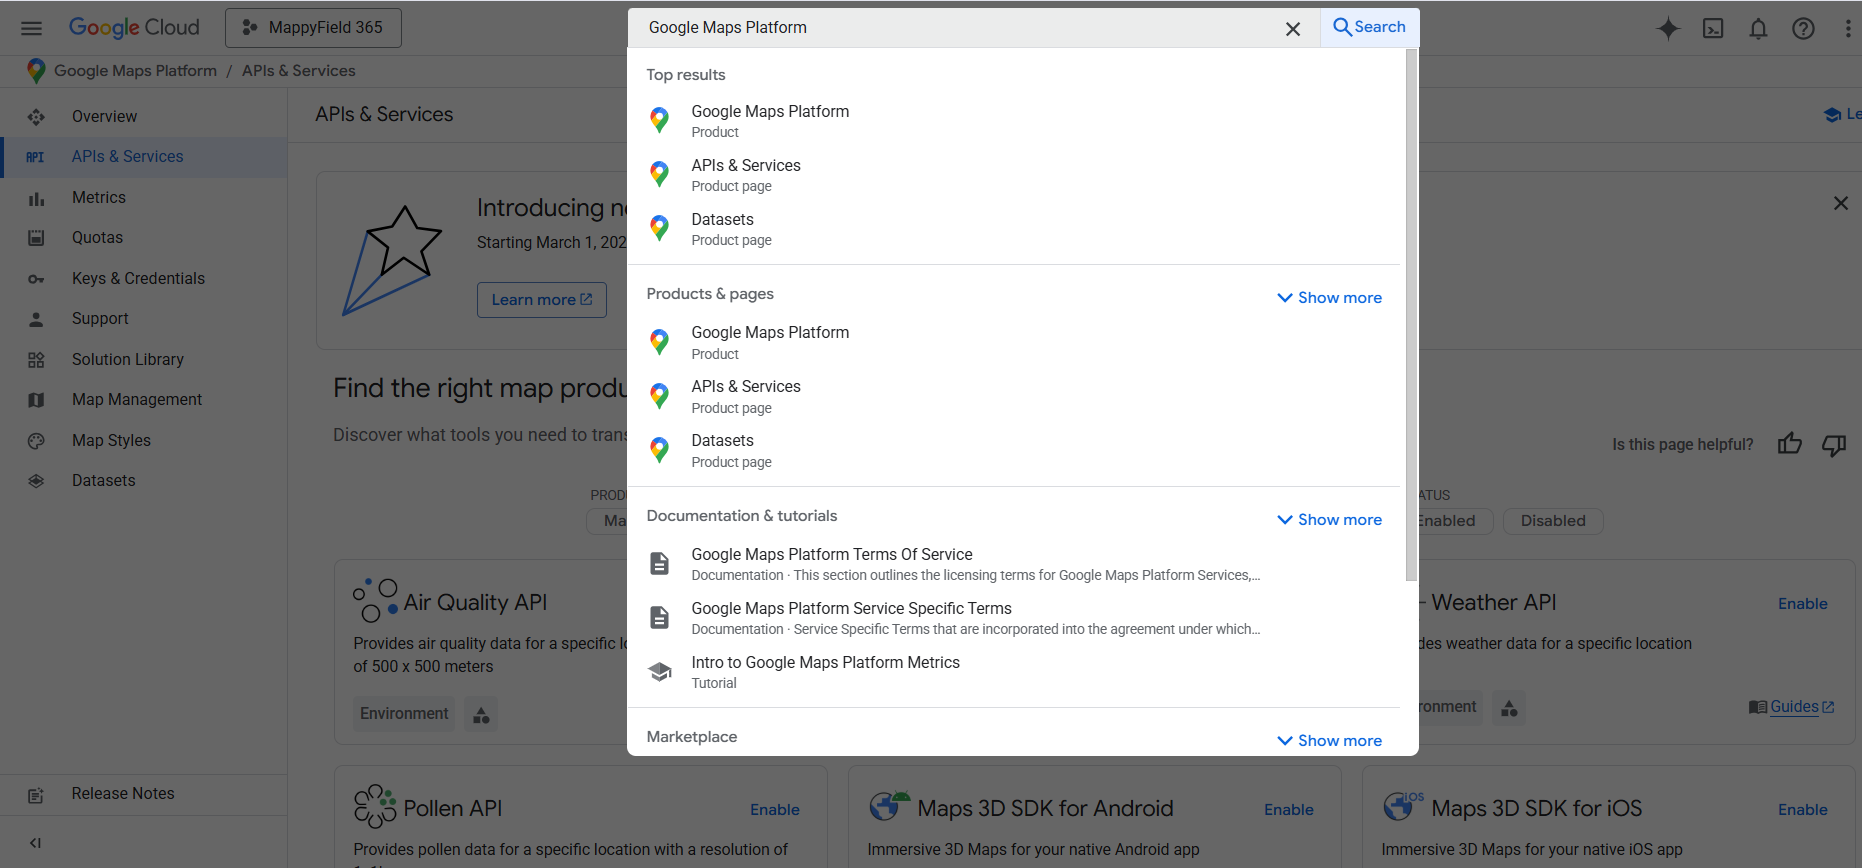
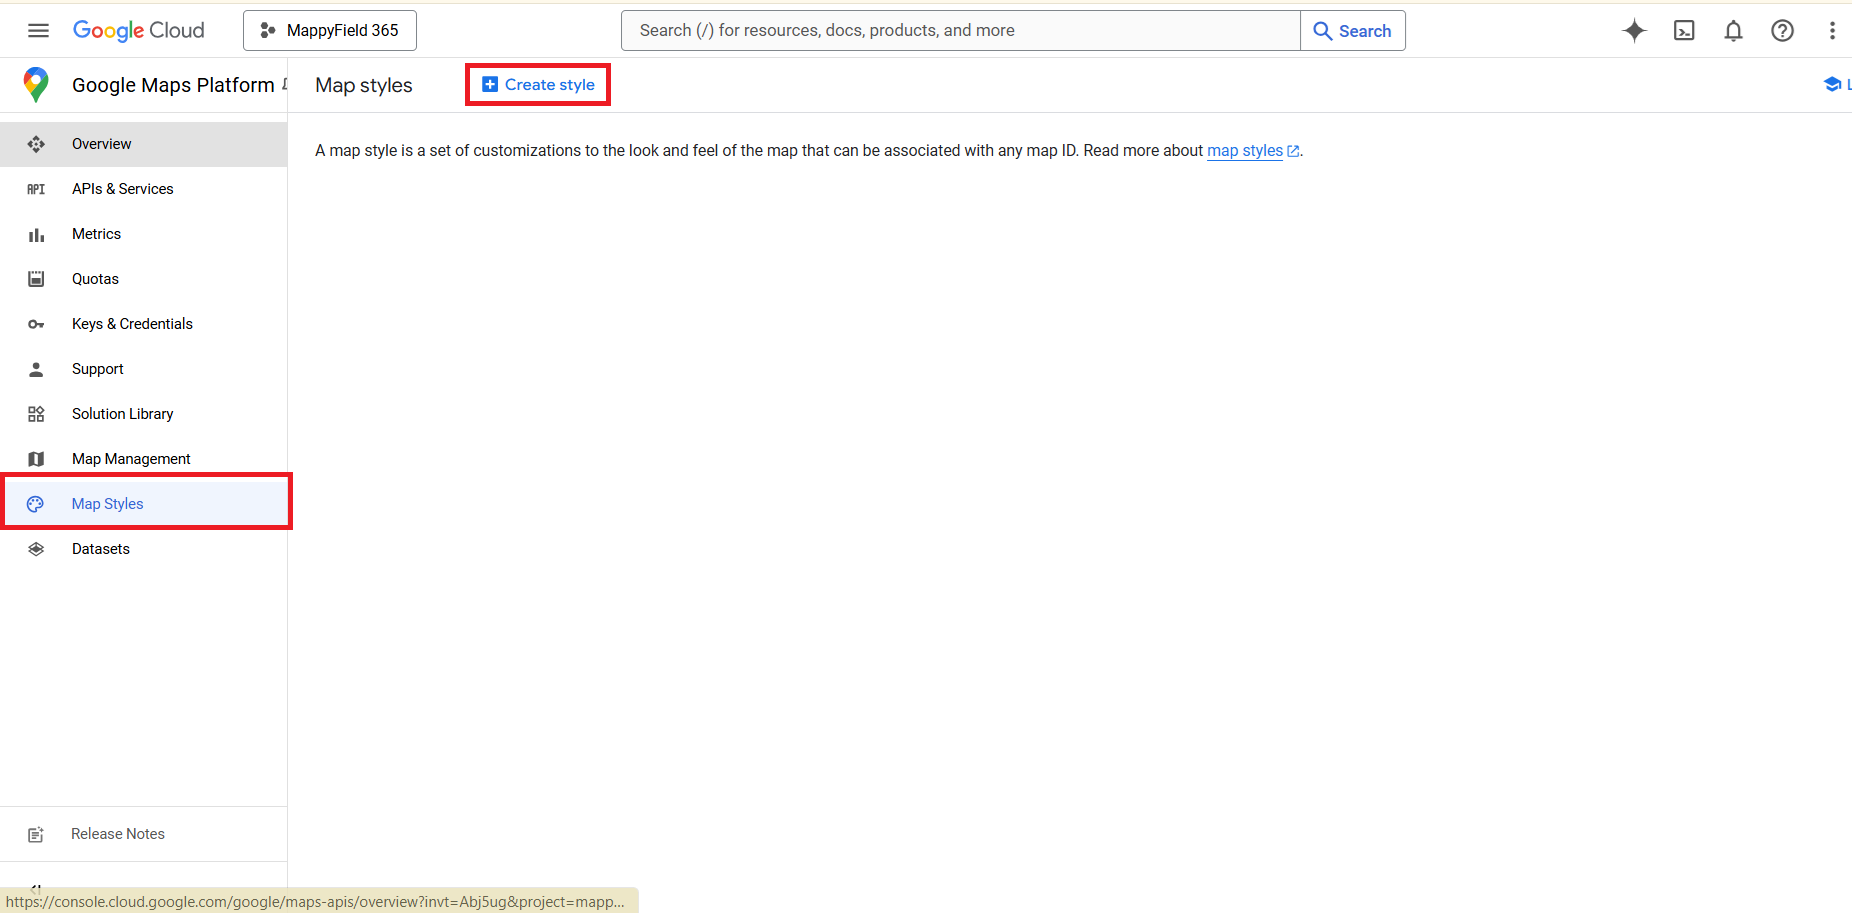
10. After the API enables a complete search for the Google Maps Platform ➤ Click on the Map Style ➤ Click On the Create style.
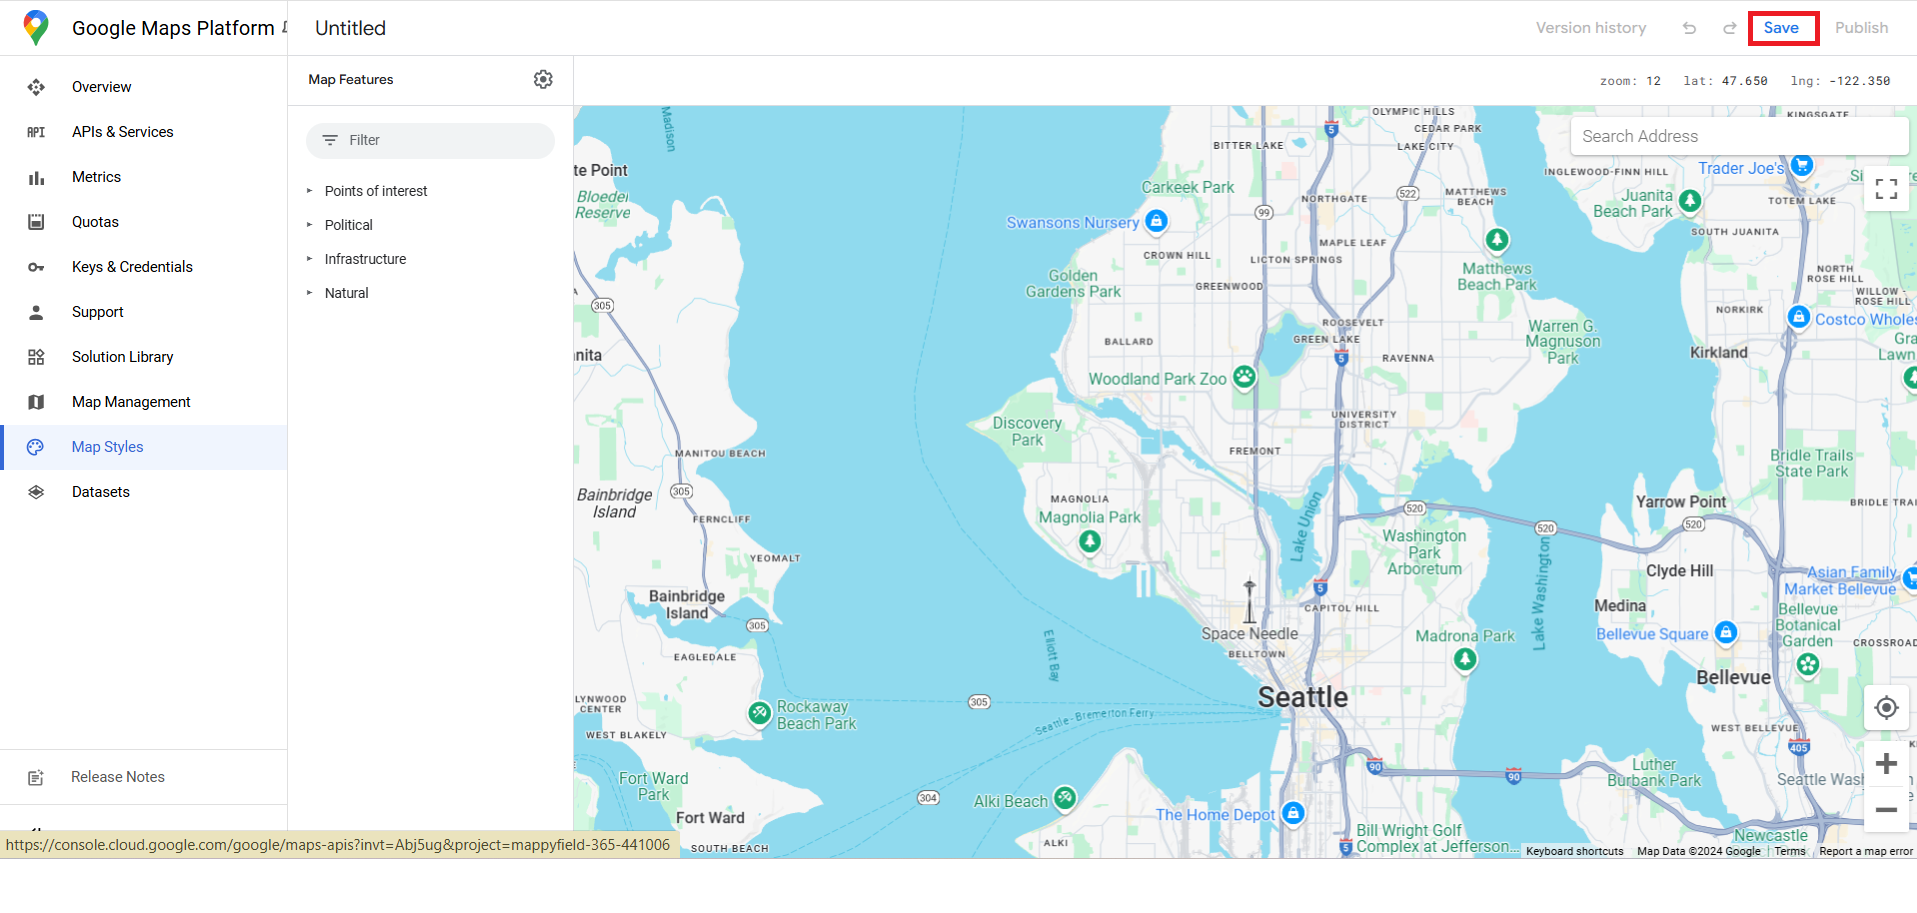
11. Click on save.
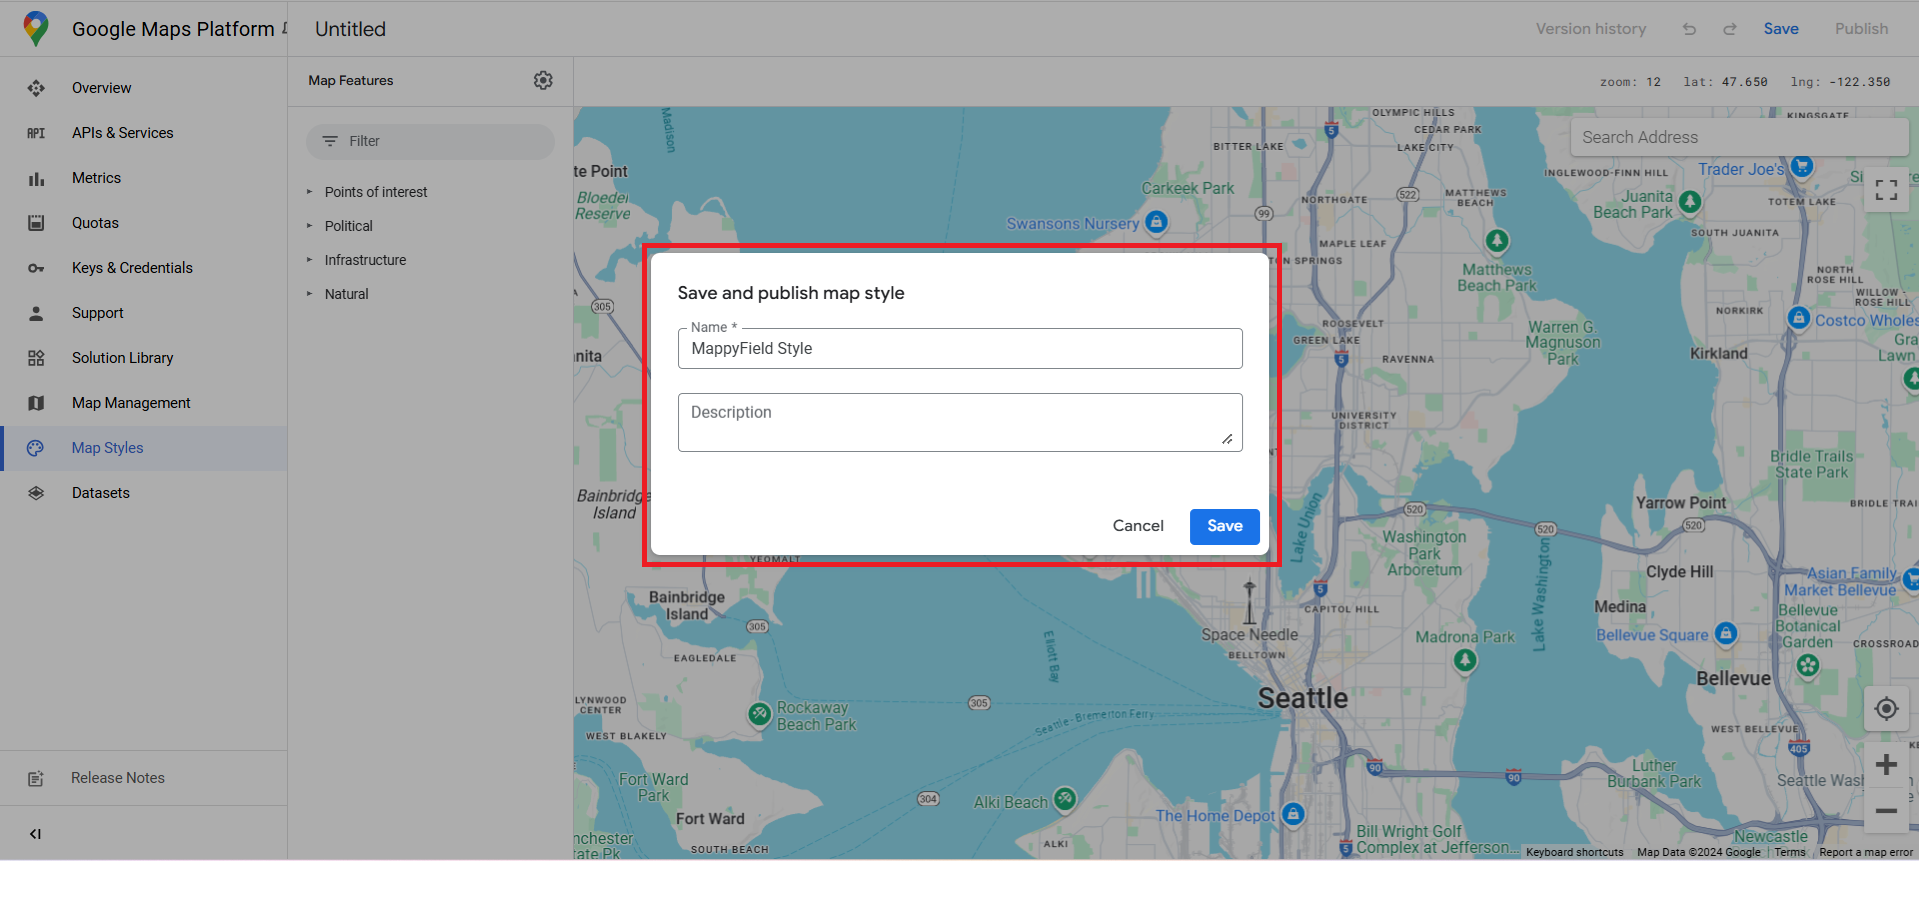
12. Give Proper Style, Name, and Description and then save it.
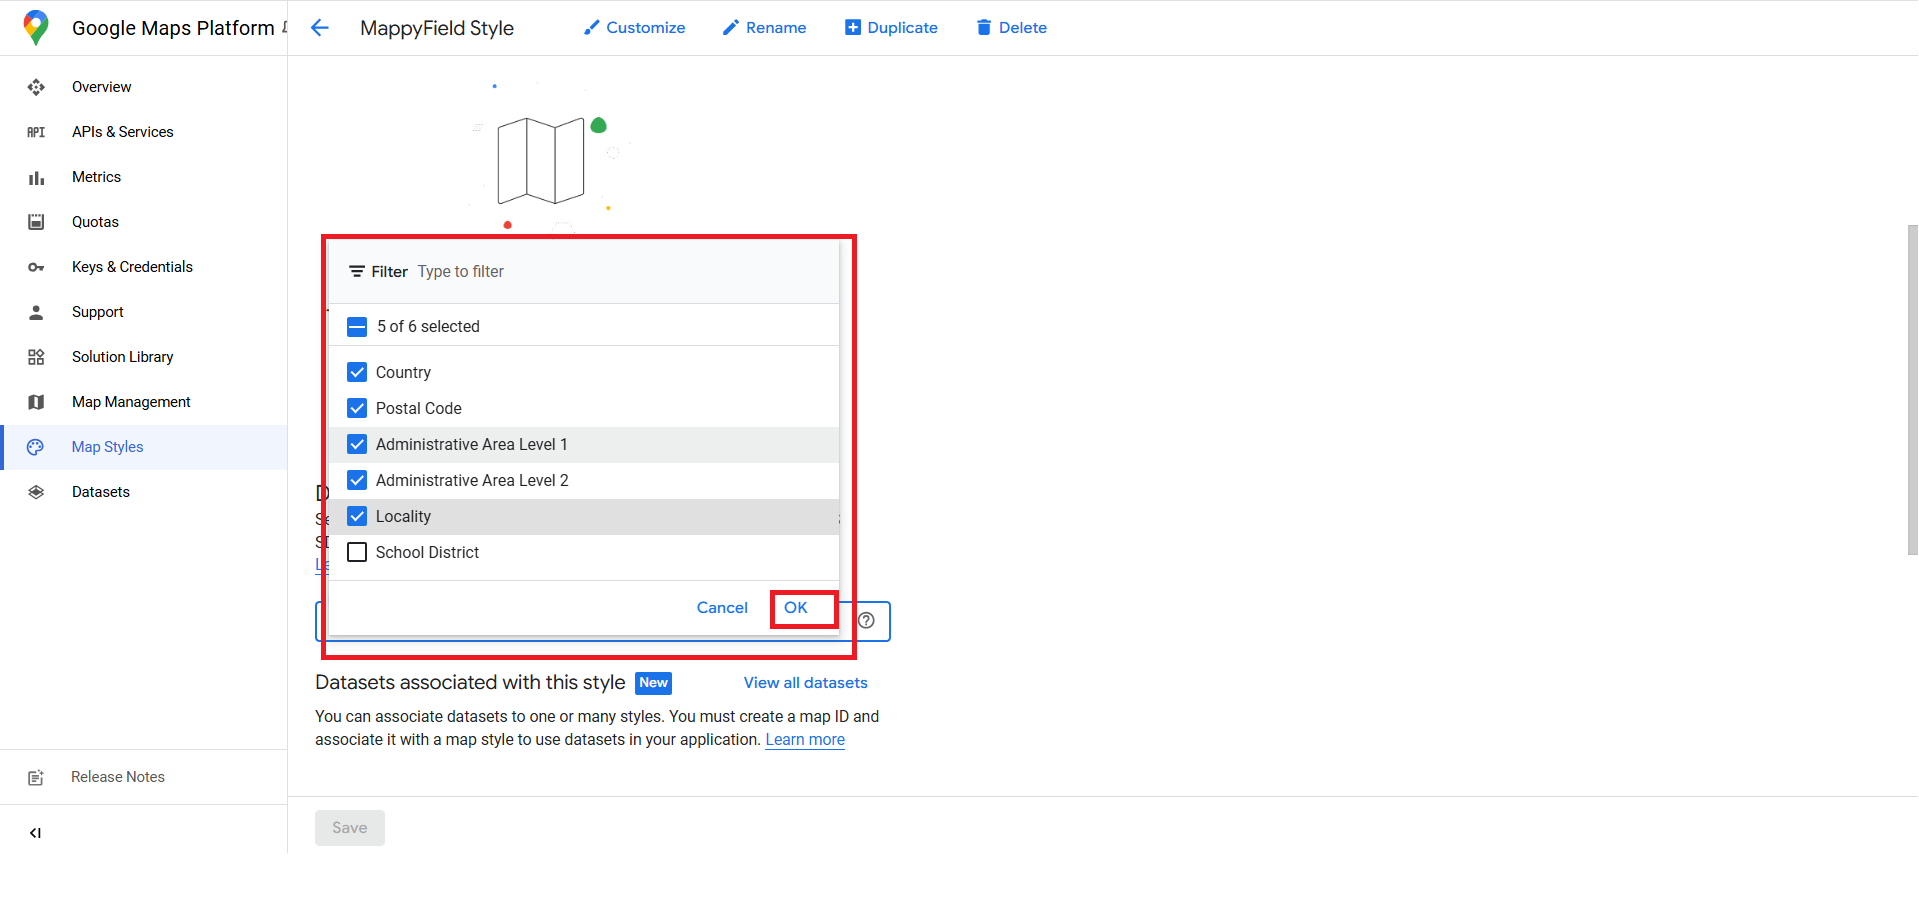
13. Then scroll down and go to the Feature Layer selection.
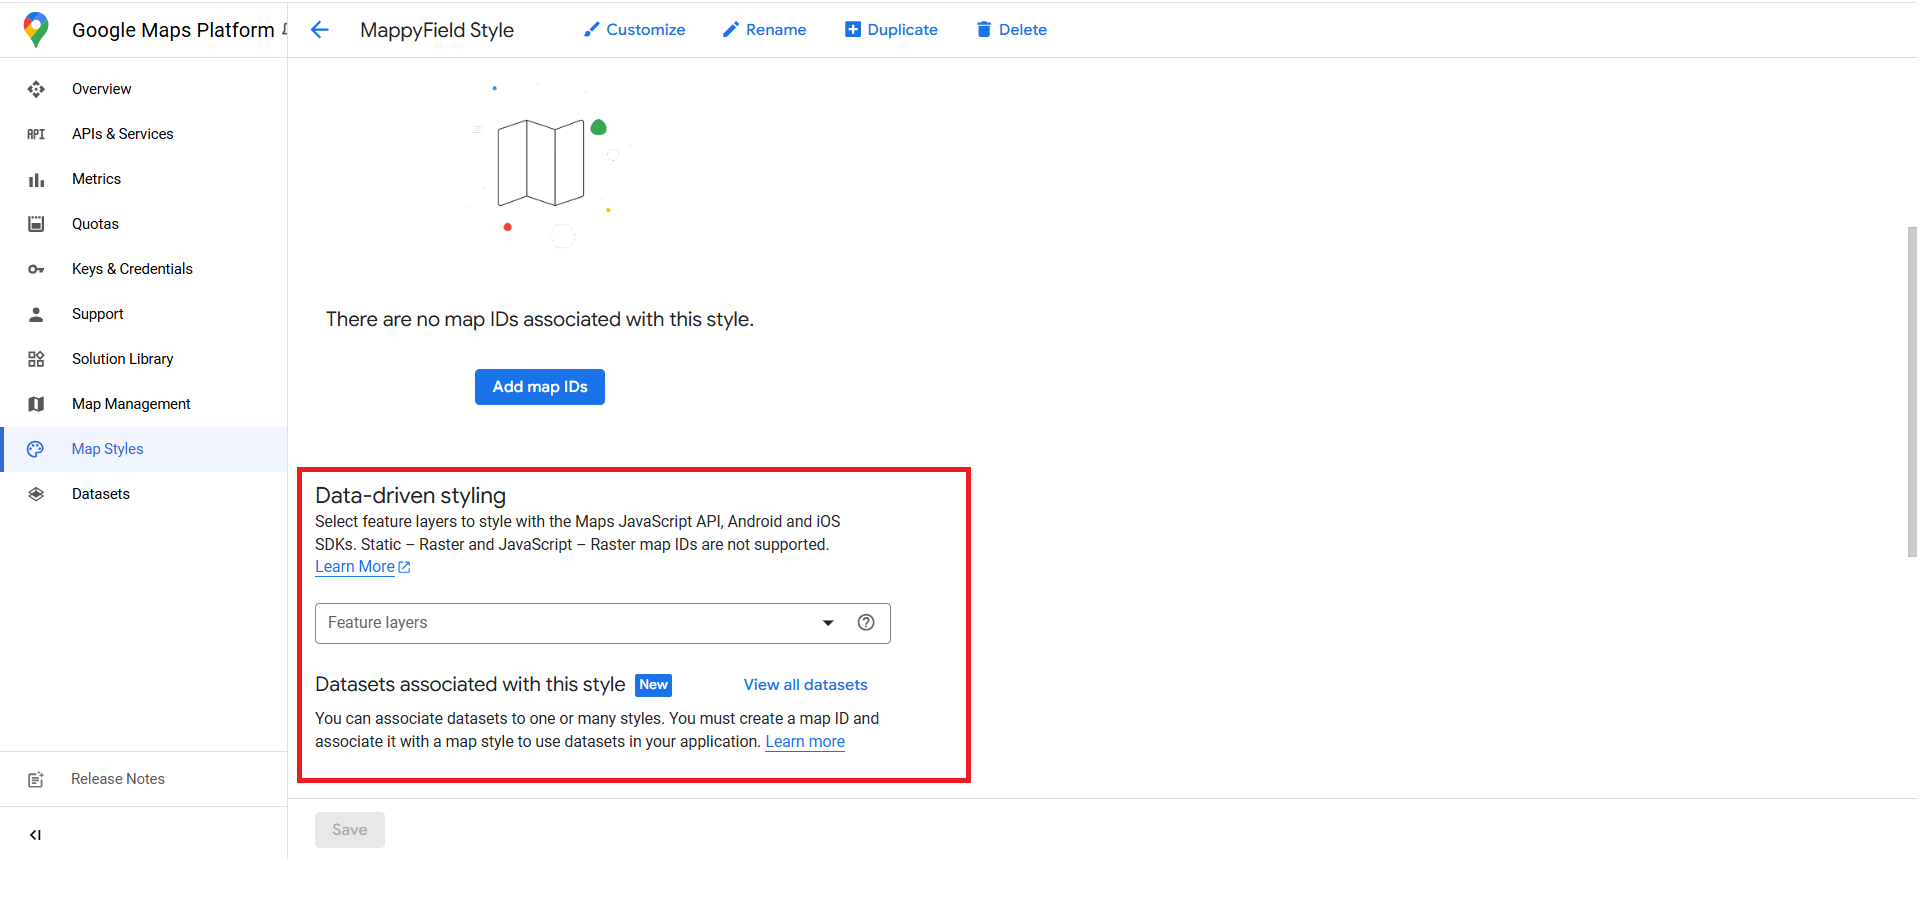
14. Then select these options and click Ok.
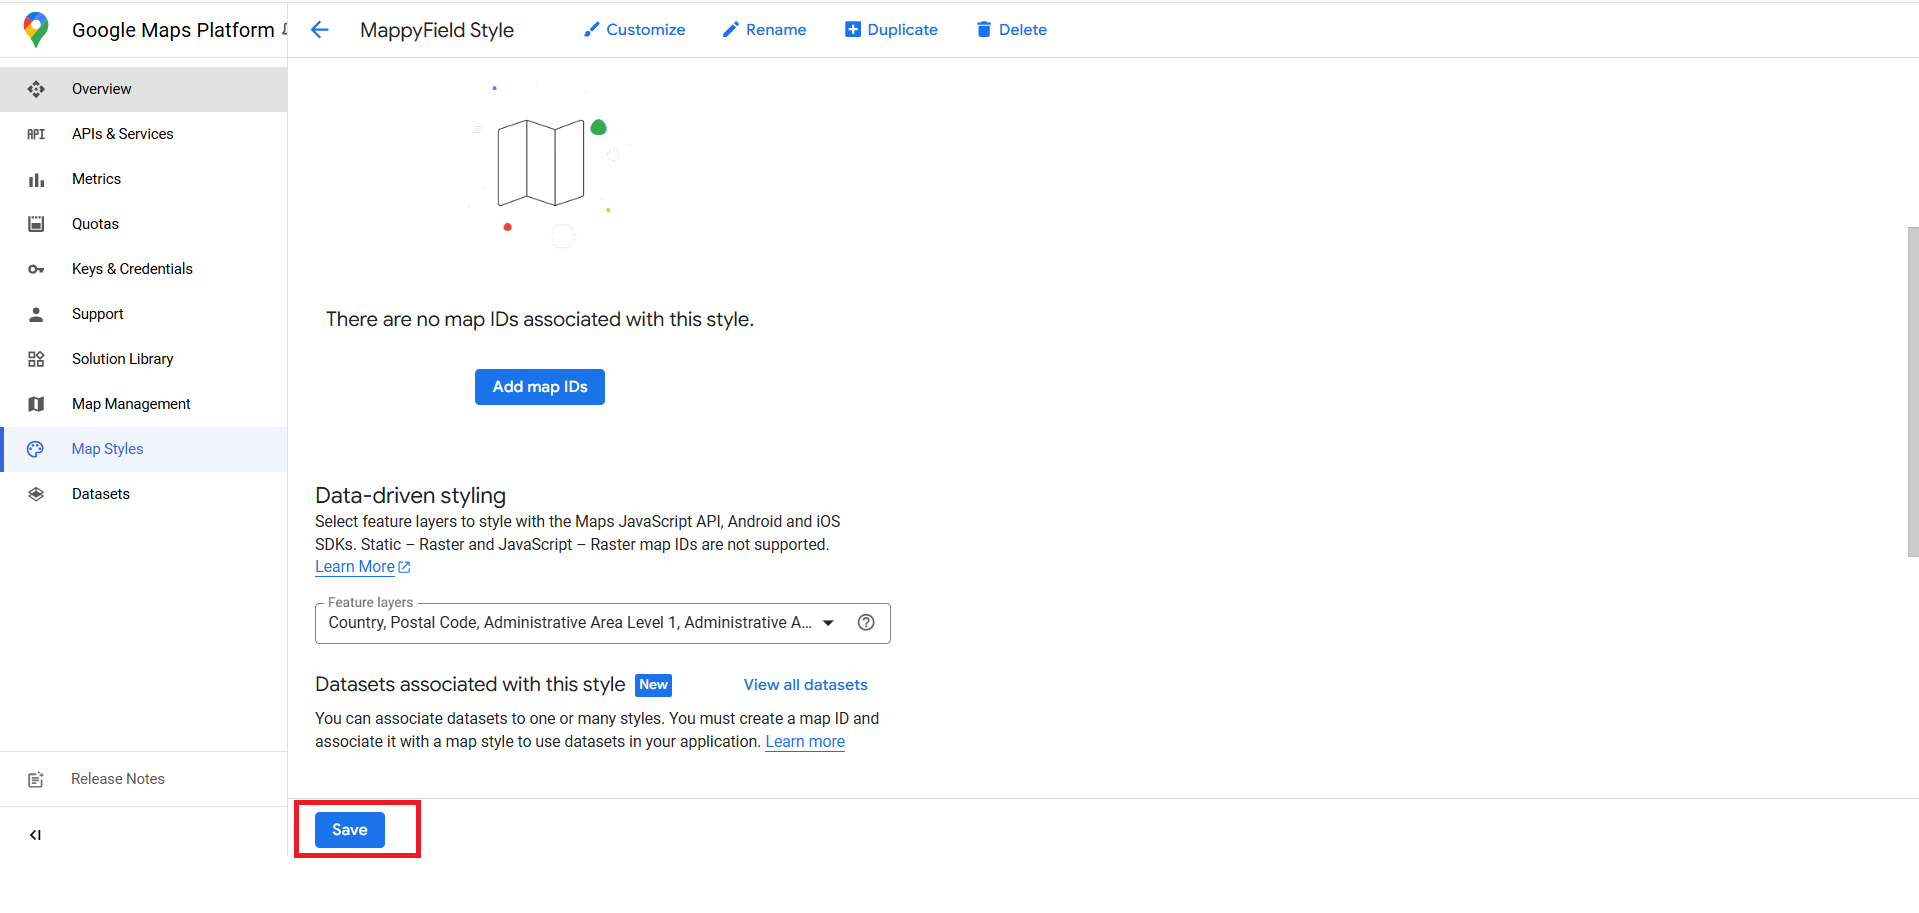
15. Then click on the Save Button.
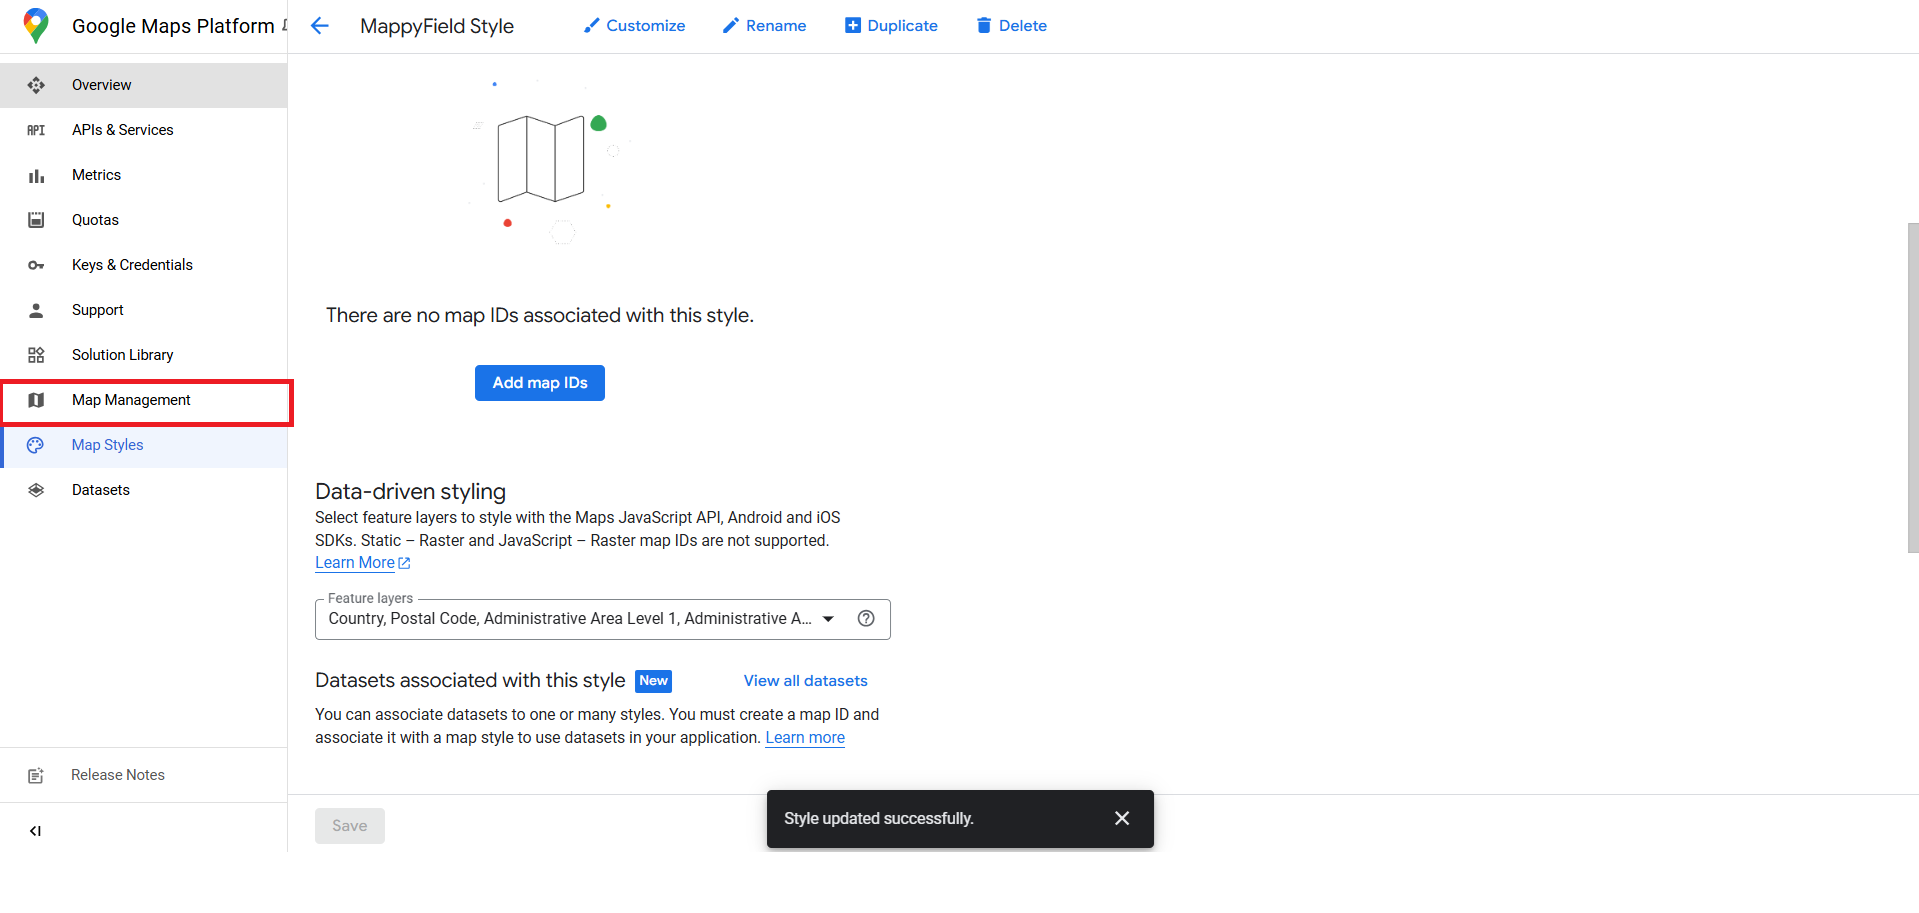
16. Then click on Map Management.
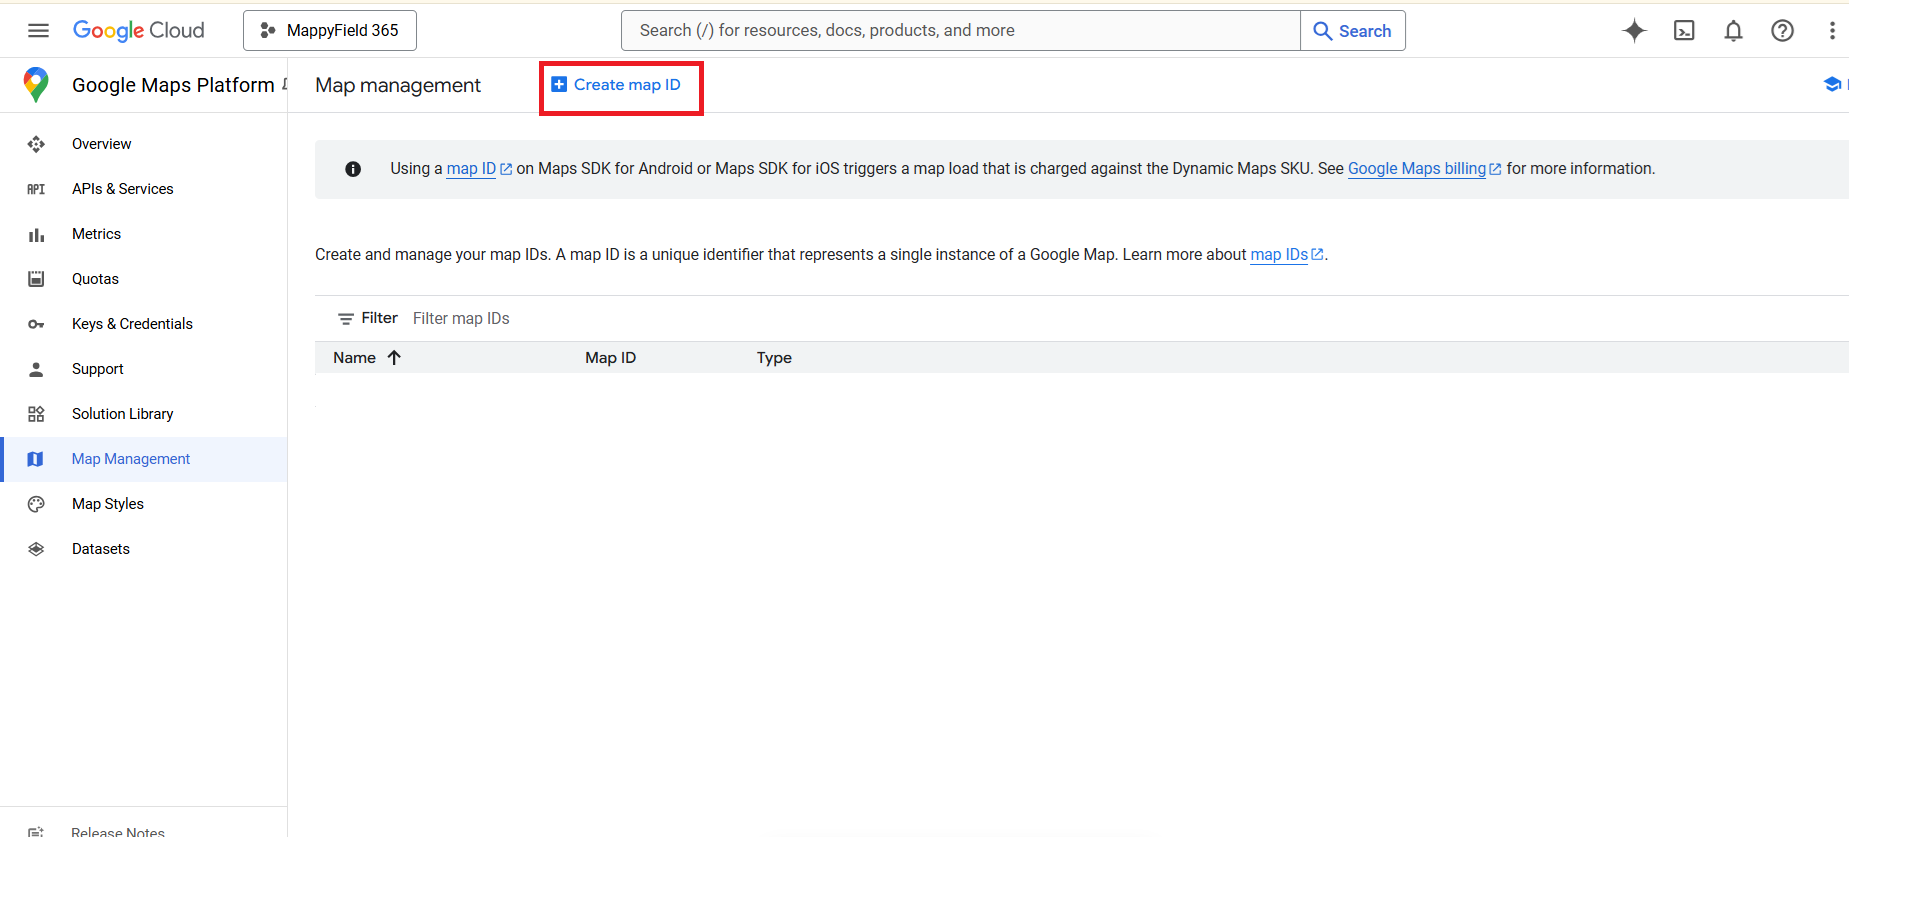
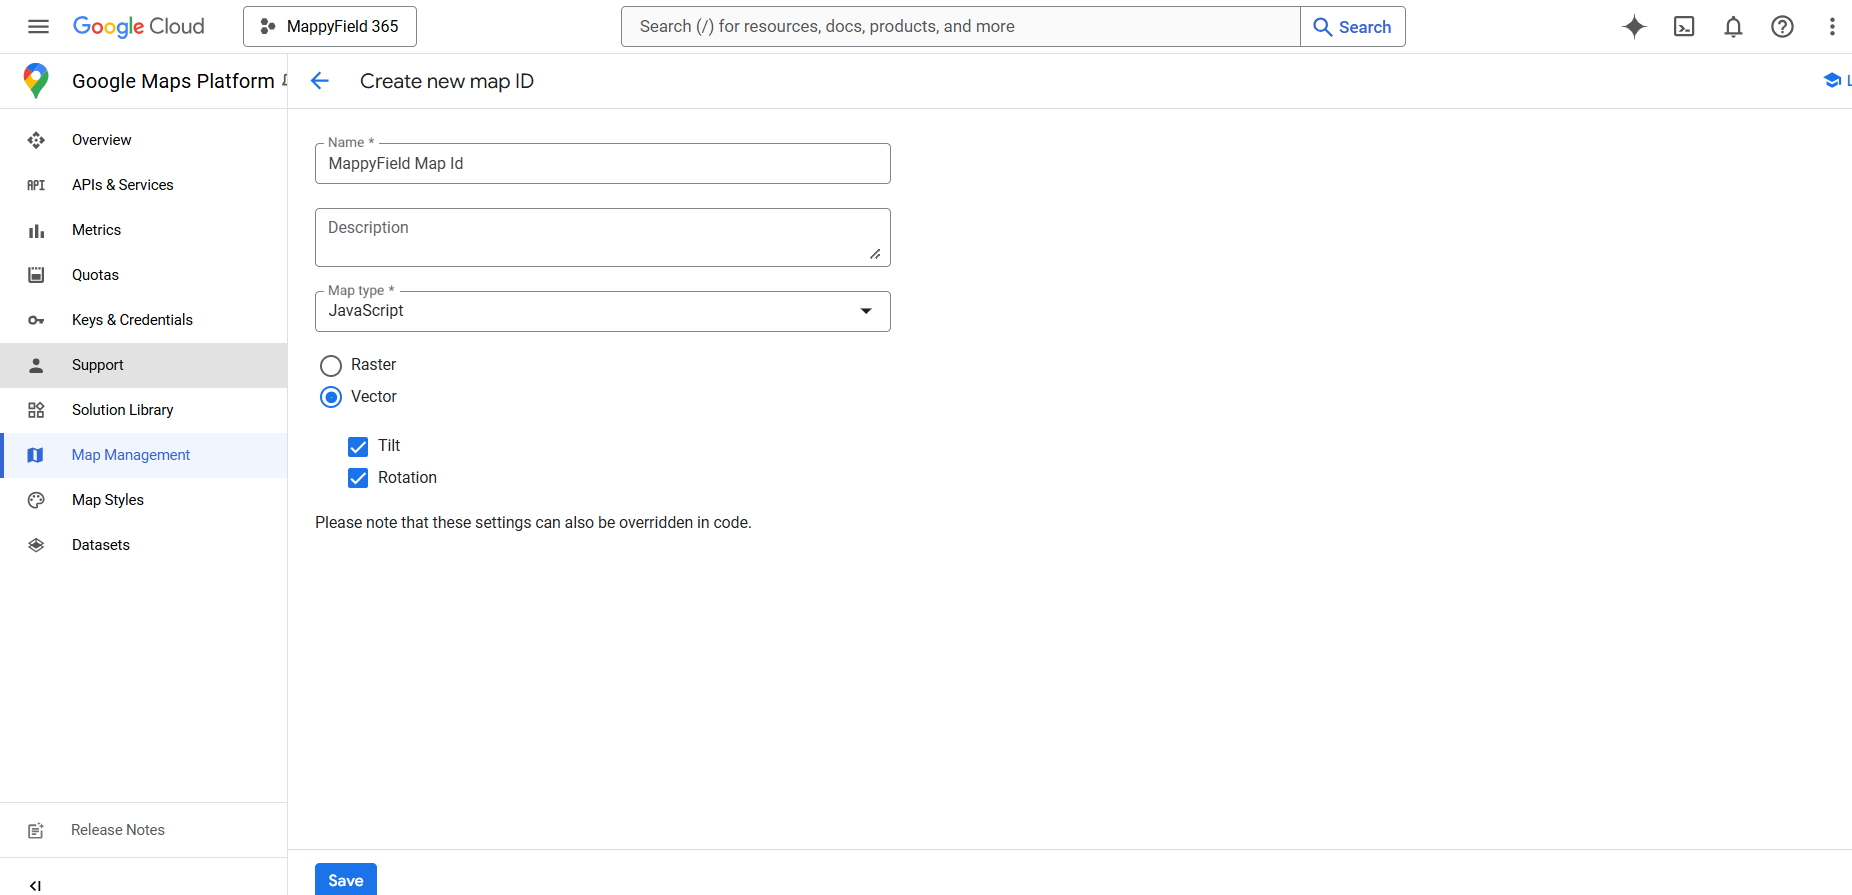
17. Click on Create Map ID.
18. Give the appropriate name for the Map ID and select this option ➤ Click on save.
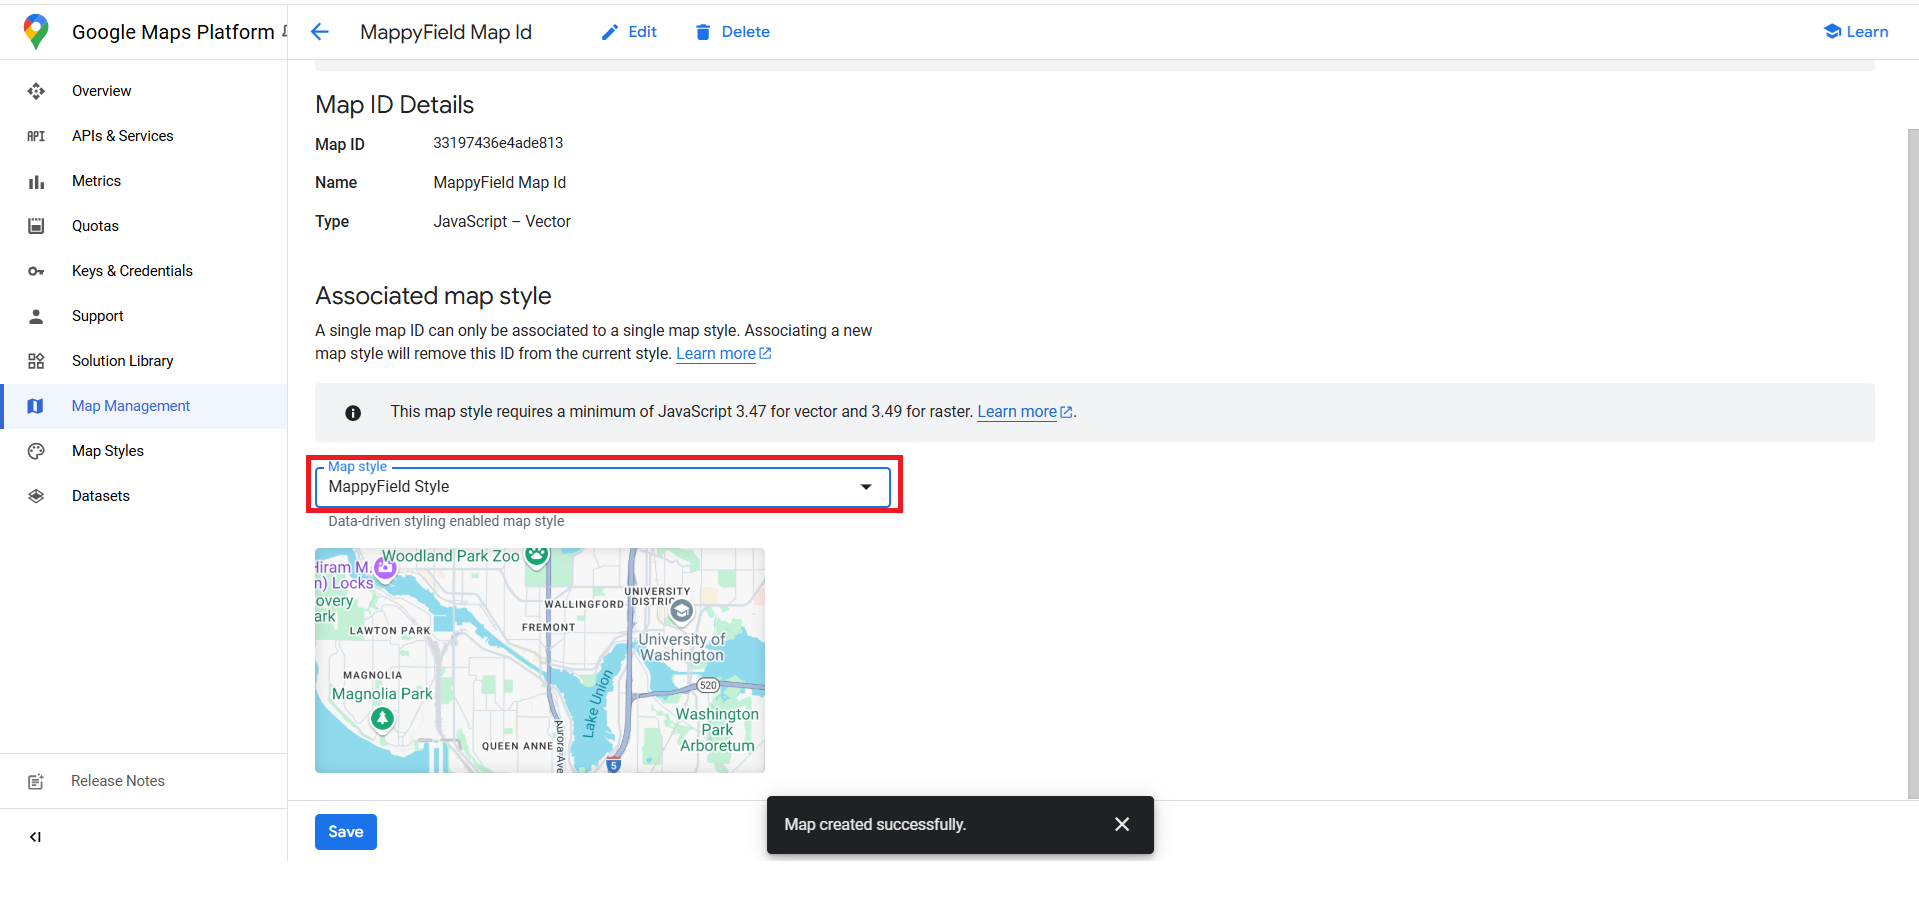
19. Then select the Map Style that was created earlier and click on Save.
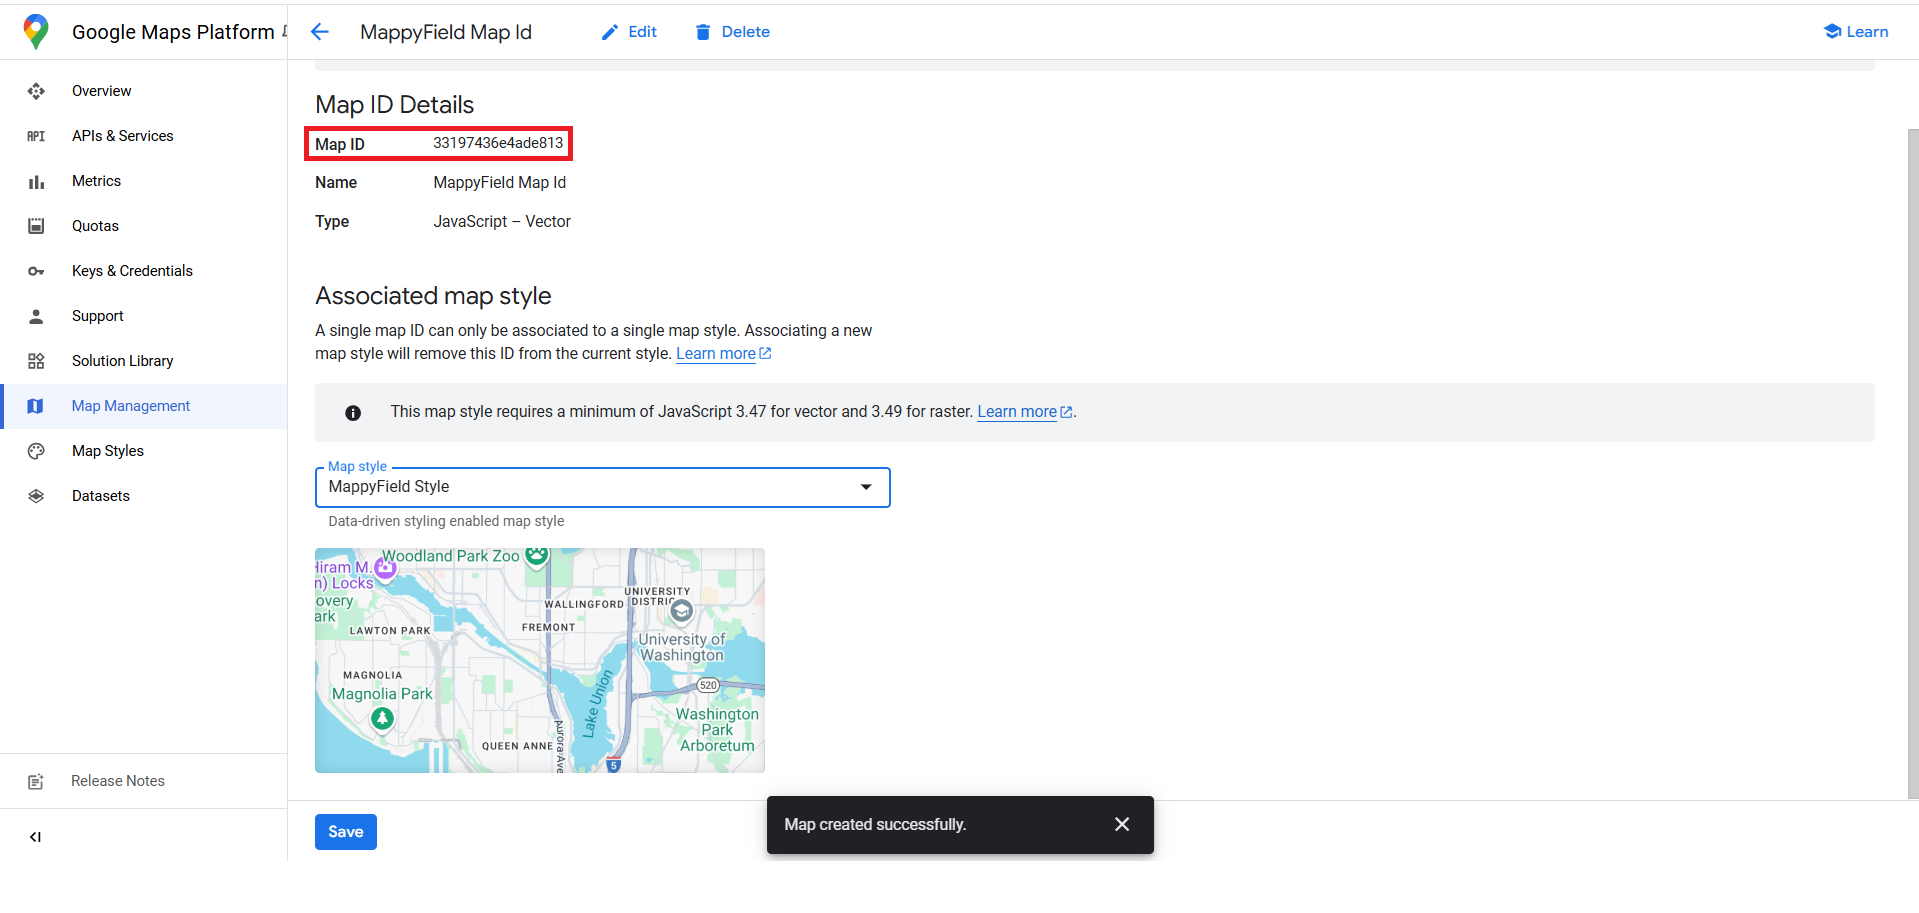
20. Copy this Map ID.
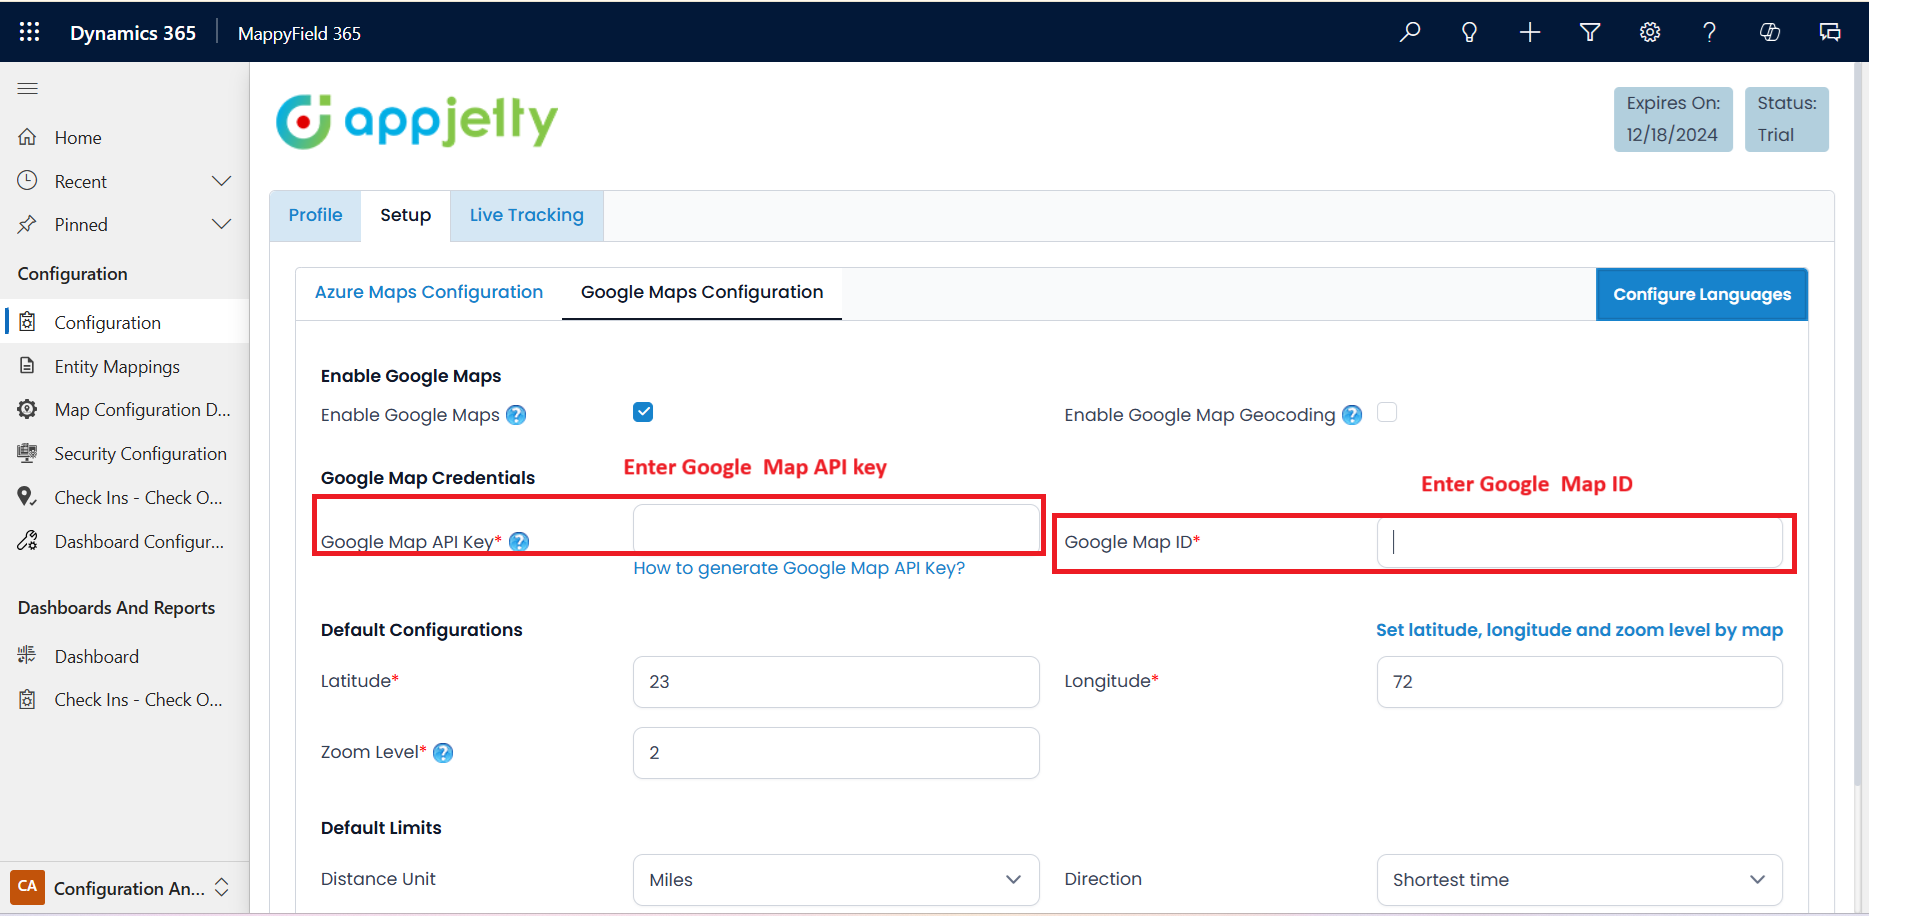
21. Now Open Mappy Field 365 Configuration and move to Google Configuration
Enter the Google Map API key and Google Map ID, then click Save.
Final Words
The Map ID determines how the map will appear and function within the system, while the API key authorizes the services. Routing, geocoding, distance calculation, and other features function as expected when the appropriate APIs are enabled.
This setup is a one-time task. And once saved, admins and users can focus on working with map data instead of handling configuration issues.
Need further assistance? Connect with our experts.
All product and company names are trademarks™, registered® or copyright© trademarks of their respective holders. Use of them does not imply any affiliation with or endorsement by them.


