Installing an AppJetty product from Microsoft AppSource is easy and straightforward. This blog will guide you through the process. We will cover downloading, installing, and activating the product license. Follow these simple steps to get started quickly. We have a step-by-step guide which will help you install the AppJetty product from Microsoft AppSource. Let’s begin and get your product up and running in no time.
Step-1: Click on Advanced Settings in Settings
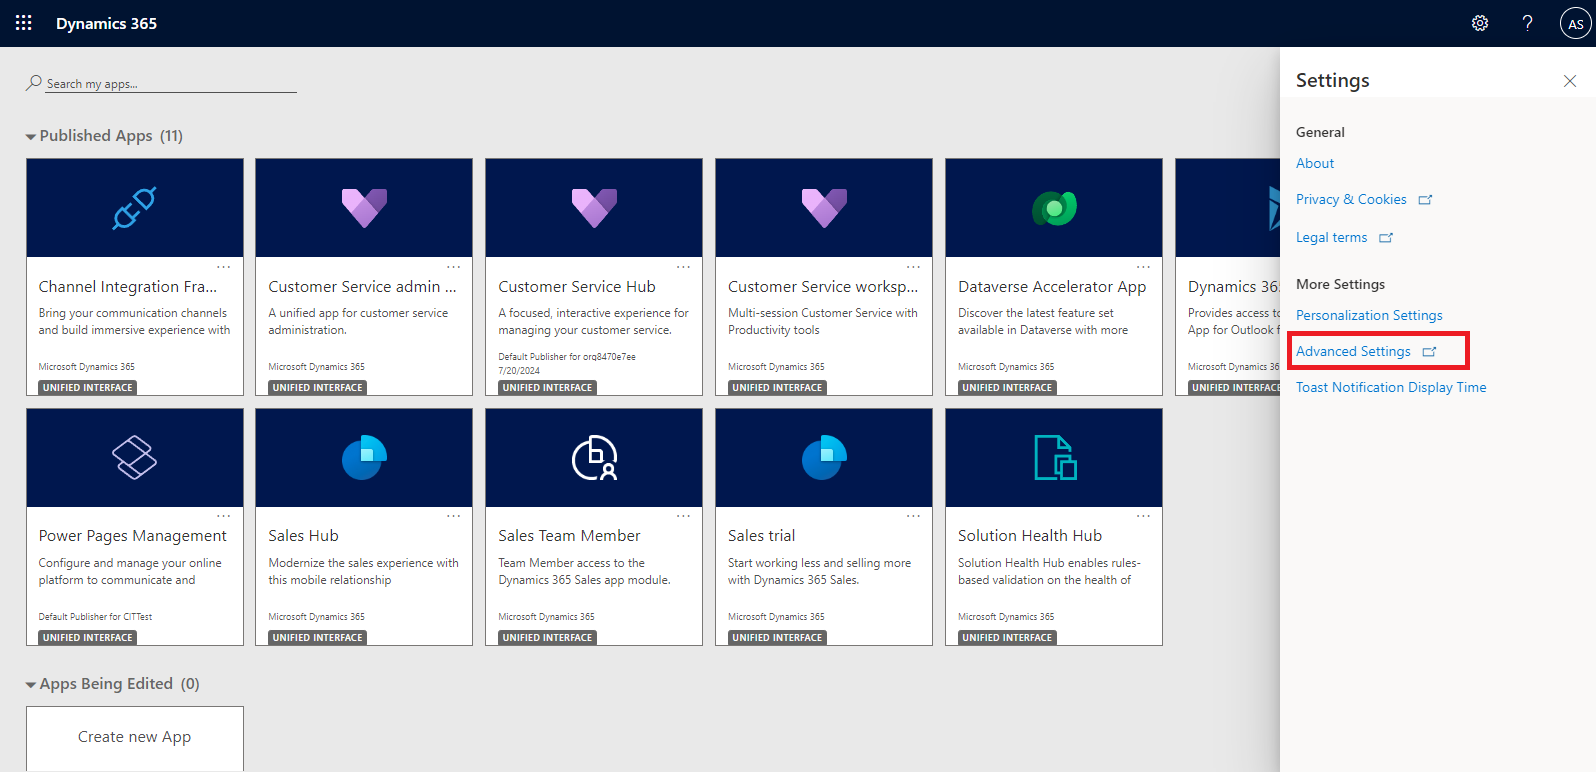
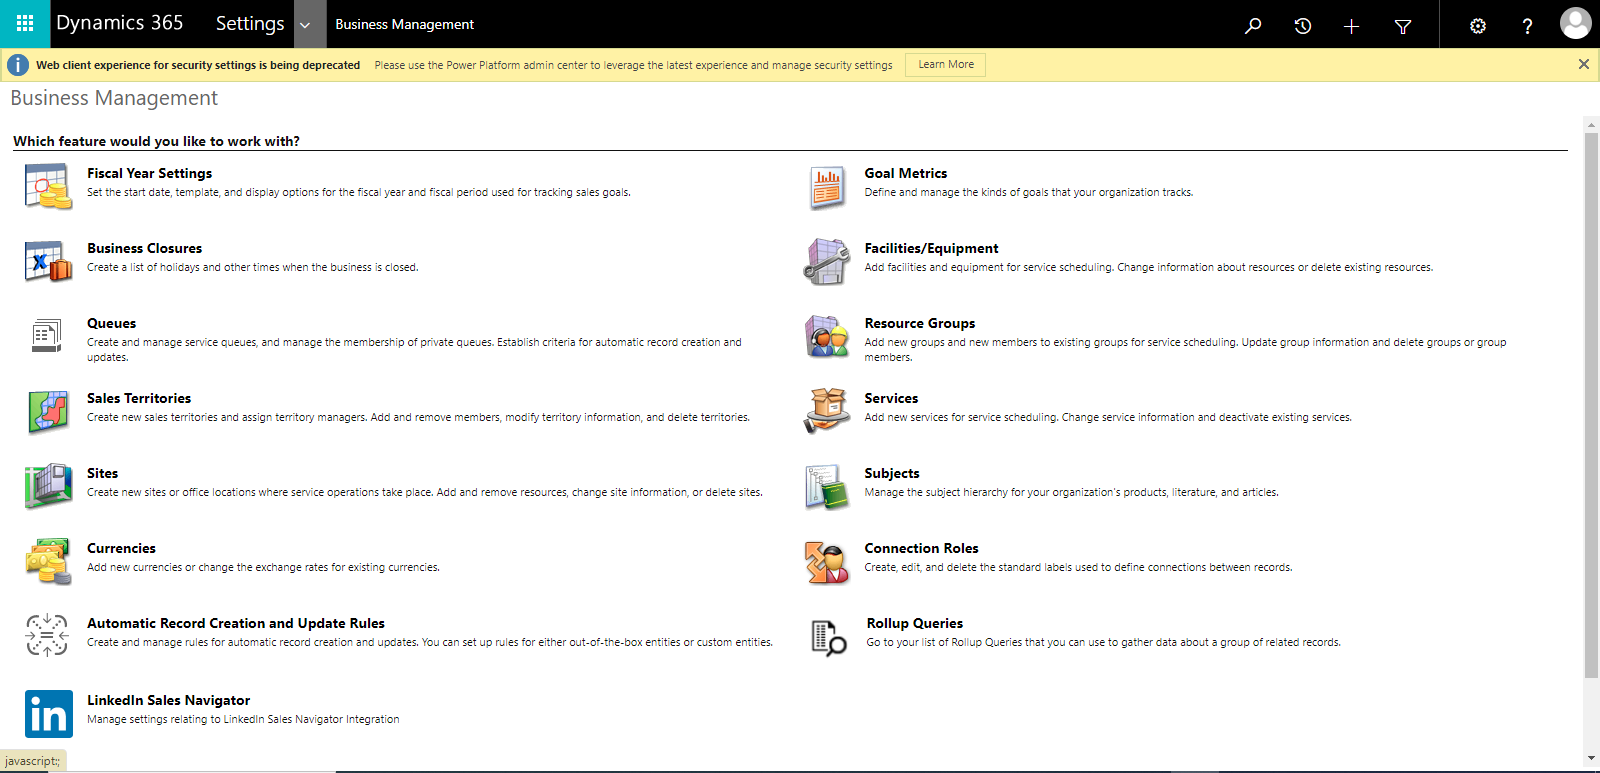
After clicking on ‘Advanced Settings,’ the following options will appear:
 Step-2:
 Next, click on the arrow icon to display all options. After that, choose the ‘Microsoft AppSource’ option.
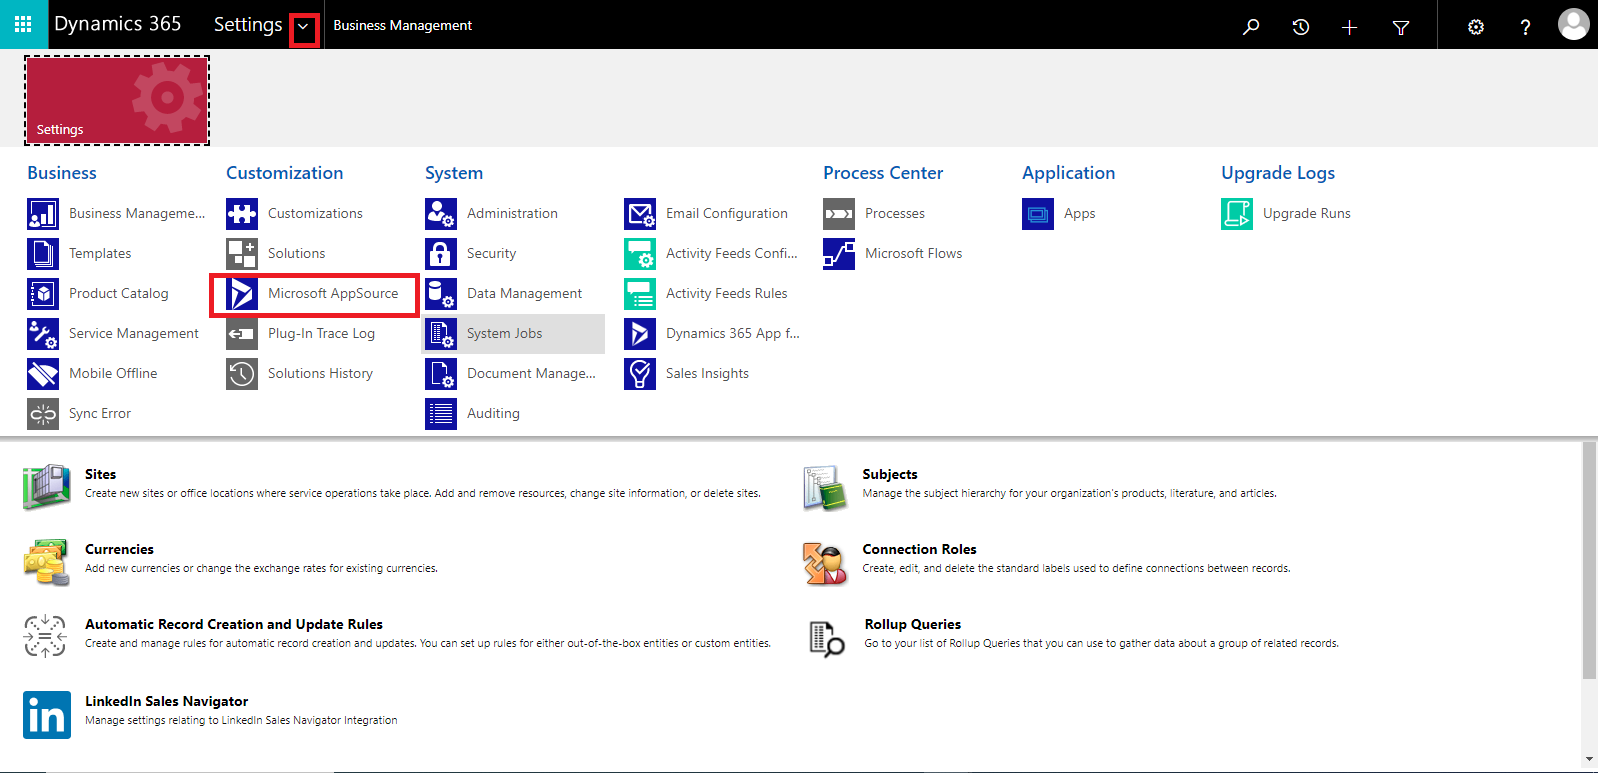
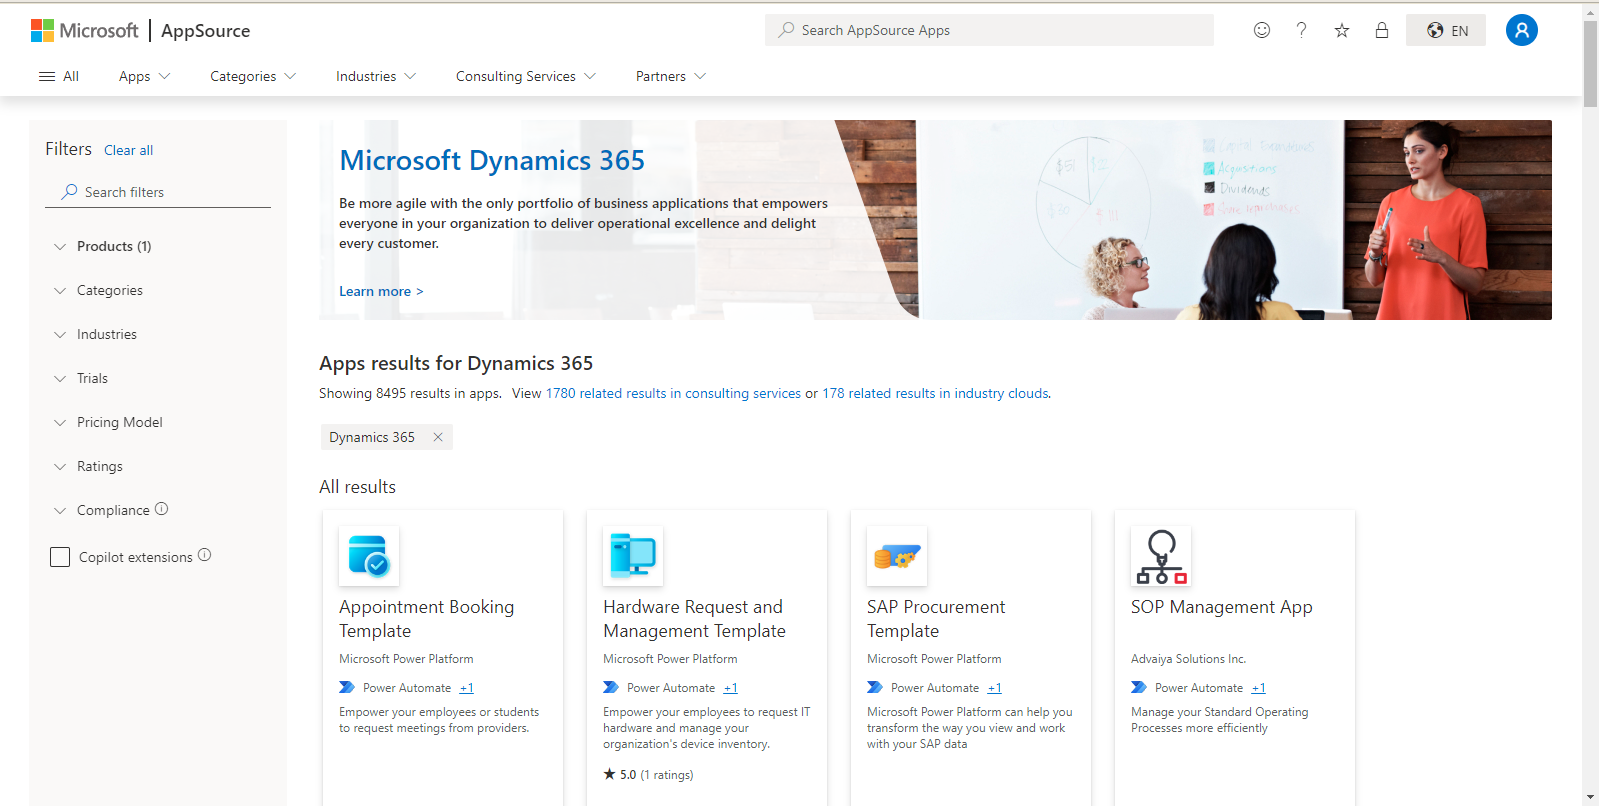
When you click on ‘Microsoft AppSource,’ the Microsoft AppSource wizard will open.
 Step-3:
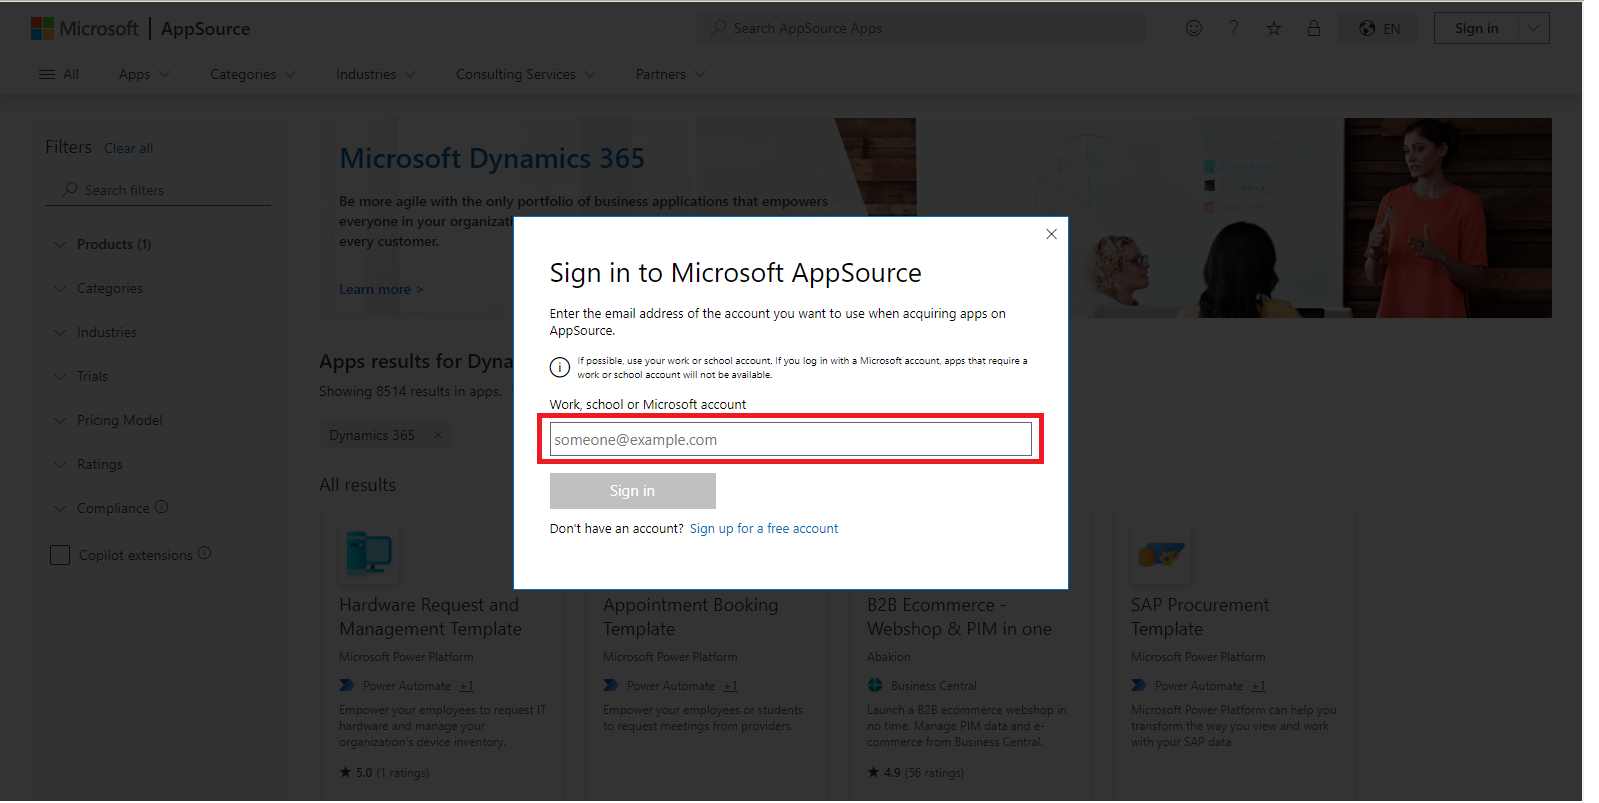
 First, click the sign-in button to log in to Microsoft AppSource.

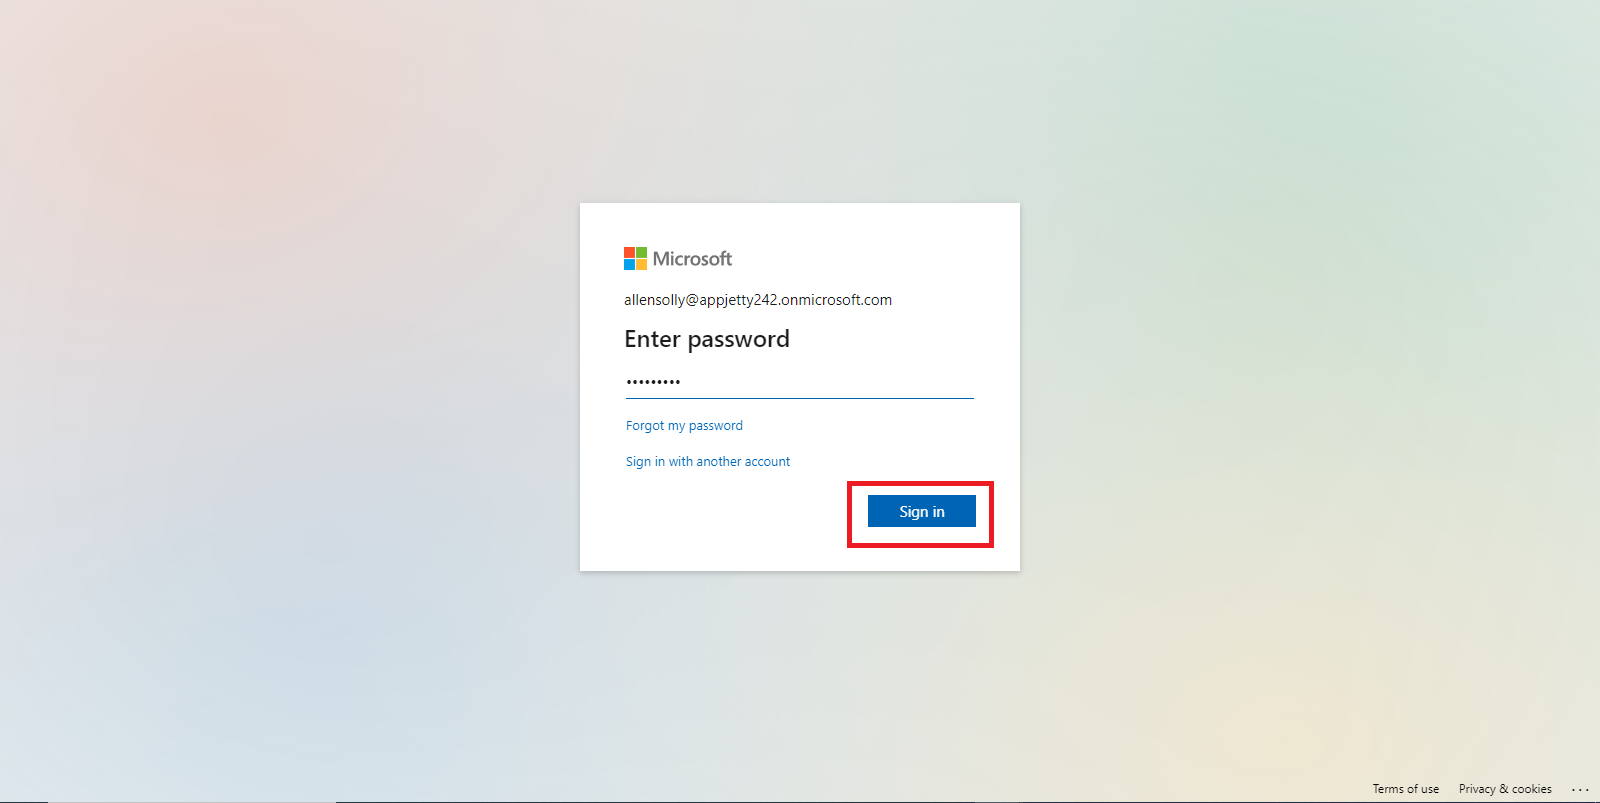
Click the “Sign in” button to open a sign-in pop-up. Enter your username and click “Sign in” again. A password pop-up will then appear. Enter your password and click “Sign in” once more.
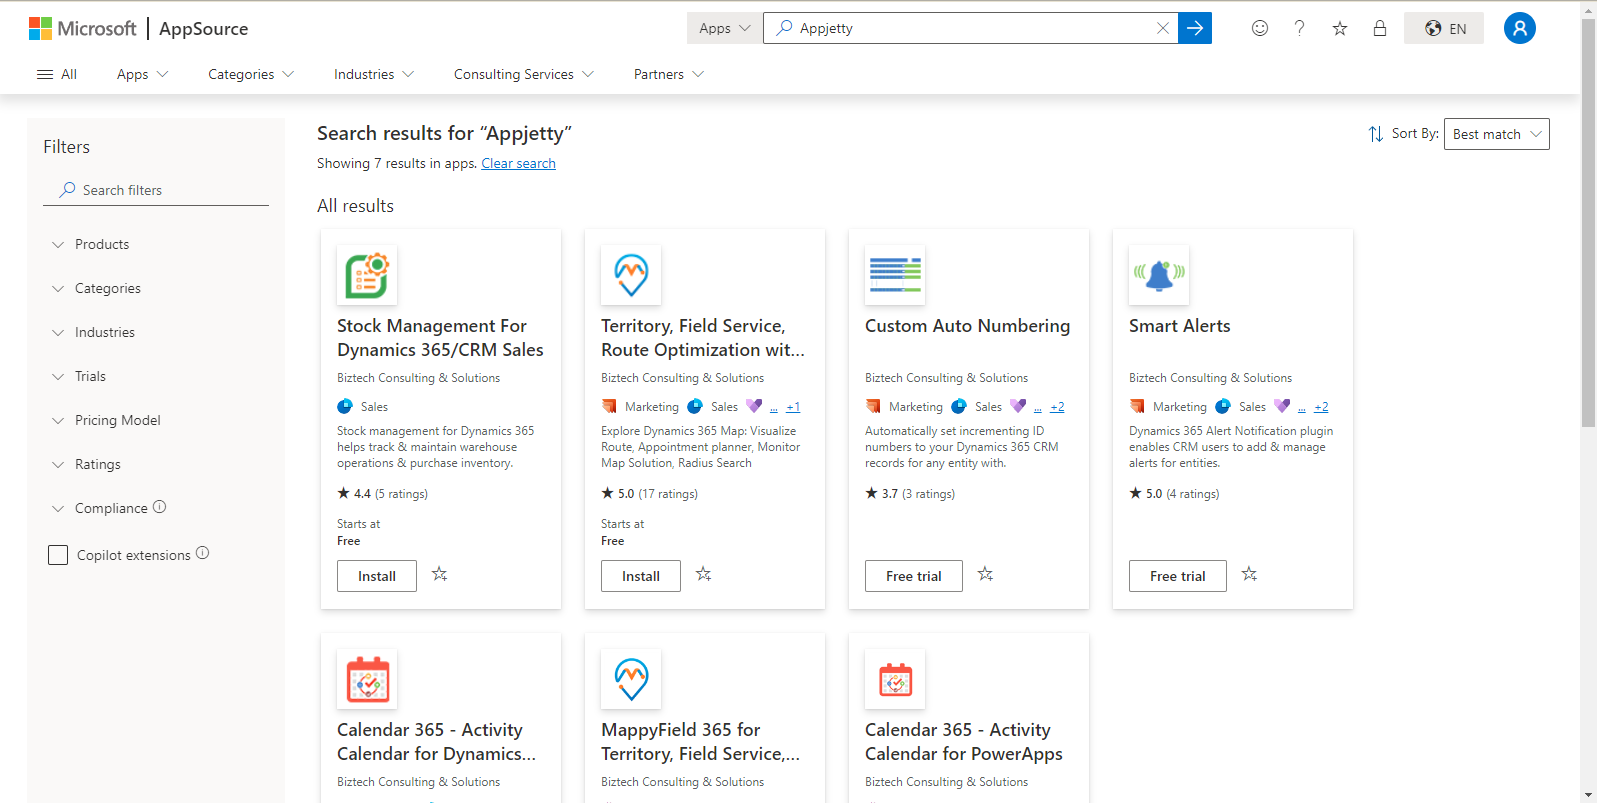
After logging in, search for ‘AppJetty’ to view all the products offered by AppJetty.
 Step-4:
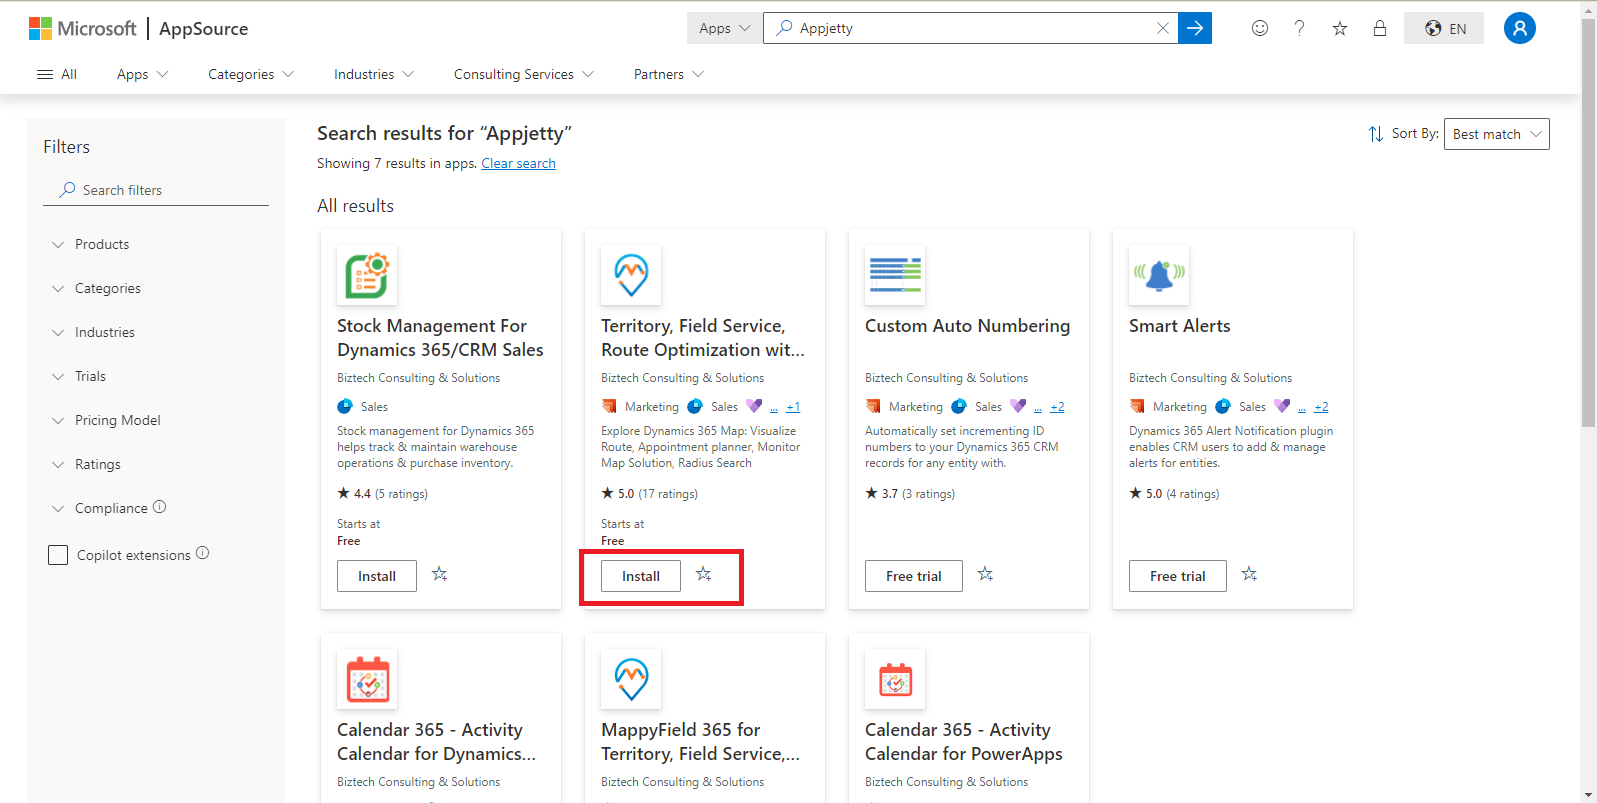
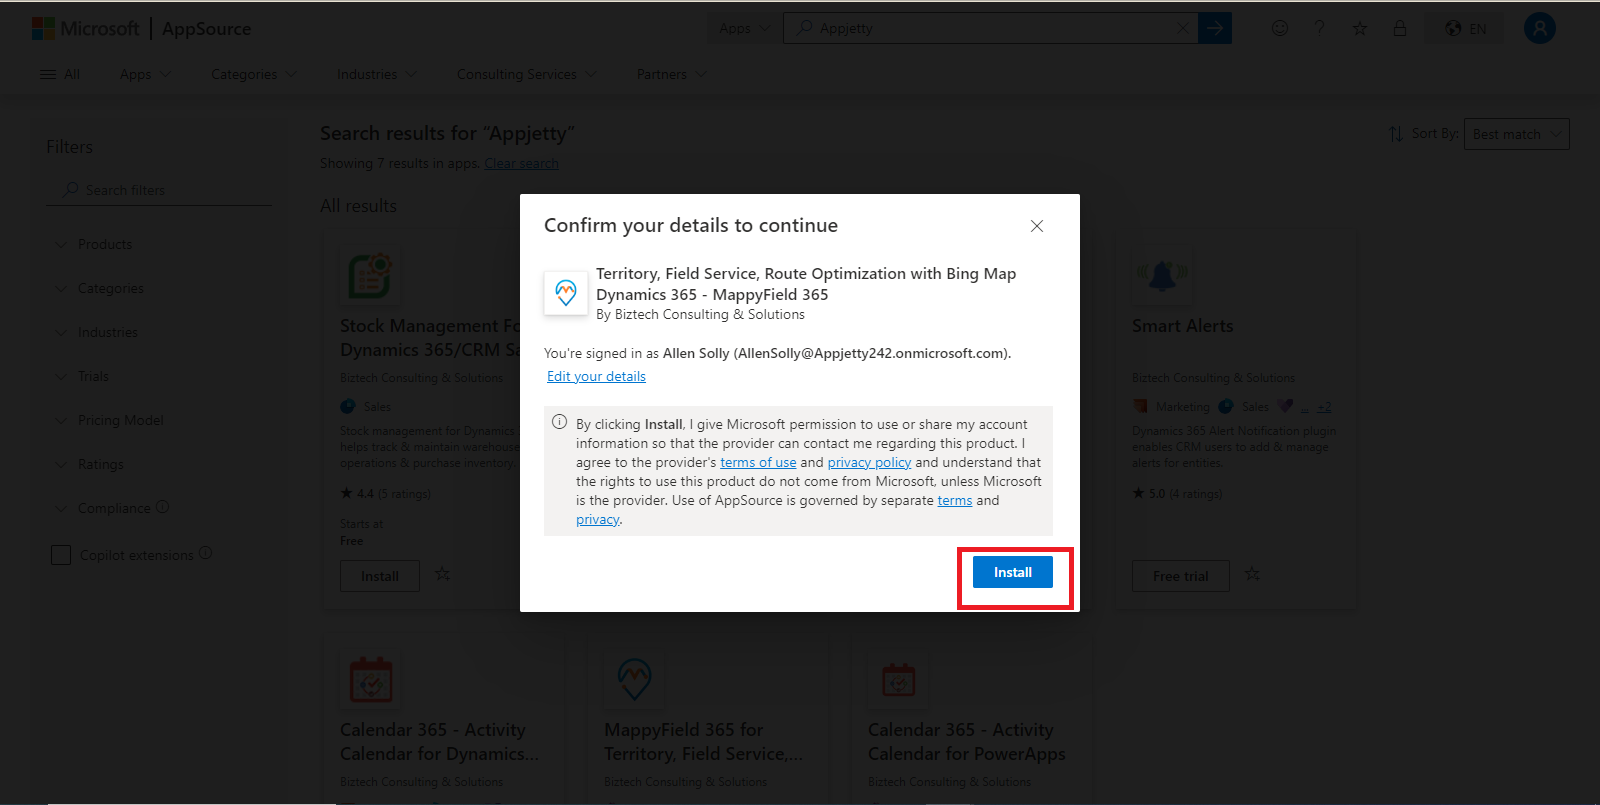
 Choose the app you want to install, then click the ‘Install’ button to proceed with installing the AppJetty product.
After clicking the ‘Install’ button, a confirmation popup will appear. Review the details, then click ‘Install’ again to proceed.
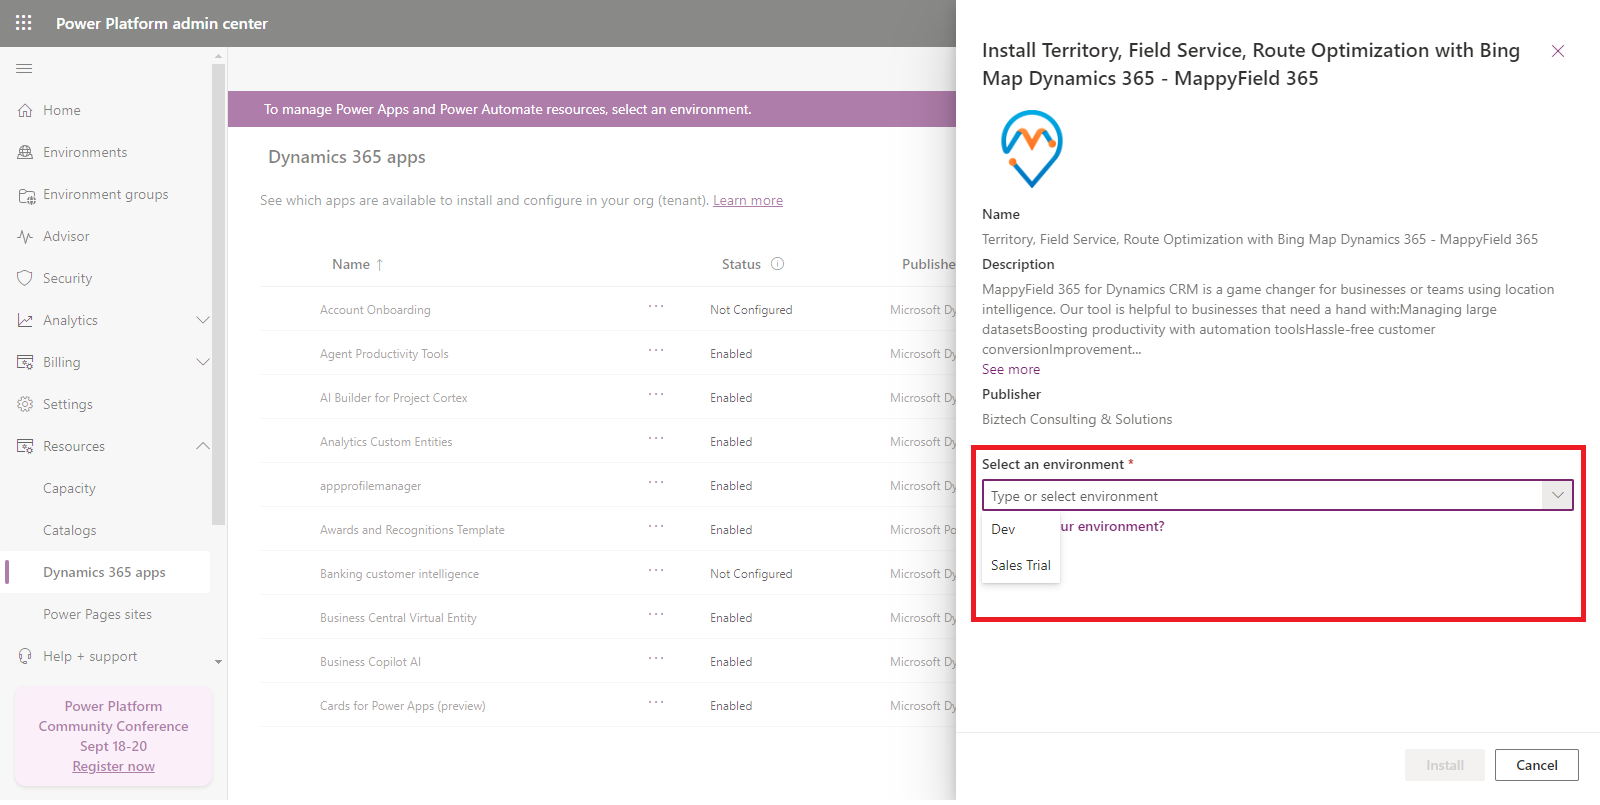
After clicking the ‘Install’ button, the installation wizard will launch. You will need to choose the environment where you want to install the product.
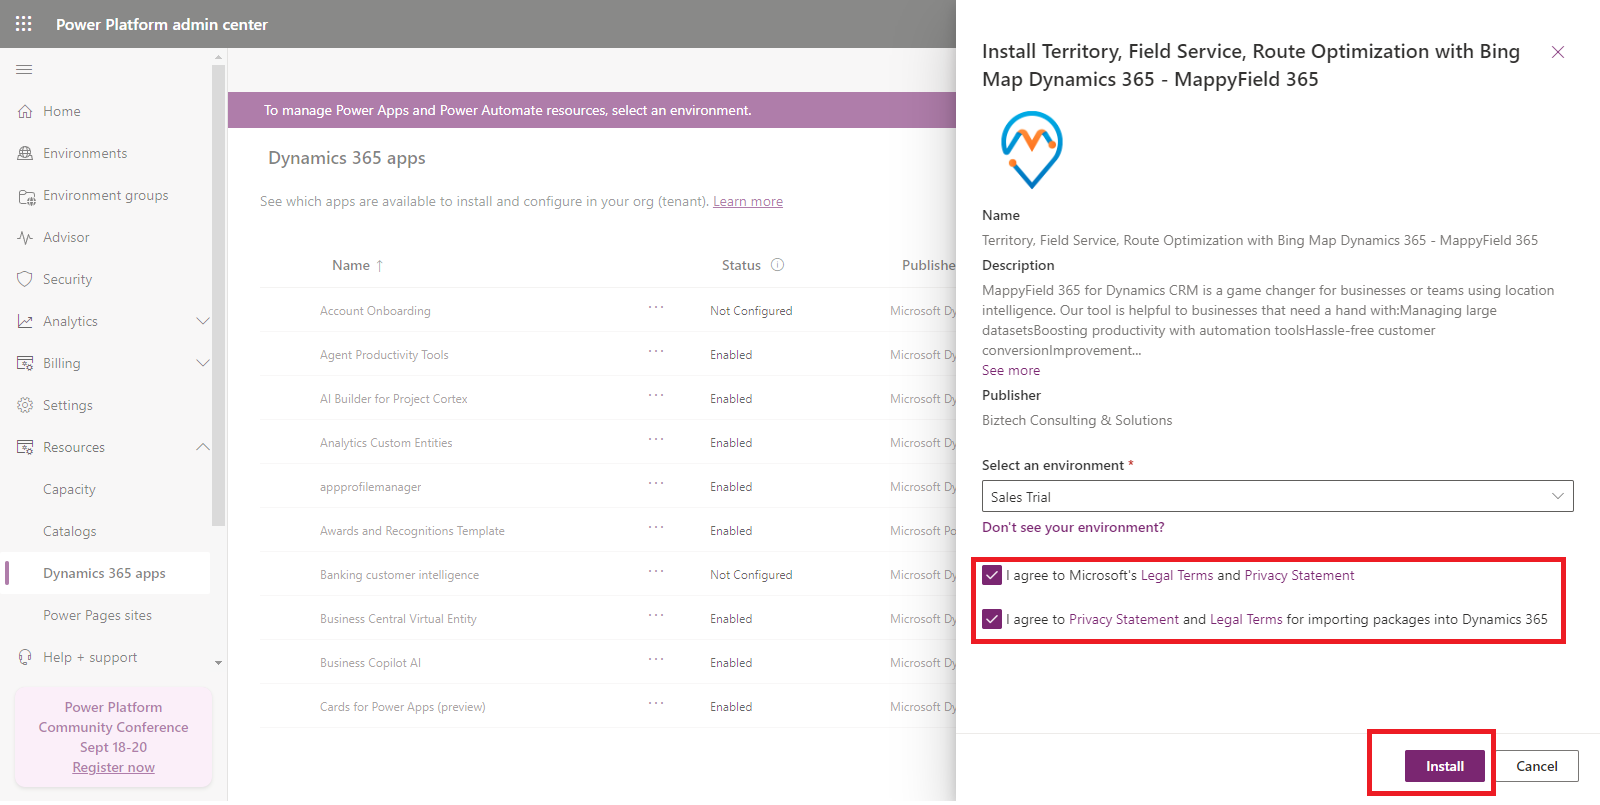
After selecting the environment, agree to the terms and conditions, and then click the ‘Install’ button.
The installation wizard will show a status indicating that the installation is in progress.
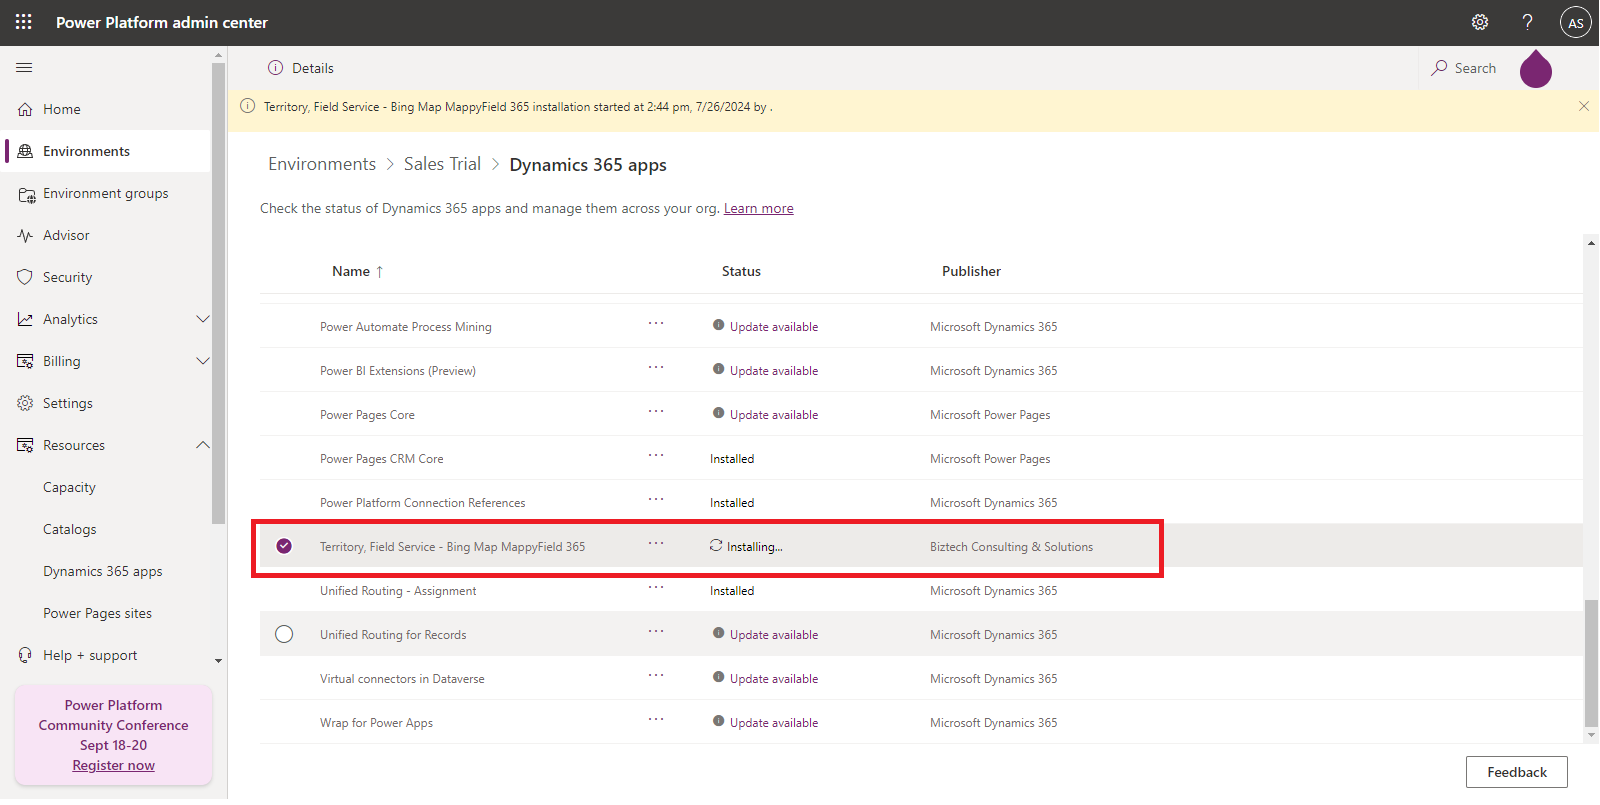
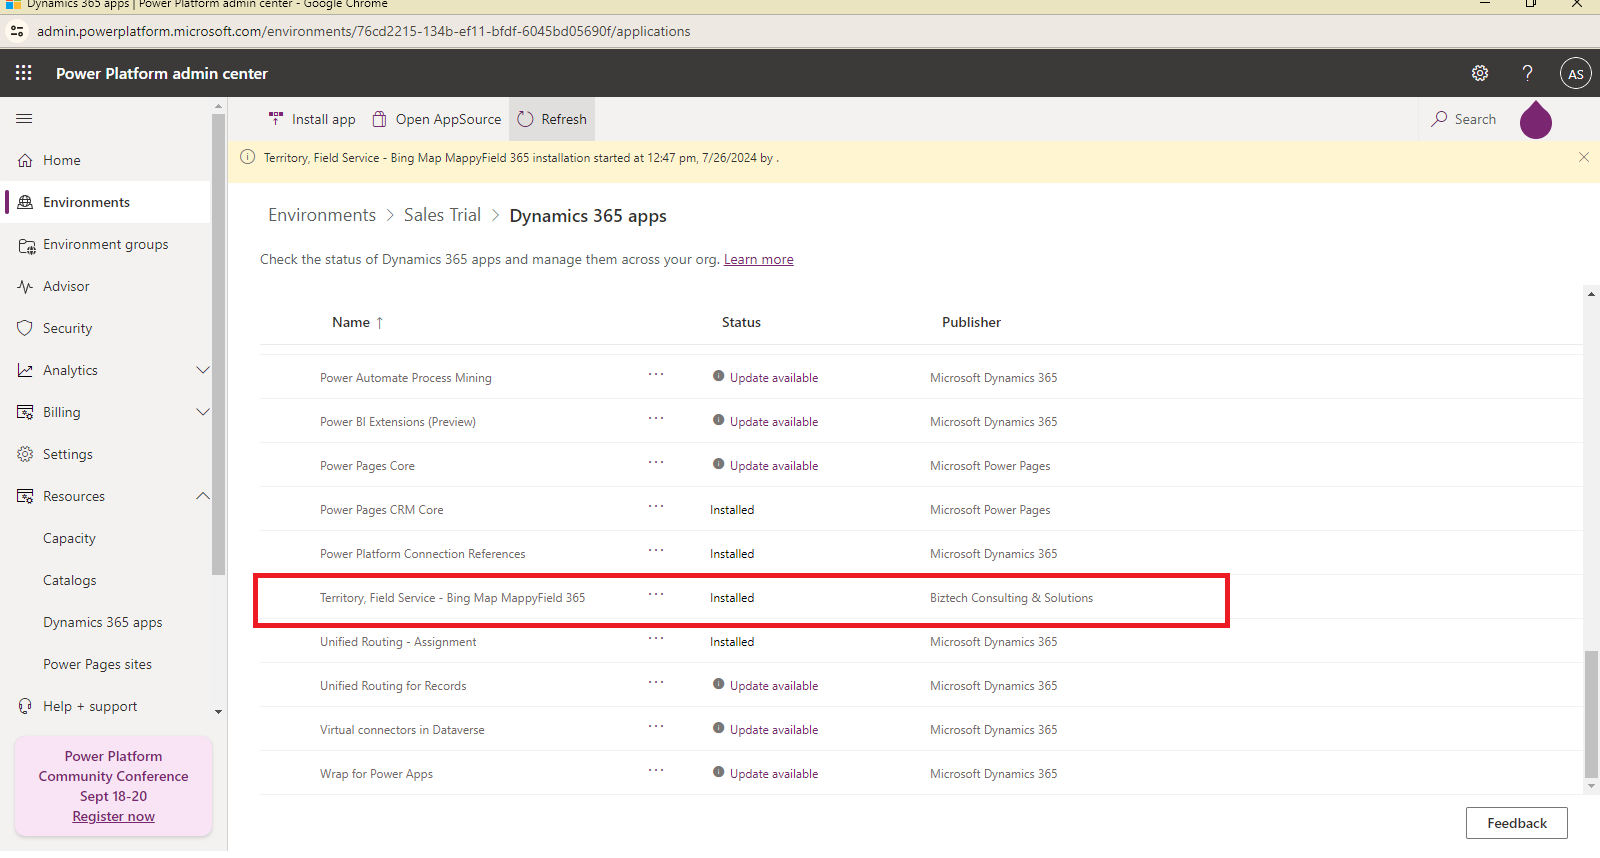
After the installation is complete, the status will display as ‘Installed’.
 Step-5:
 Activate Appjetty Product License
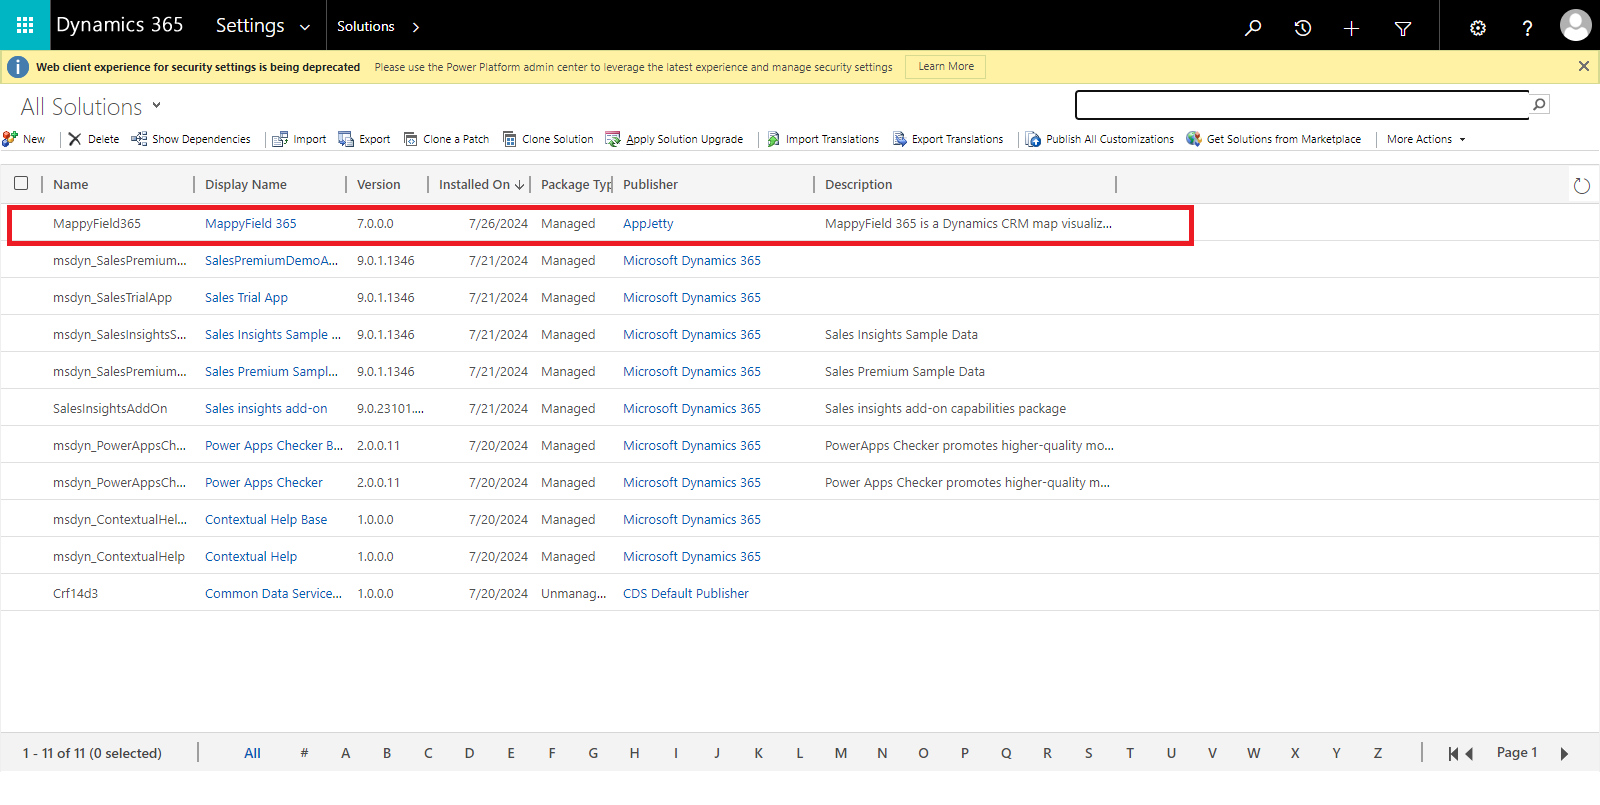
Once the installation is finished, activate the product license by clicking on “Solutions.” This will show the installed product solutions.
 Step-6:
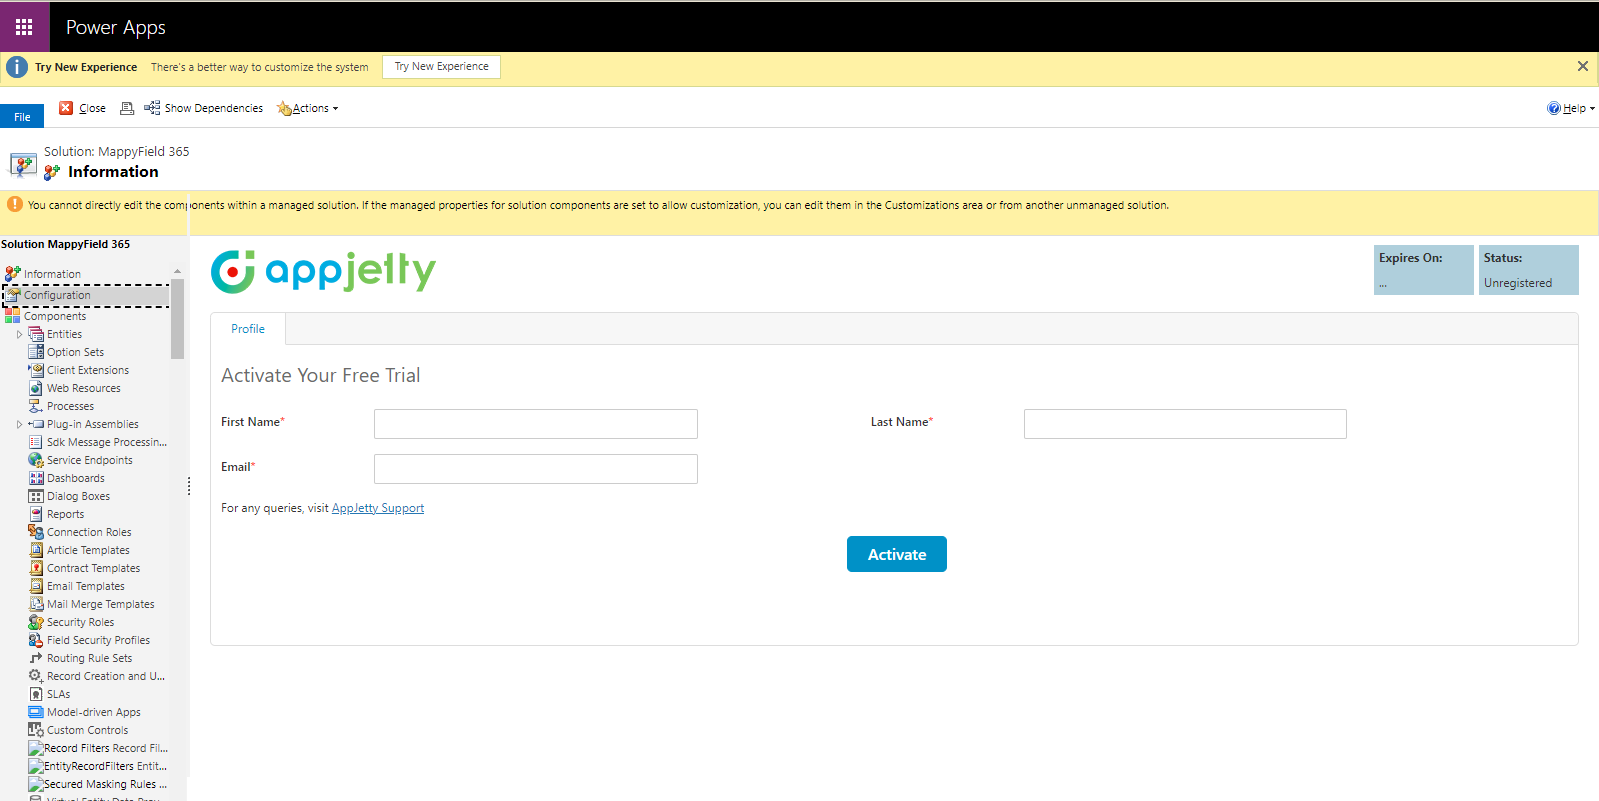
 Click on “Configuration” under “Solutions” to access the configuration page for the AppJetty product.
 Step-7:
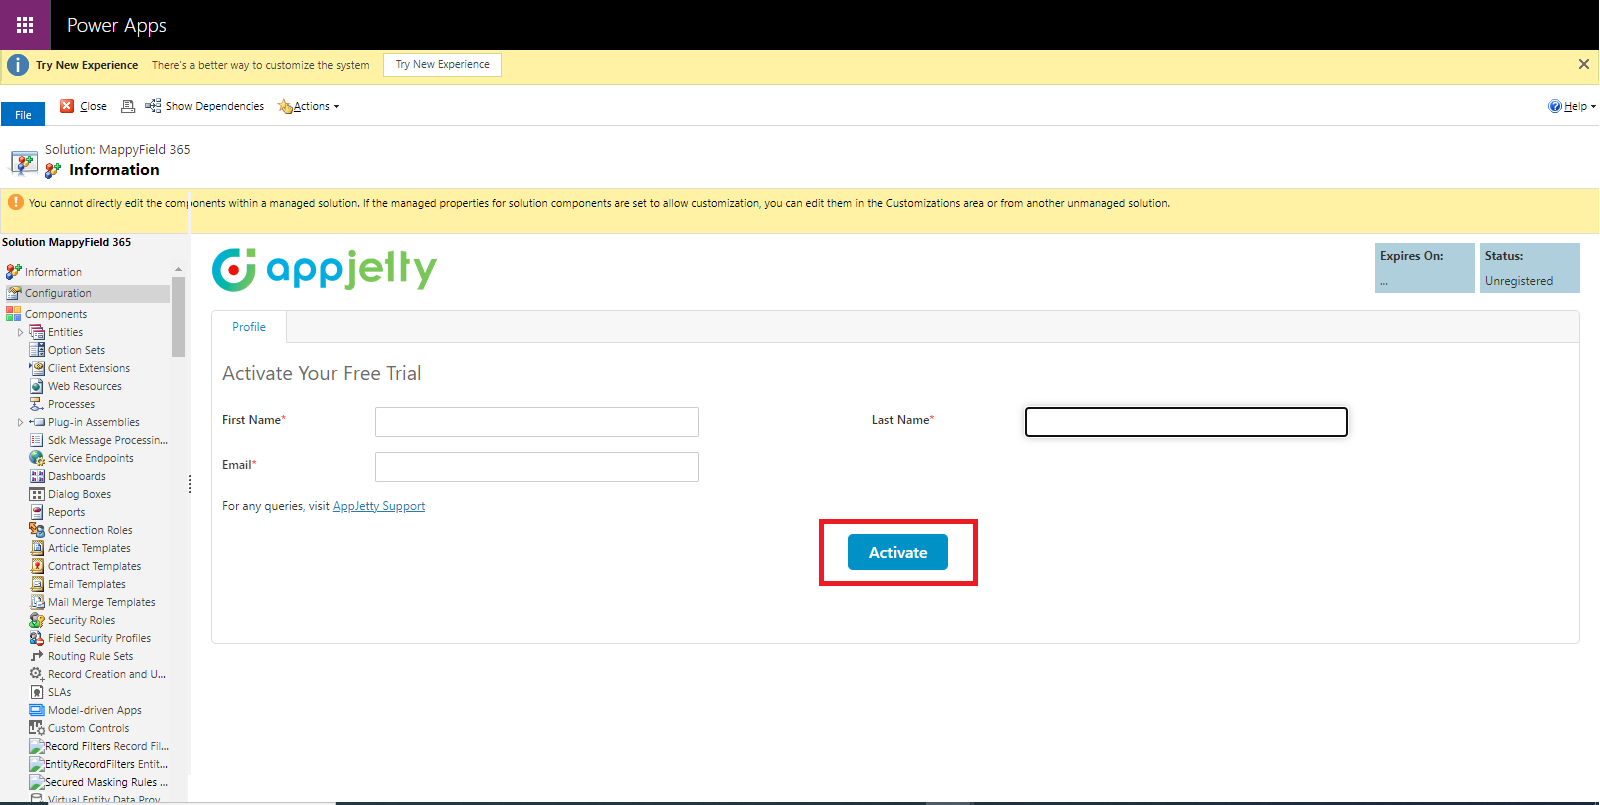
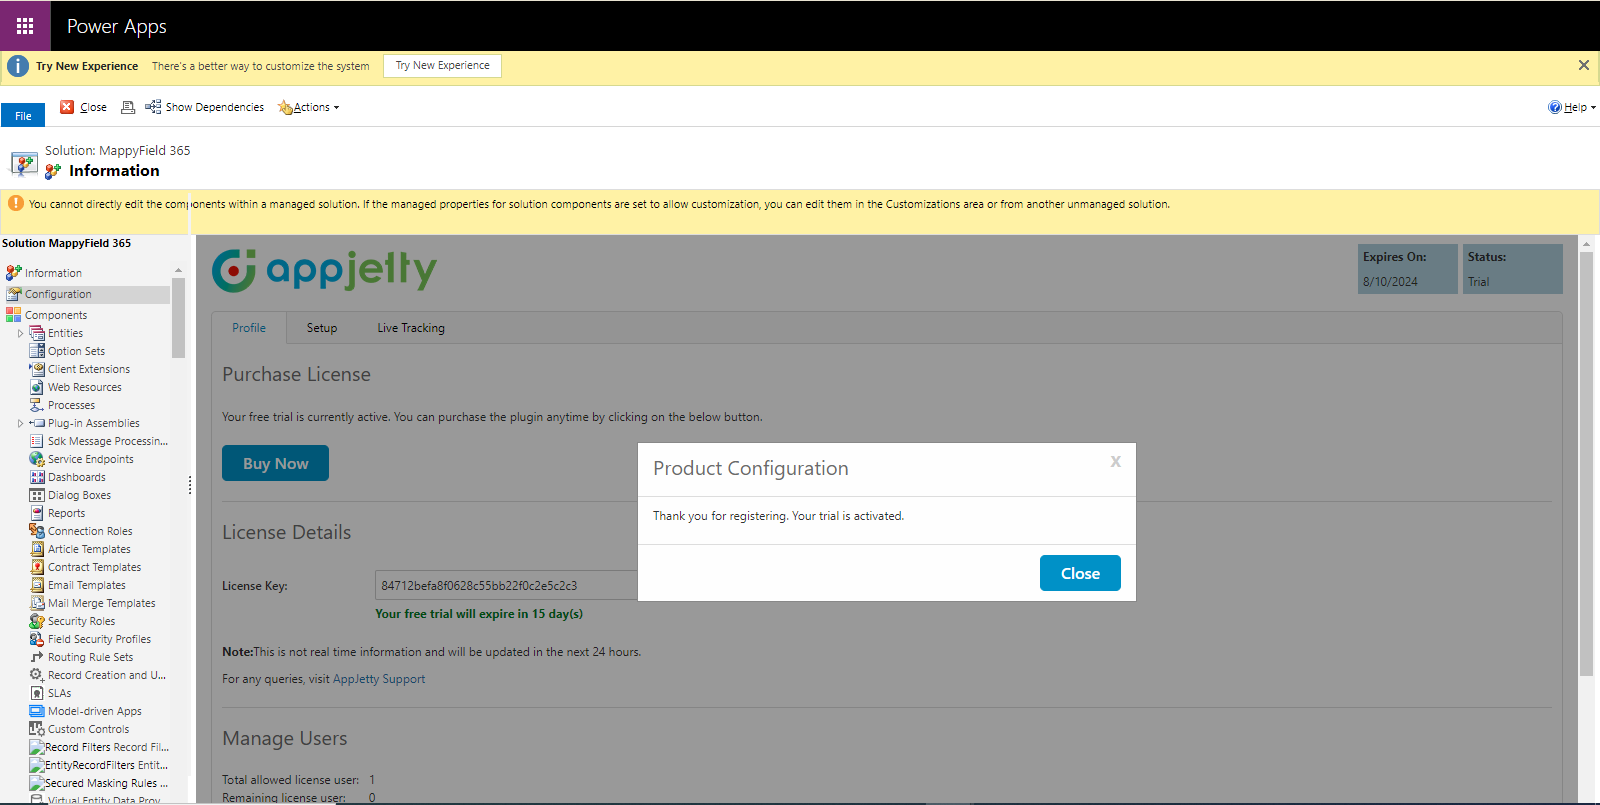
 Enter your first name, last name, and email to complete the configuration details. Once done, click “Activate” to start your free trial.</p >
After activating the license, a pop-up message will confirm that your license has been activated.
If you want to know more about various products offered by AppJetty, or have any questions regarding the installation process of AppJetty products from Microsoft AppSource, then contact our team at
[email protected]. Our experts will be happy to assist you with any queries or provide further information to ensure a smooth installation process.
All product and company names are trademarks™, registered® or copyright© trademarks of their respective holders. Use of them does not imply any affiliation with or endorsement by them.


