

When a salesperson is in the field, they need their software to support them by providing all relevant details quickly. Having a collection of information about each record readily available within the app is a great way to achieve this. Tooltips are set up to appear only when you look for them, making it easy to access just the needed information.
A sales manager or Dynamics CRM user with administrator rights can configure the entity details in MappyField 365 to be displayed in the Entity Records (pushpin) details. Once Dynamics CRM records are plotted on the map, your team members will see the record details as configured in ‘Entity Mappings’.
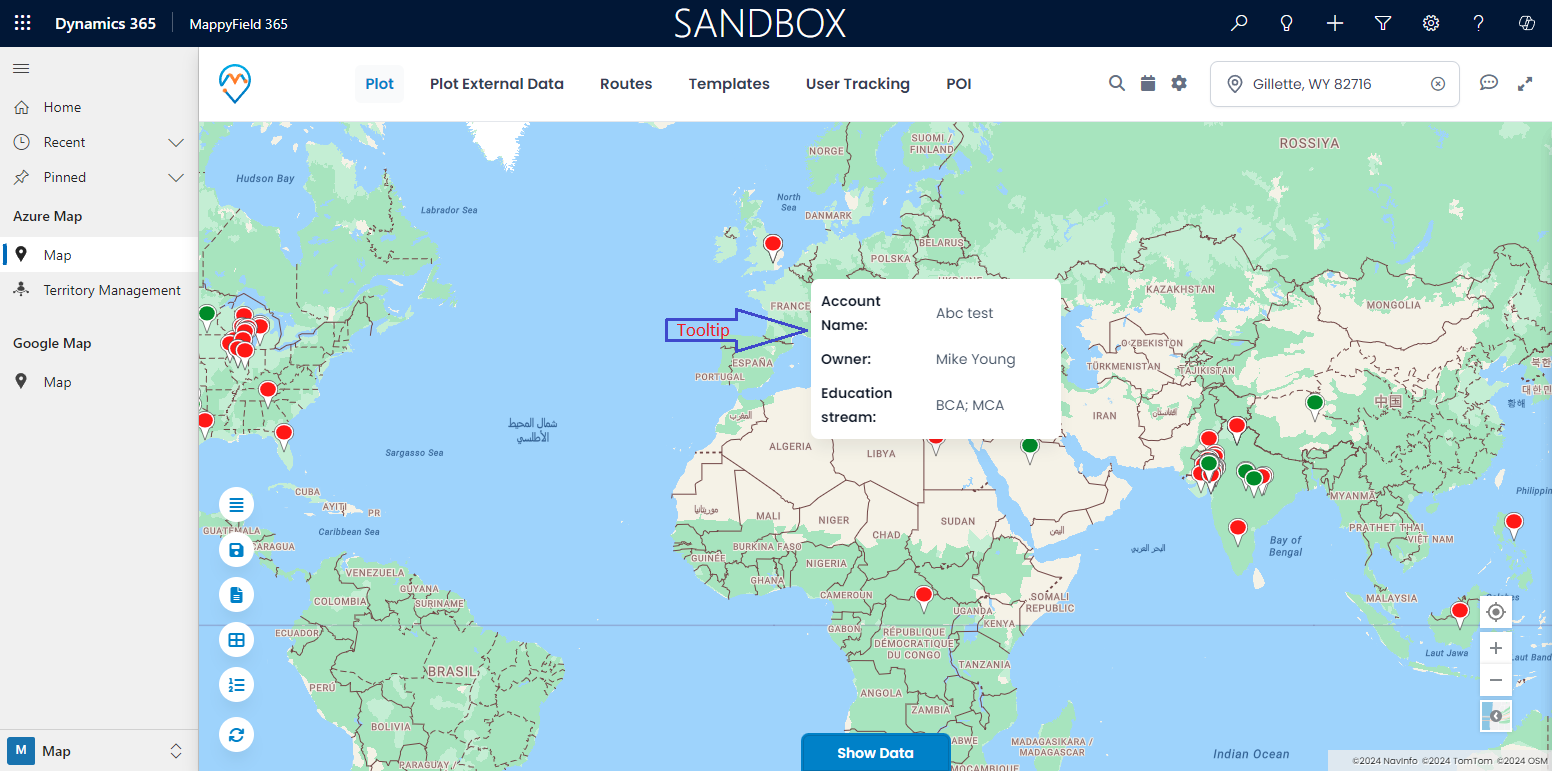
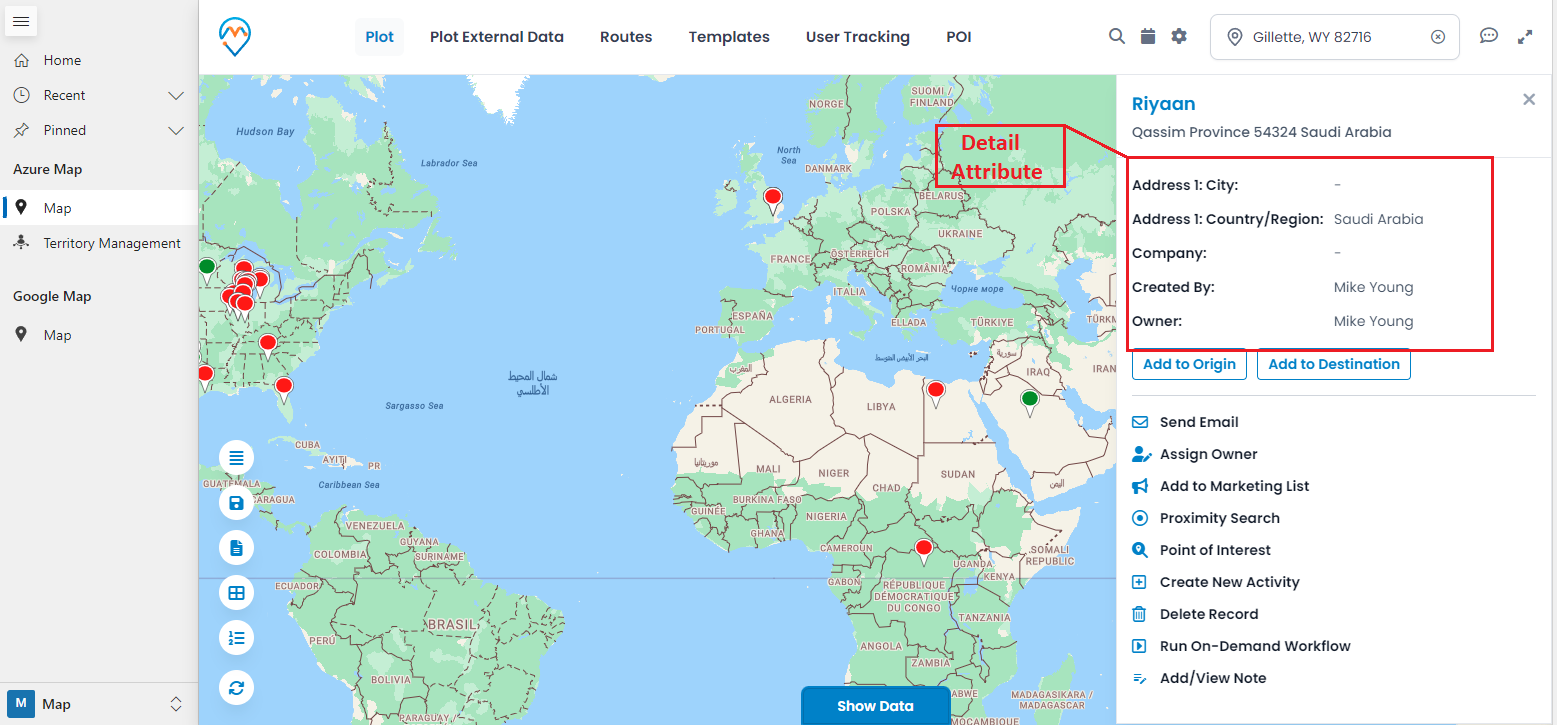
MappyField 365 users can quickly access record highlights by hovering the mouse over the plotted record (pushpin). Clicking on the record reveals more detailed information in a detailed slider.
Tooltips provide quick information about a record when hovering the mouse cursor over a pushpin, while detailed attributes appear in a slider when clicking on a specific record.
Follow the steps below to configure tooltips and detailed attributes:
1. Navigate to Entity Mappings.
2. Configure the tooltip and detailed attributes.
3. Plot the entity records on the map.
4. Display the tooltip (popup) by moving the cursor over a pushpin.
5. View detailed record information by clicking on the pushpin.
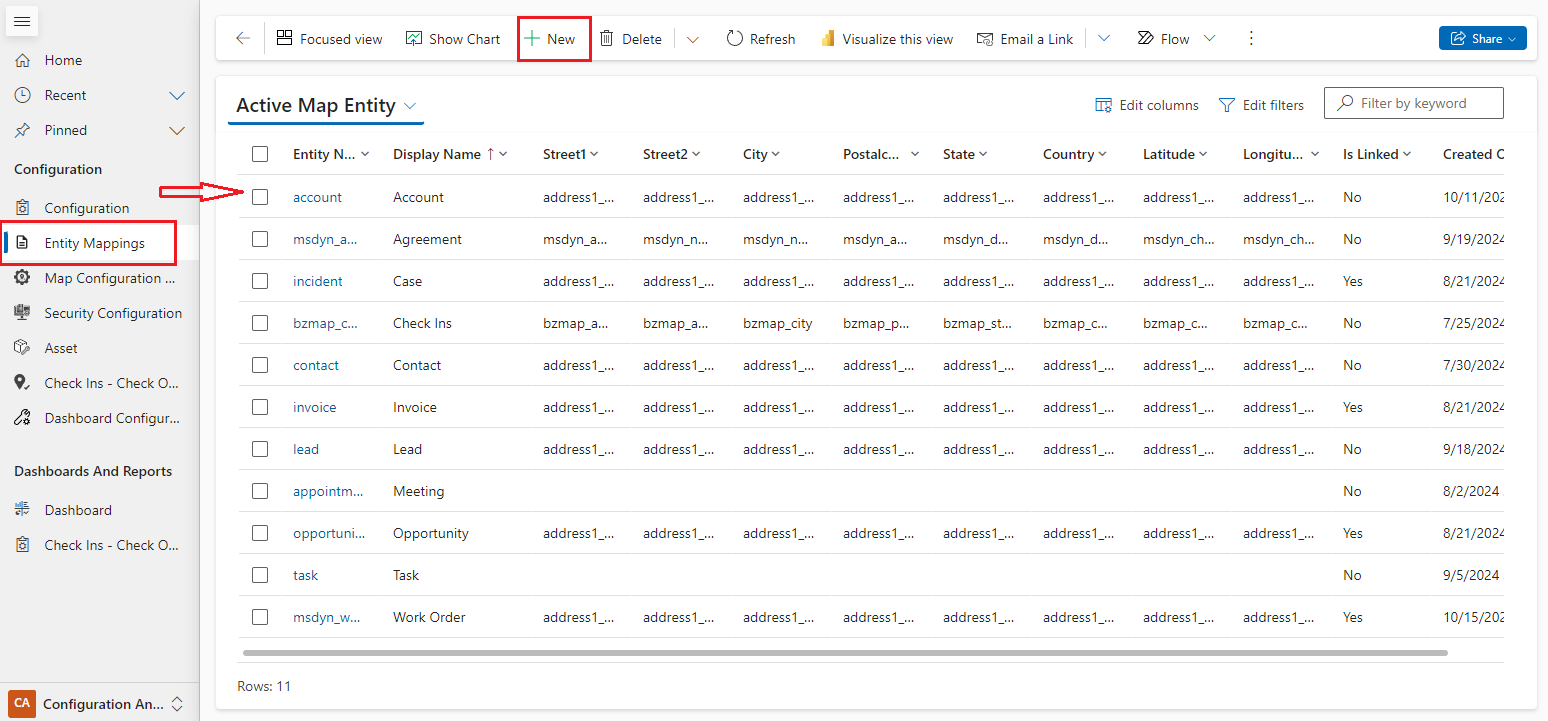
Step-1: Navigate to “Entity Mappings”
Go to Entity Mappings to configure and set up the entity to be displayed on the map. Here, the ‘Account’ entity is selected.
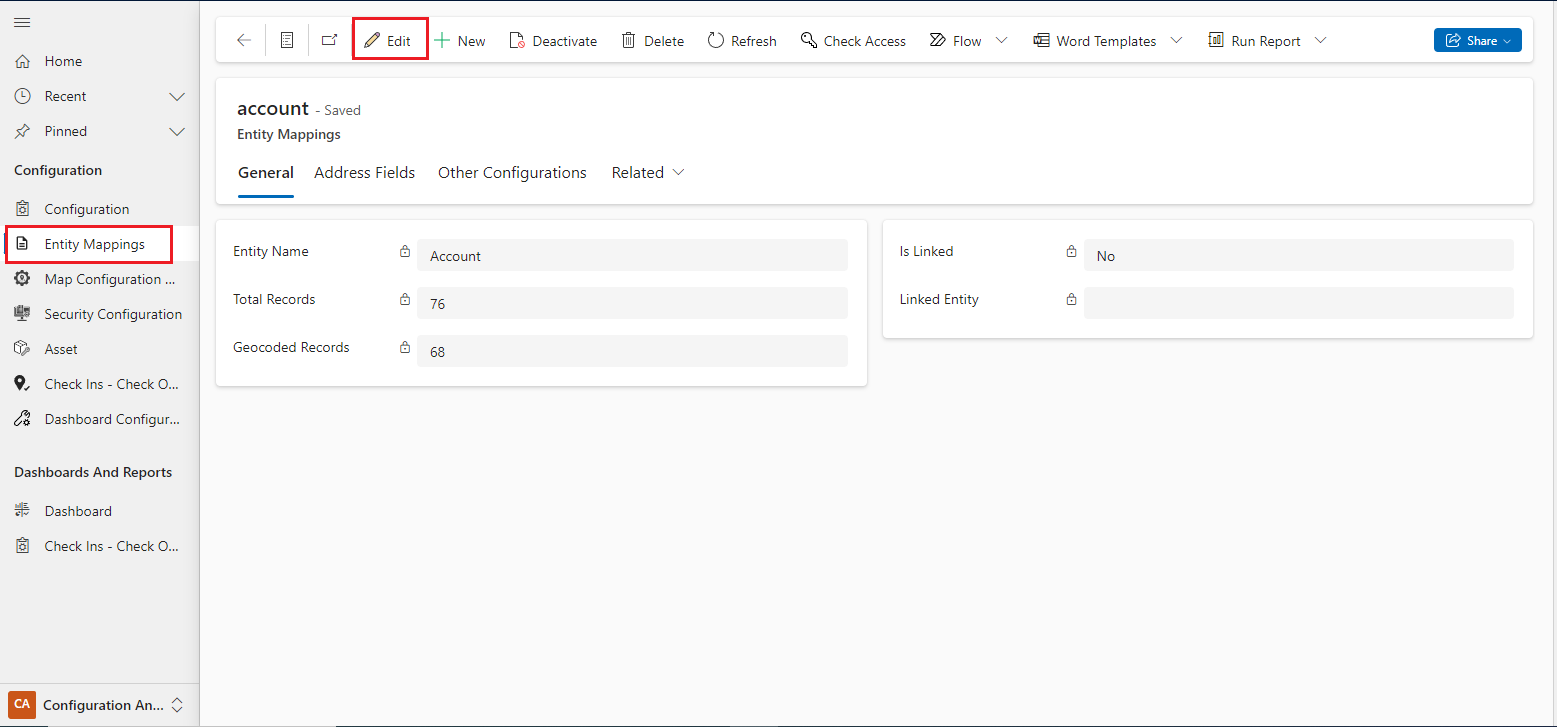
Clicking on the Edit button will open a new tab that contains the entity map configuration for the selected entity.
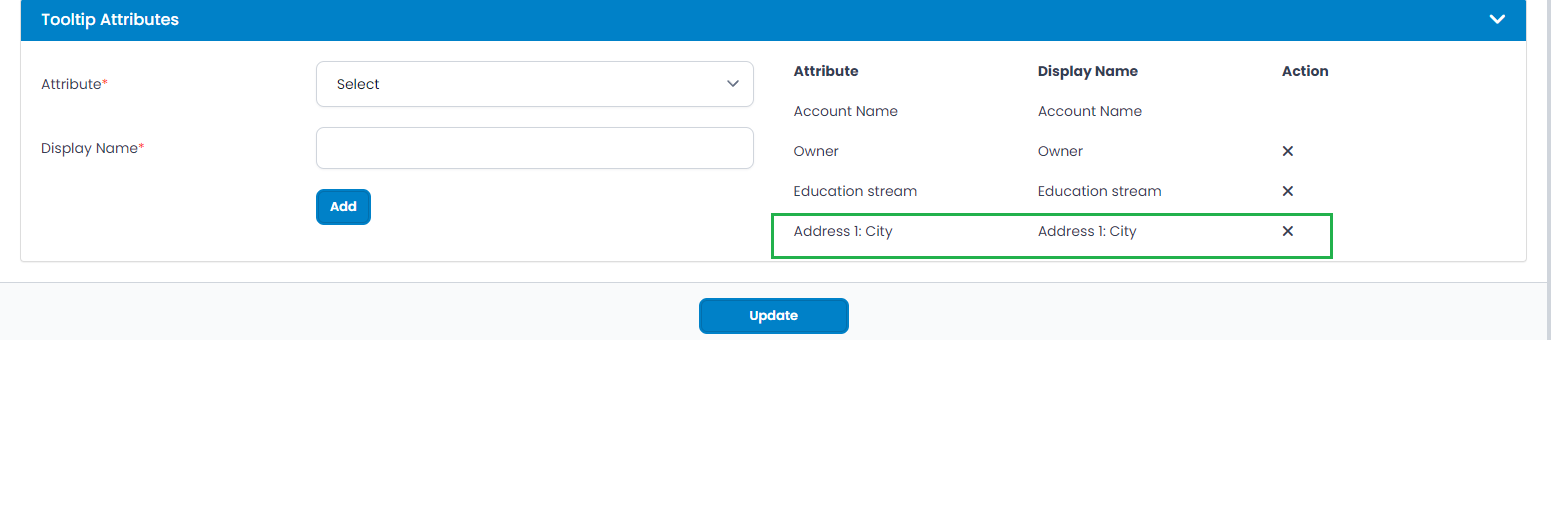
Select the attributes and edit their Display Names as needed.
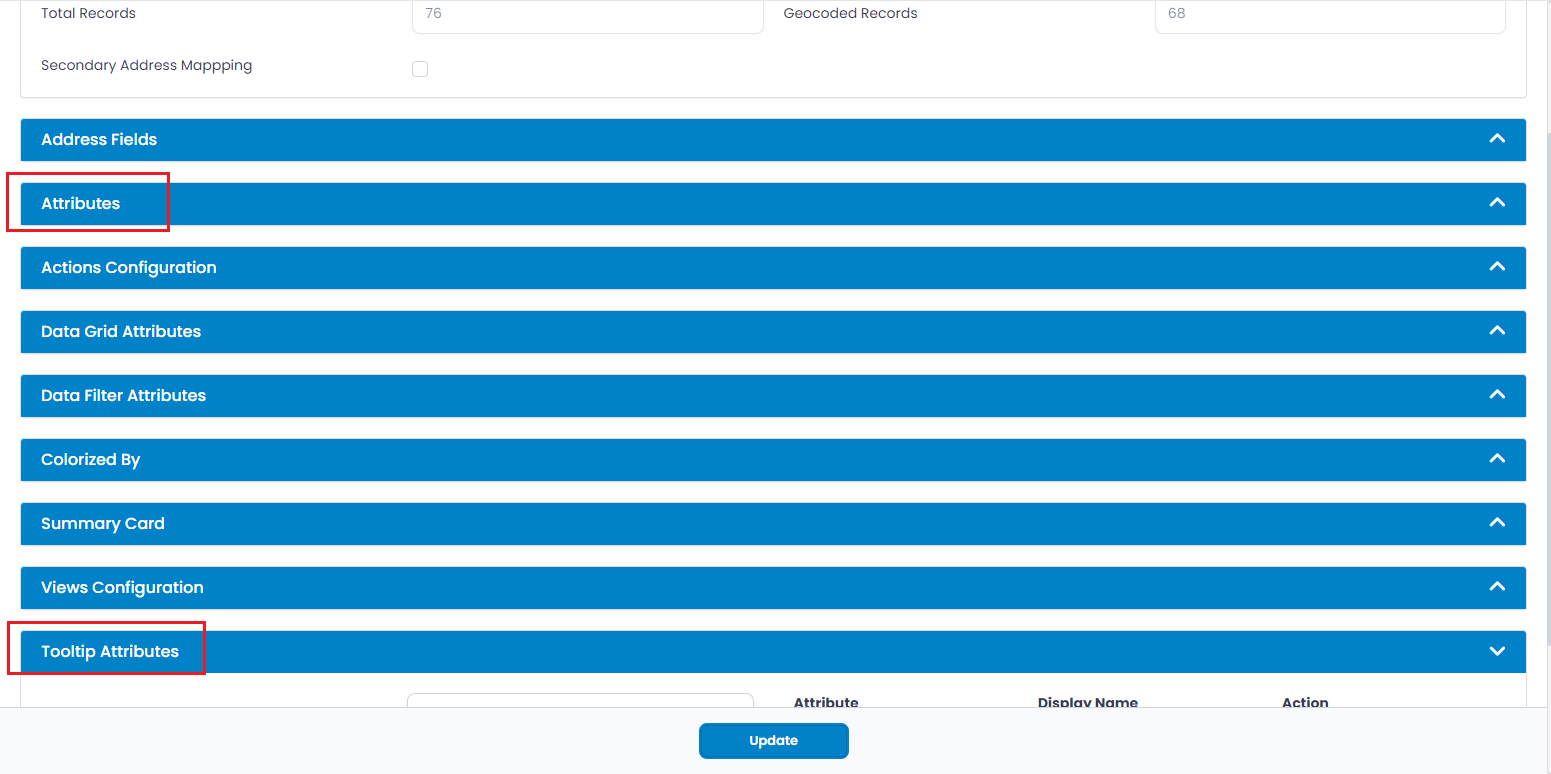
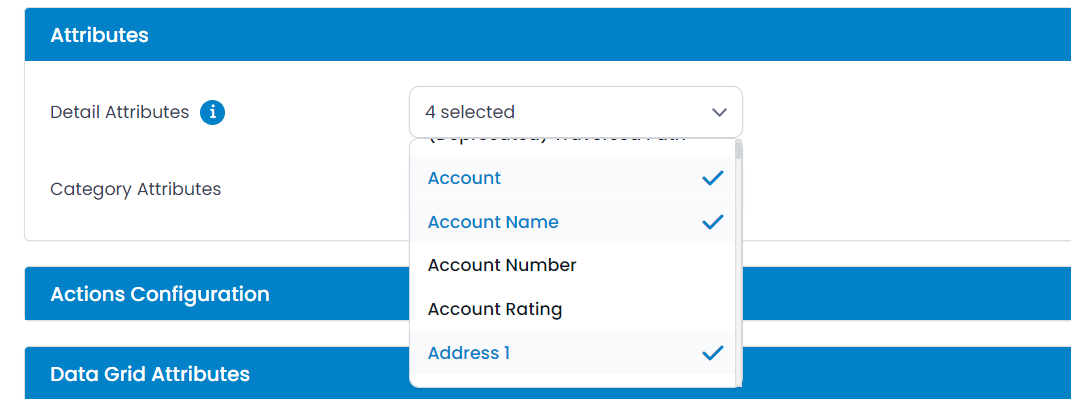
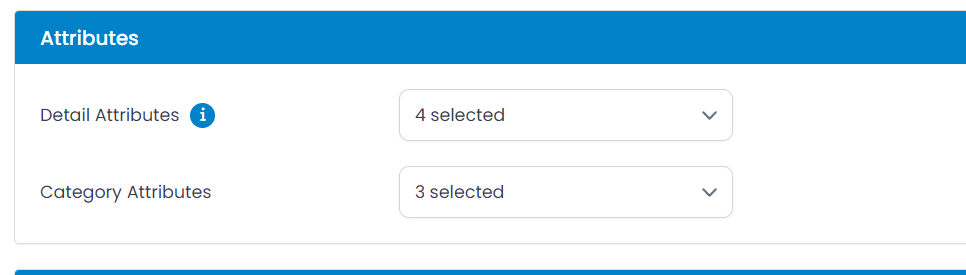
Step-2[B]: Click on the ‘Attributes’ tab to set up for slider details
Navigate to the ‘Attributes’ tab. Here, you can select up to 10 detail attributes to display when clicking on a record (any specific pushpin).
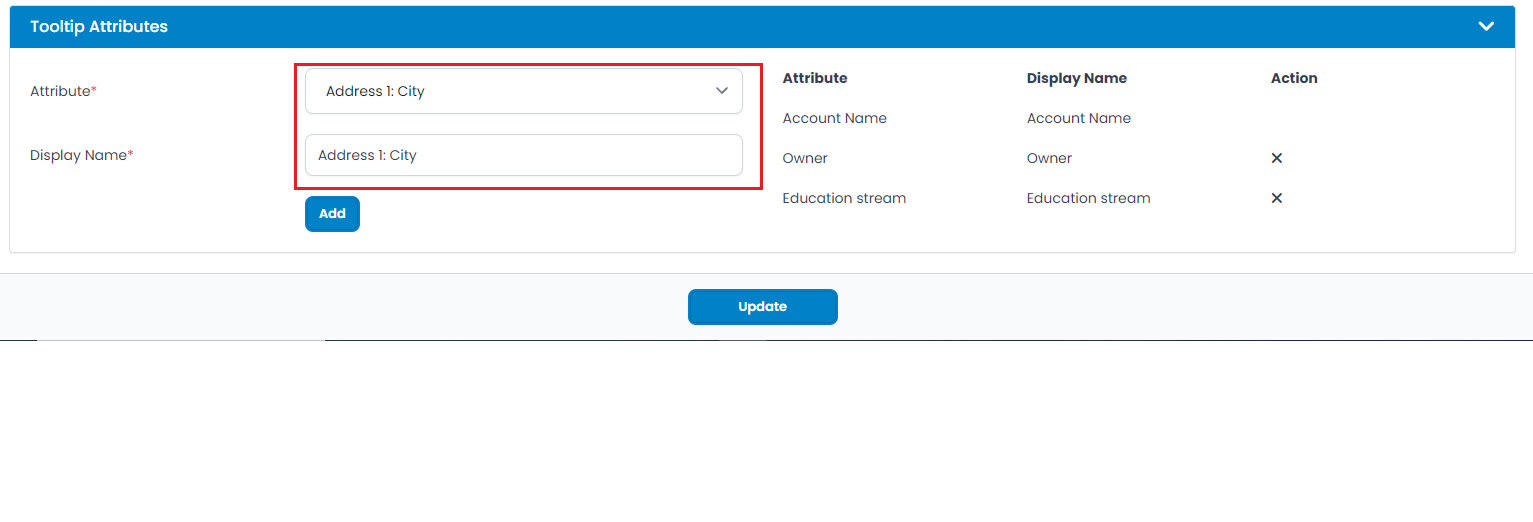
Select the detail attributes from the dropdown list.
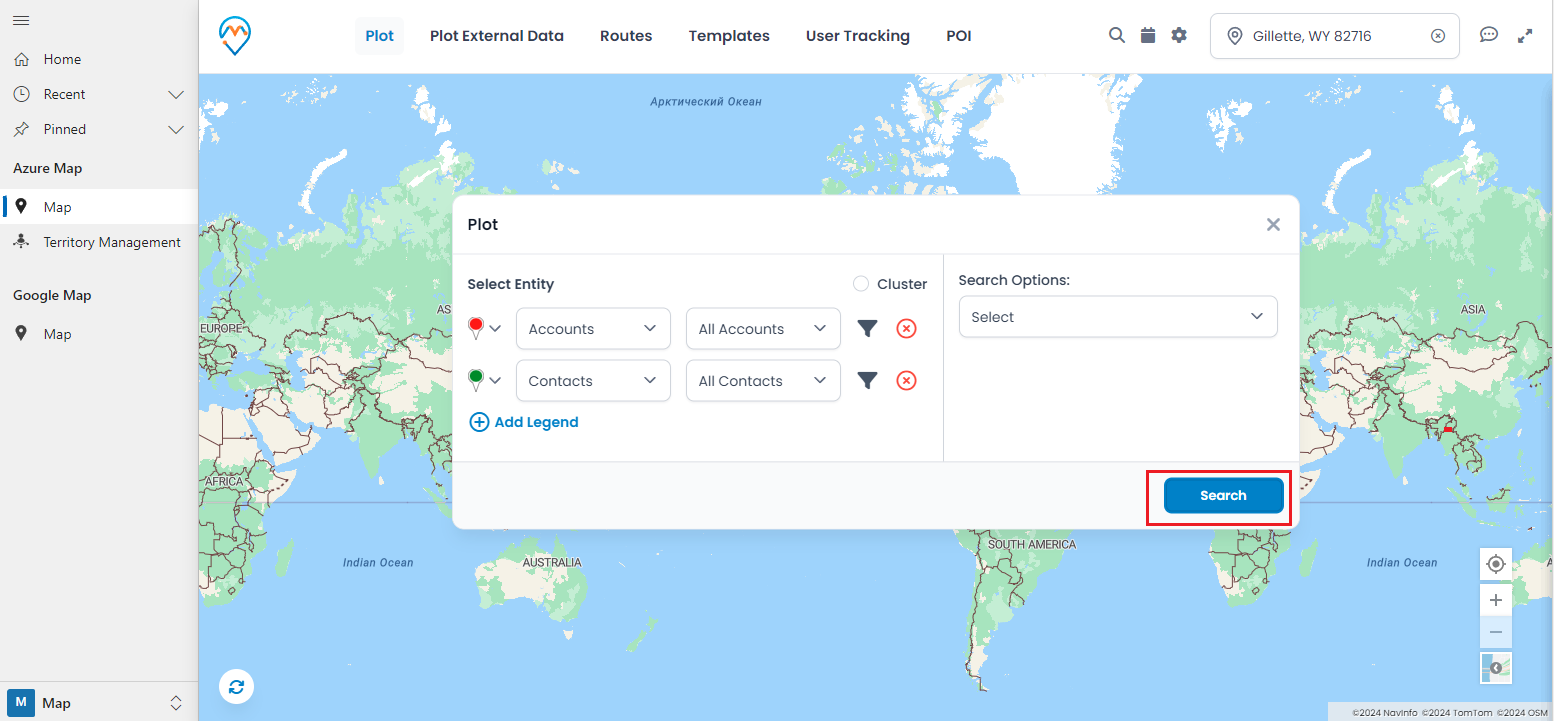
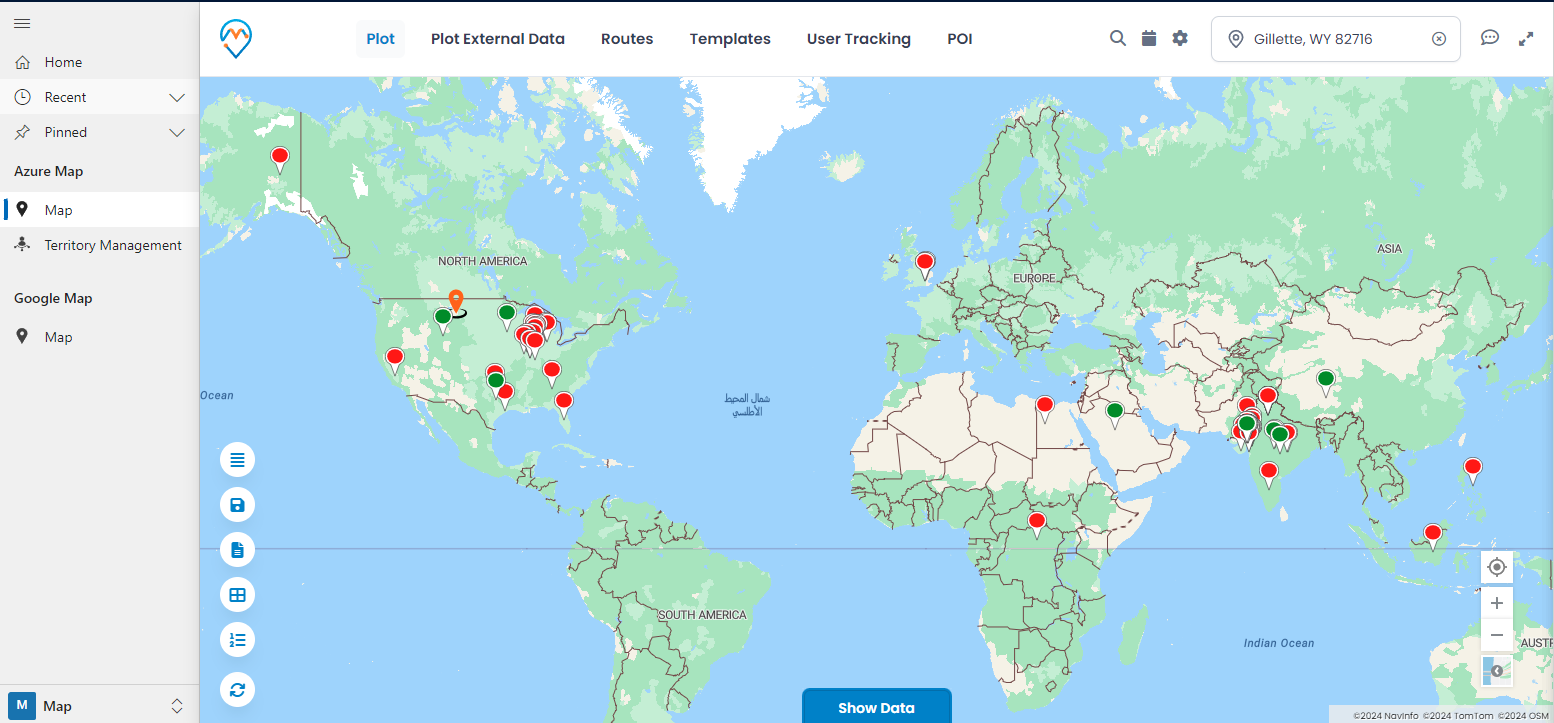
Step-3: Plot the Entity Records Navigate to the Map section. From the ‘Plot’ tab, select the ‘Entity’ and its ‘View’ to plot the records on the map.
Step-4: Visualize Tooltip and Detail attributes on the map
Visualize the Tooltip and Details attributes on the map.
Step-4[A]: Tooltip Attributes
Once the entity records are plotted on the map, you can view a ‘tooltip’ by hovering over any pushpin. The information displayed in the tooltip is based on the configuration set in ‘Entity Mapping → Tooltip Attributes.’
Step-4[B]: Detail Attributes
By clicking on any pushpin, a detailed slider will appear from the right side, providing details related to that record based on the ‘Entity Mapping → Attributes’ configuration.
Based on this configuration, you and your team will receive information in the tooltip and the detailed slider for the selected record, allowing you to perform various actions accordingly.
All product and company names are trademarks™, registered® or copyright© trademarks of their respective holders. Use of them does not imply any affiliation with or endorsement by them.


