

Earlier, field agents could check in and check out for appointments using the Dynamics 365 map plugin. However, we are now adding an additional feature called “Pending Check-in and Check-out.” With this feature, you will be able to view a list of pending check-ins/check-outs, and the user will need to provide a reason for any late check-ins. Here’s how the feature works:
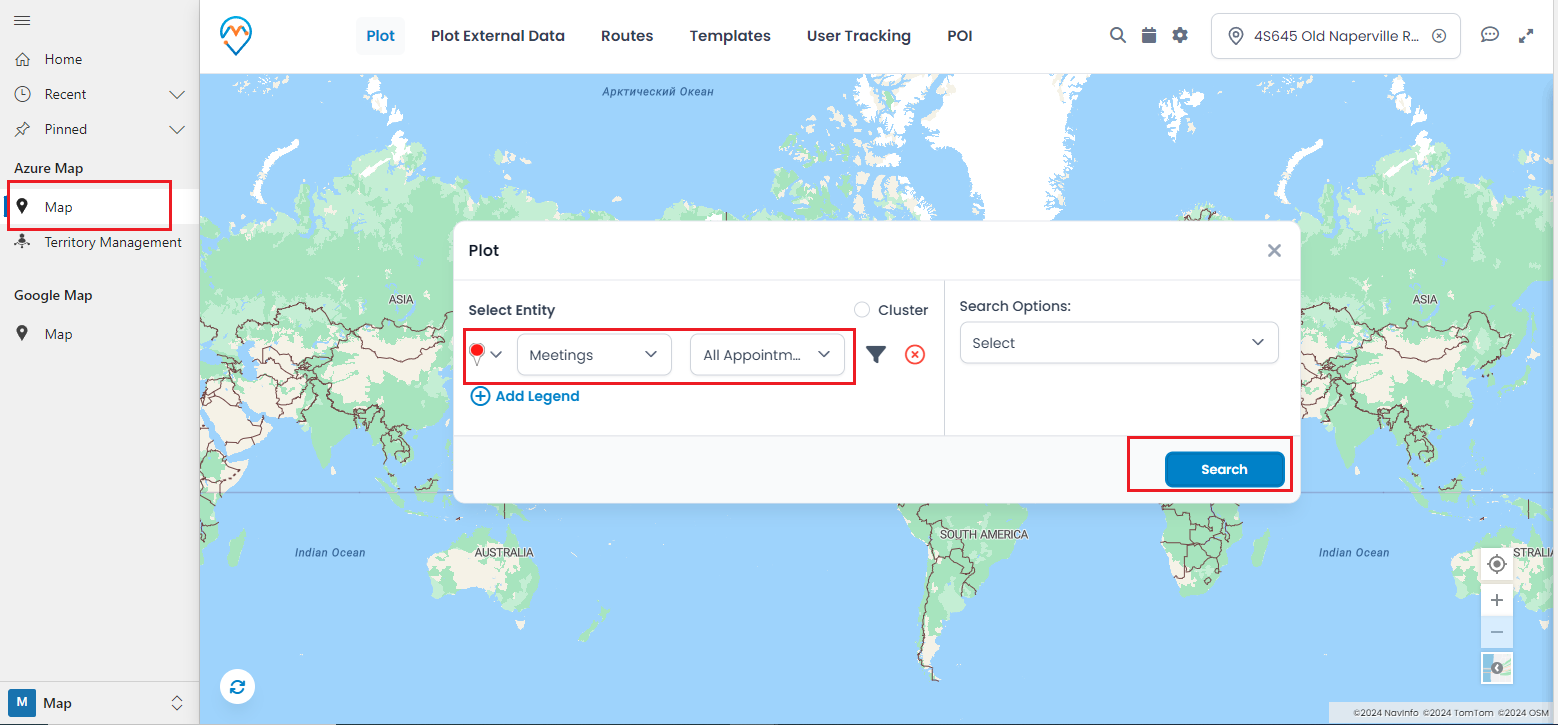
1. First, go to the Map > Plot and select the entity, such as appointments.
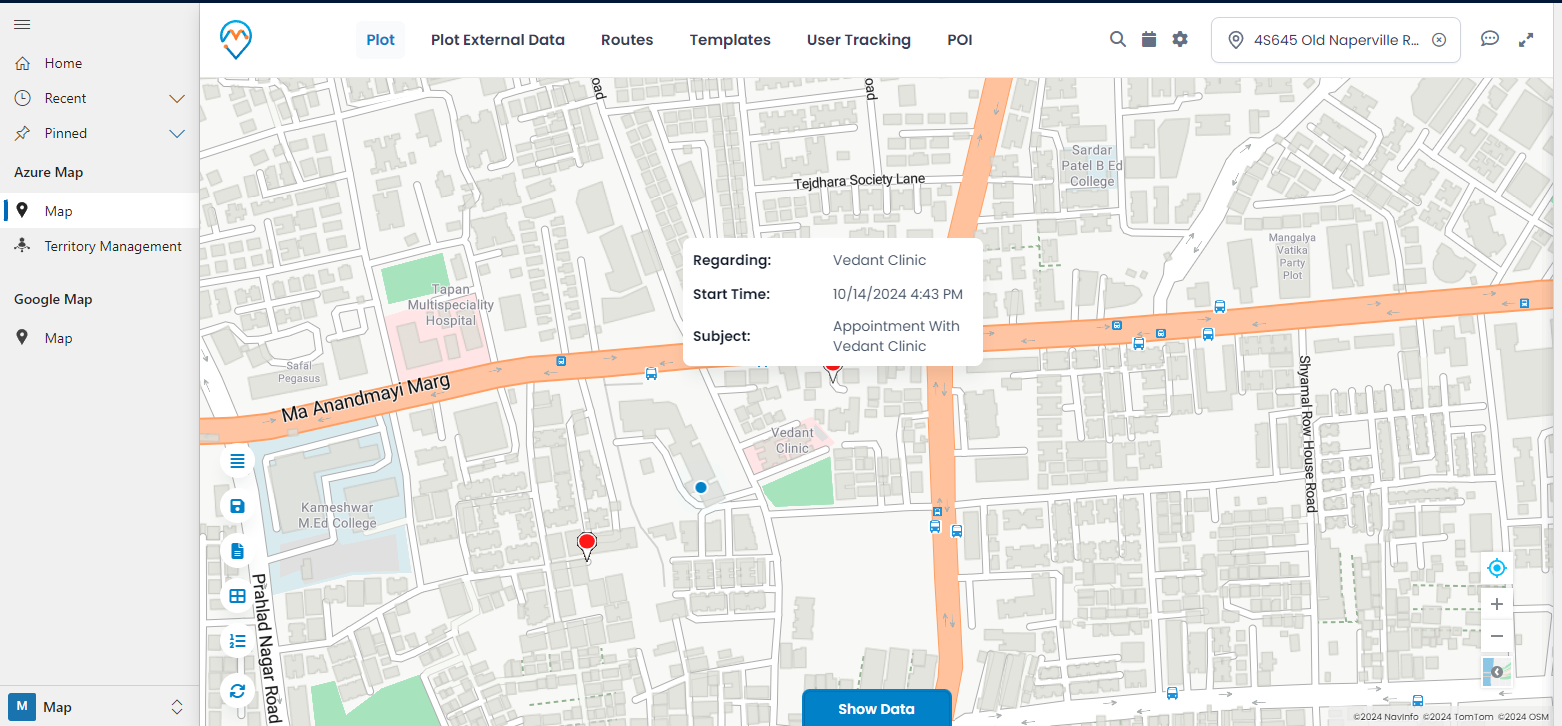
2. Next, click on the “Search” button, and the appointment will be plotted on the map.
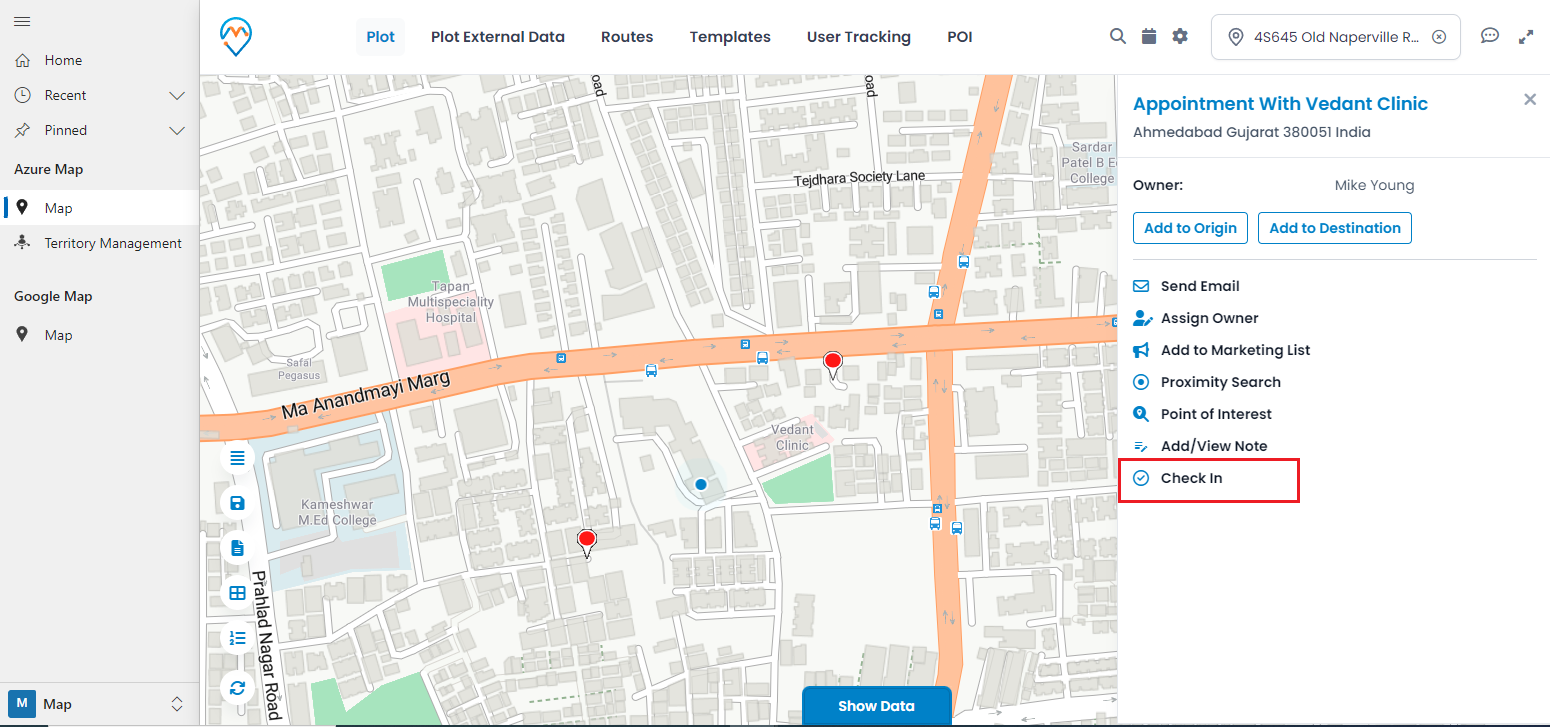
3. Then, click on any appointment pin and select the “Check-in” button from the right panel.
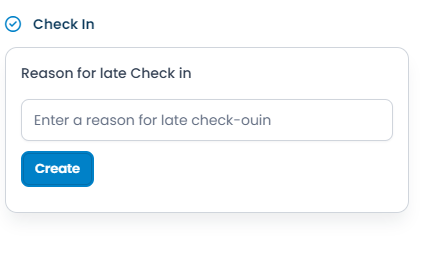
If the user checks in late for the appointment, they need to provide a reason for the late check-in.
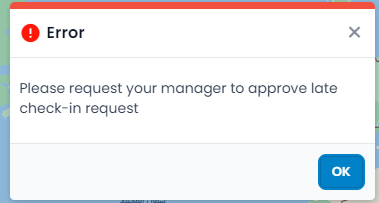
If the check-in is pending, users will receive an error message when they try to check out.
Admins can approve or reject pending check-ins by navigating to the Check In-Check Out tab.
You need to select the Pending Check-In view, where you can see all the pending check-ins.

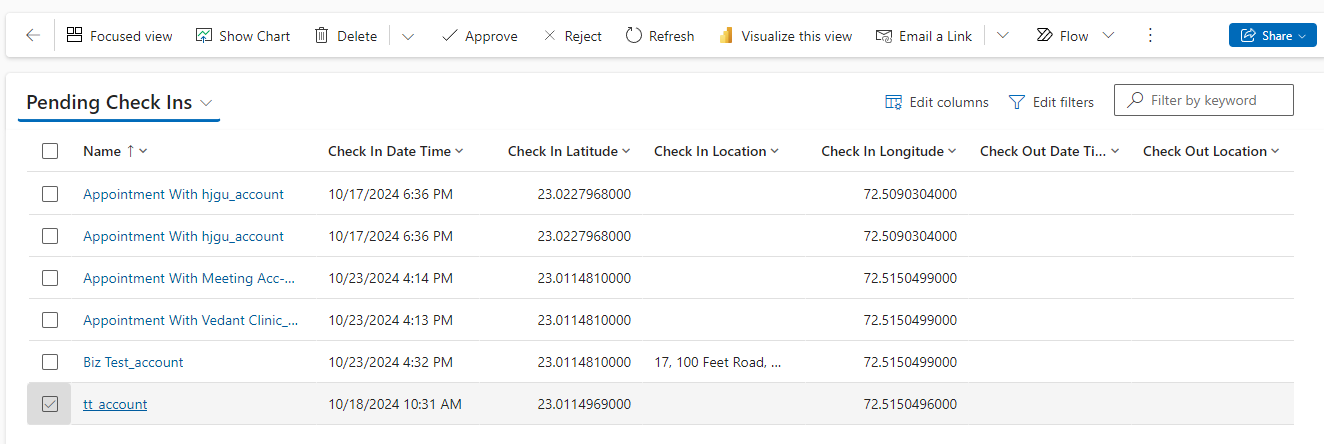
Admin has two ways to approve or reject pending check-ins.
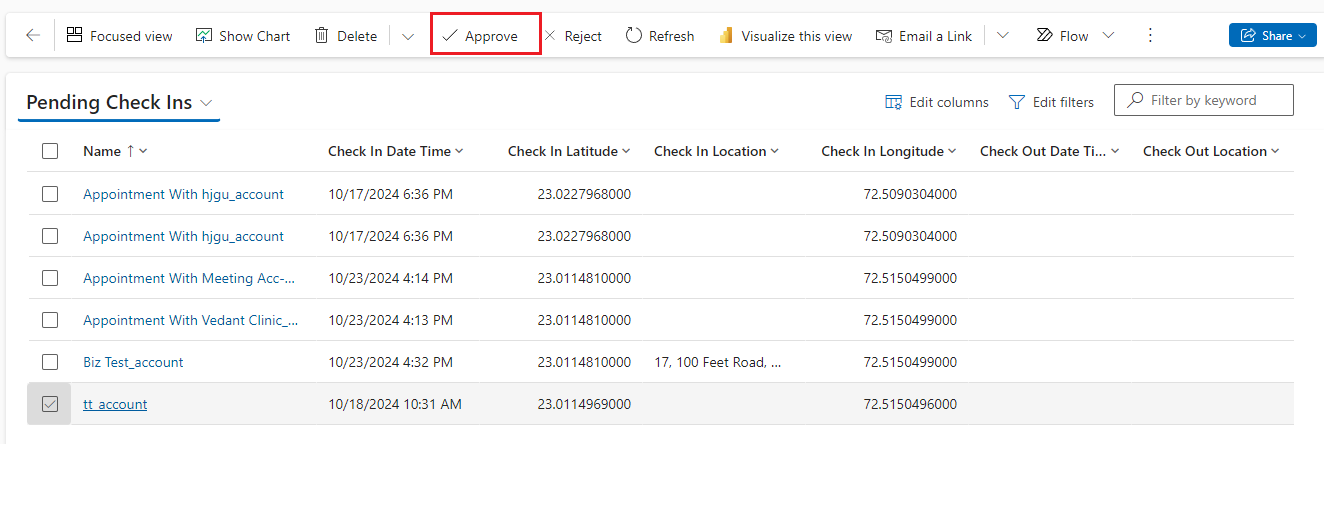
The first is to select the pending check-in and click on the Approve or Reject button. Here, the admin can perform this action on bulk data.
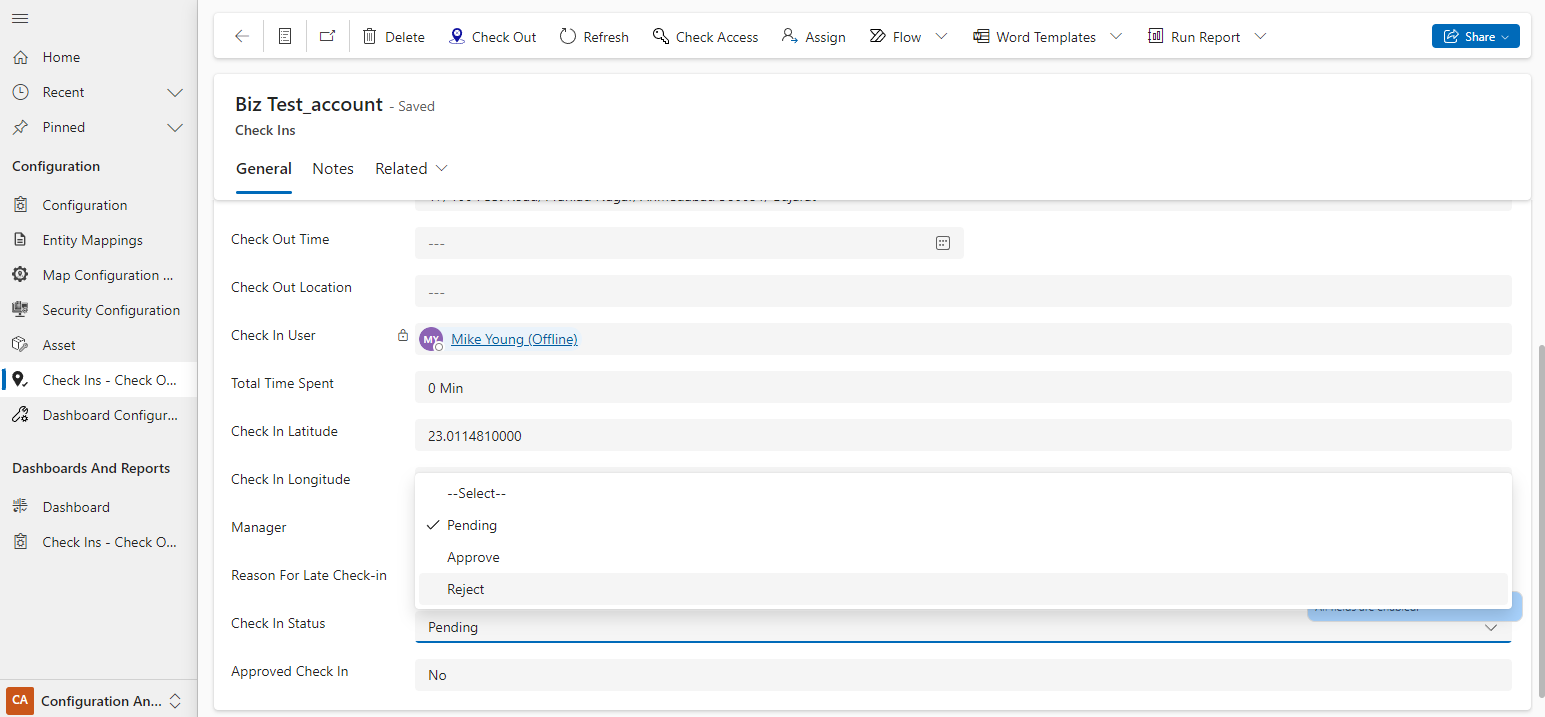
The second way is to open the record in Edit mode and manually select the status in the Check-In Status field.
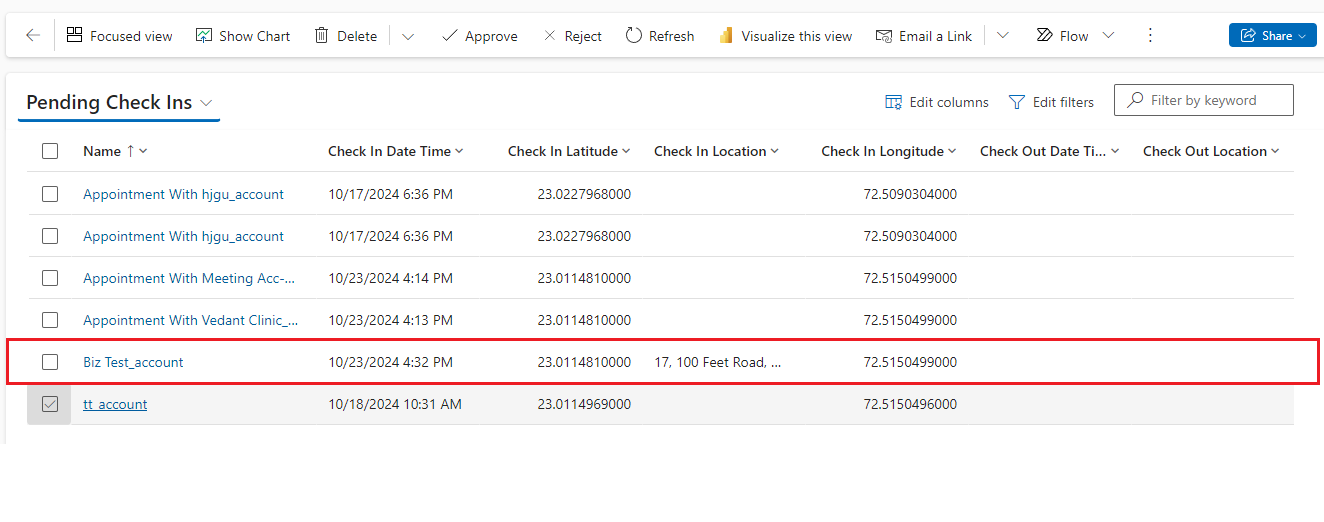
The Approved Check-Ins view will display all approved check-ins.

The same flow will work for the pending checkouts. You will receive all the views, such as Approved Check-in/Check-out, Rejected Check-in/Check-out, Pending Check-in/Check-out, etc.
All product and company names are trademarks™, registered® or copyright© trademarks of their respective holders. Use of them does not imply any affiliation with or endorsement by them.


